Introduction to Mini Cheesecake Cups
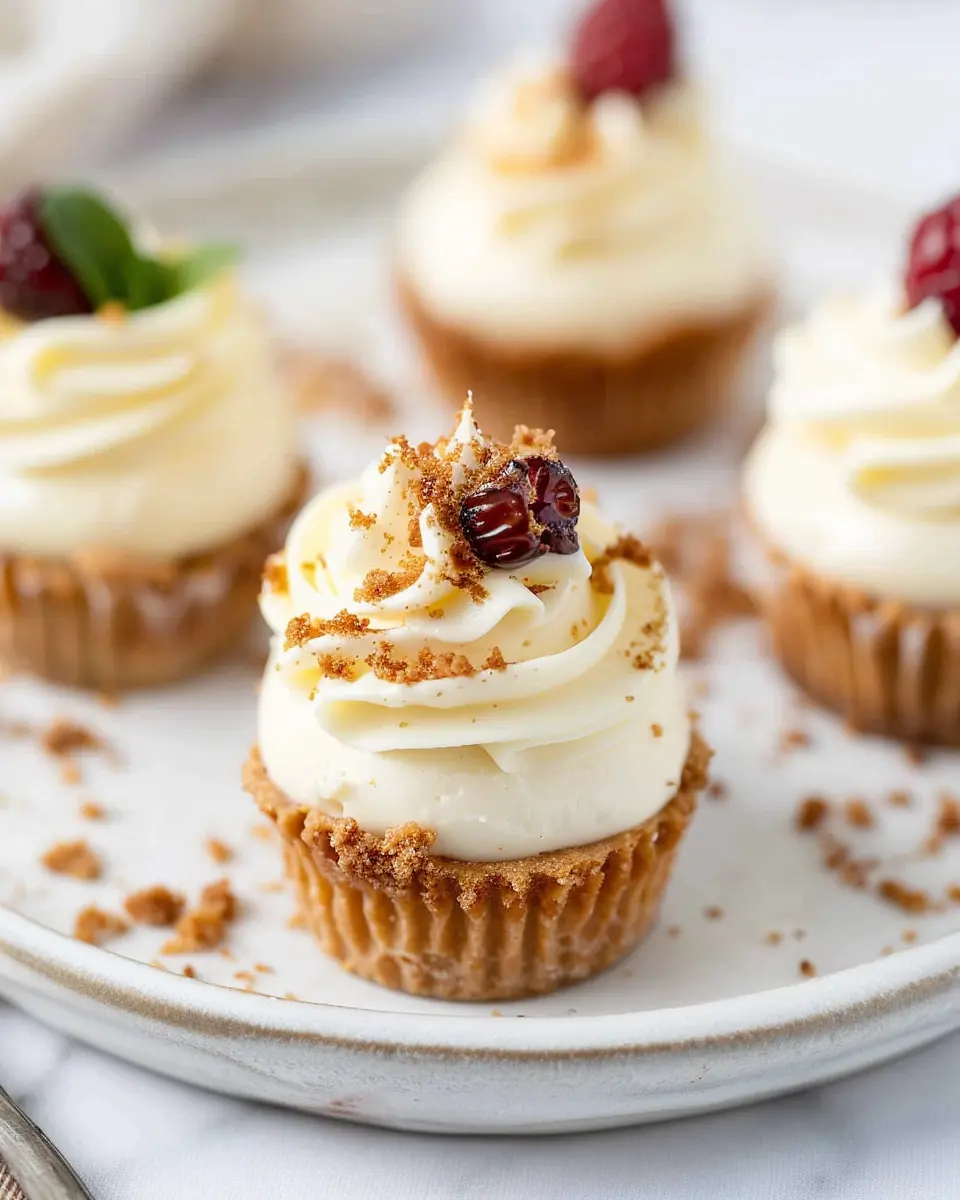
When it comes to desserts, mini cheesecake cups have become a beloved choice among young professionals, and for good reason. These bite-sized delights offer a perfect blend of creamy texture and rich flavor, encapsulating the essence of cheesecake without the commitment of an entire cake. Whether you’re entertaining friends, celebrating a milestone, or simply indulging after a long work week, mini cheesecake cups are quickly becoming the go-to dessert for many.
Why Mini Cheesecakes Are Perfect for Young Professionals
First off, let’s talk about convenience. As a young professional, your time is precious. Making a full cheesecake can be a labor-intensive process that requires both time and effort—not to mention the challenge of slicing an entire cake neatly. Mini cheesecake cups, on the other hand, are quick to prepare and serve in individual portions. This ease of preparation is vital for busy individuals who still want to whip up something special without spending hours in the kitchen.
Moreover, these mini desserts are ideal for portion control. Savvy young foodies often strive to balance indulgence with health, making it easier to enjoy a rich treat without overdoing it. Each cup is just the right size to satisfy your sweet tooth while keeping calories in check.
Did you know that quick desserts are trending? According to a recent survey by the National Confectioners Association, a significant number of millennials and Gen Z are opting for snacks and desserts that offer a quick satisfaction without sacrificing flavor. Mini cheesecake cups fit perfectly into this trend, providing the same delightful experience as traditional cheesecake, just more accessible.
Additionally, serving these mini desserts at gatherings is a crowd-pleaser. Imagine hosting a casual dinner with friends. Instead of slicing up a cake, you can present an appealing platter of mini cheesecake cups. Their delightful appearance makes them a hit; the elegant little cups add a touch of sophistication while allowing everyone to indulge without the fuss.
Finally, let’s not overlook customization. You can easily tweak the flavors or even create a mini cheesecake cup bar with toppings like fresh berries, chocolate drizzle, or a sprinkle of crushed cookies. This flexibility means you can cater to various palates, making these bites perfect for any occasion.
In summary, mini cheesecake cups are more than just desserts; they’re a lifestyle choice for young professionals who appreciate convenience, flavor, and customization in their culinary adventures.
Ingredients for Mini Cheesecake Cups
When you’re ready to whip up a batch of delightful mini cheesecake cups, it all starts with gathering the perfect ingredients. Here’s a clear breakdown to ensure your journey into cheesecake bliss is smooth and enjoyable.
Crust ingredients
For a buttery, satisfying crust, you’ll need:
- 1 cup graham cracker crumbs: This is the classic base for your cheesecake.
- 1/4 cup granulated sugar: A touch of sweetness to balance the flavors.
- 1/2 cup unsalted butter, melted: This binds the crumbs together for a perfect crunch.
Cheesecake filling ingredients
The heart of your mini cheesecake cups will be the luscious filling made from:
- 16 oz cream cheese, softened: Make sure it’s at room temperature for a smooth texture.
- 1/2 cup granulated sugar: Sweeten it just right.
- 2 large eggs: For that rich, creamy consistency.
- 1 teaspoon vanilla extract: Enhance the flavor with this fragrant addition.
- 1/2 cup sour cream: Adds a subtle tanginess to balance the sweetness.
Topping ingredients
To crown your mini cheesecake cups with something special, consider these delightful toppings:
- Fresh berries: Strawberries, blueberries, or raspberries work beautifully.
- Chocolate ganache: A simple mix of chocolate and cream creates an indulgent layer.
- Whipped cream: Light and fluffy, it adds a perfect finishing touch.
With these ingredients at hand, you’re ready to embark on your cheesecake-making adventure. Don’t forget to check out this source for more tips on baking techniques! Enjoy crafting these tasty treats, and let your creativity shine through your toppings and presentation.
Preparing Mini Cheesecake Cups
Making mini cheesecake cups is an enjoyable and rewarding experience, especially when you’re craving a sweet treat that feels both effortless and special. Follow these steps to create delightful little desserts that are perfect for any occasion—whether it’s a casual get-together, game night, or a cozy night in with a good book. Let’s dive in!
Gather Your Equipment
Before you start, it’s crucial to have all your tools organized. Not only will this streamline the process, but it will also keep your kitchen tidy. Here’s what you’ll need:
- Muffin tin (preferably a standard-sized one; if you want to make smaller portions, a mini muffin tin works great, too!)
- Cupcake liners (look for silicone or paper)
- Mixing bowls (one large for the filling and another for the crust)
- Electric mixer or whisk (a hand mixer makes it easy to incorporate ingredients)
- Spatula (for easy mixing and transferring)
- Measuring cups and spoons
- Cooling rack (to allow your cheesecakes to cool properly)
Having everything ready makes the process smoother and helps you enjoy the creative aspect of baking!
Make the Crust
The crust is what gives these mini cheesecake cups their signature crunch and flavor. Here’s how to get it just right:
- Ingredients:
- 1 cup of graham cracker crumbs
- 1/4 cup of sugar
- 1/2 cup of melted butter
- In a mixing bowl, combine the graham cracker crumbs and sugar. You can even use digestive biscuits for a different flavor profile.
- Gradually add in the melted butter, mixing until the consistency resembles wet sand. It should stick together when pressed.
- Scoop a tablespoon of the mixture into each muffin cup lined with cupcake liners and press firmly down using a small glass or your fingers.
Tip: Don’t hesitate to get a little hands-on with this step! A well-pressed crust is key to achieving that satisfying base.
Prepare the Cheesecake Filling
Now comes the best part—creating the dreamy filling! Follow these steps:
- Ingredients:
- 16 oz cream cheese (softened)
- 1/2 cup of sugar
- 1 tsp vanilla extract
- 2 large eggs (room temperature)
- 1 cup of sour cream or Greek yogurt (for creaminess)
- In a large mixing bowl, combine the softened cream cheese and sugar. Beat until smooth—aim for a fluffy texture!
- Blend in the vanilla extract before adding the eggs one at a time, mixing well after each addition.
- Finally, add in your sour cream or Greek yogurt and mix until everything is perfectly combined. Taste it; you may be tempted to dive right in!
Assemble and Bake the Mini Cheesecakes
Time to bring it all together! Here’s how to assemble and bake your mini cheesecake cups:
- Preheat your oven to 325°F (160°C).
- Spoon the cheesecake filling over the prepared crust in each muffin cup, filling until about three-quarters full.
- Optionally, for some flavor variety, you could add a small dollop of fruit preserves or chocolate chips on top of the filling.
- Bake in the preheated oven for about 20–25 minutes, or until the centers are set but still slightly jiggly.
As a quick tip, to avoid cracks, consider placing a small pan with water on the bottom rack while baking. This creates steam, keeping the atmosphere moist.
Cool and Chill Before Serving
It’s essential to give your mini cheesecake cups the right amount of time to cool and set:
- Once baked, turn off the oven and leave the cheesecakes inside for about an hour. This gradual cooling helps prevent cracking.
- After that, transfer the muffin pan to a cooling rack and allow the cheesecakes to cool completely at room temperature.
- Cover the cheesecake cups with plastic wrap and refrigerate them for at least 3 hours—or overnight for best results!
When you’re ready to serve, top each cup with fresh fruit, whipped cream, or a drizzle of chocolate sauce for extra flair.
Creating your own mini cheesecake cups isn’t just about satisfying a sweet tooth; it’s a fun activity that brings a sense of achievement. So why not invite some friends over or make a batch to enjoy throughout the week? Happy baking!
Variations on Mini Cheesecake Cups
When it comes to mini cheesecake cups, the possibilities are nearly endless! Here are a few variations to elevate your dessert game and impress your friends.
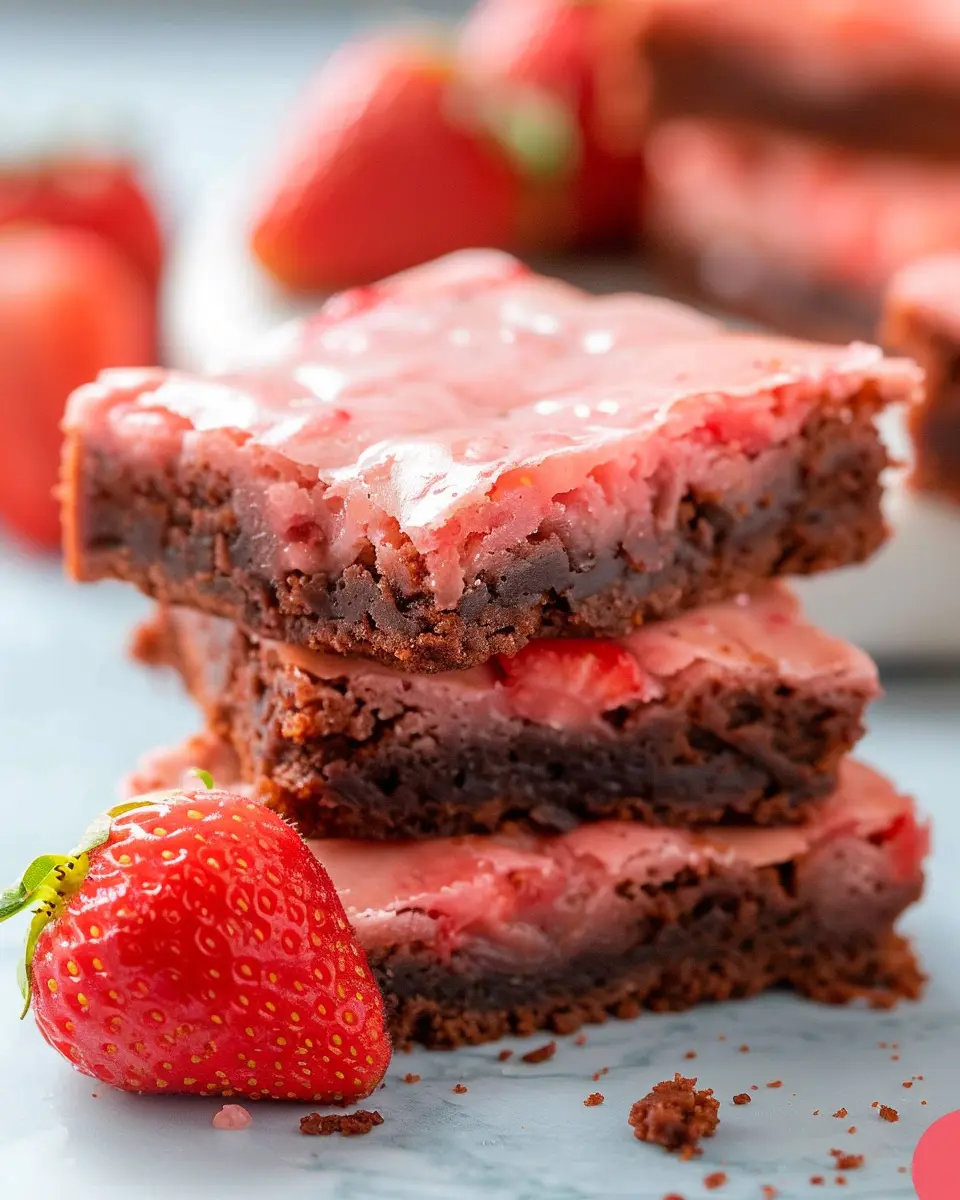
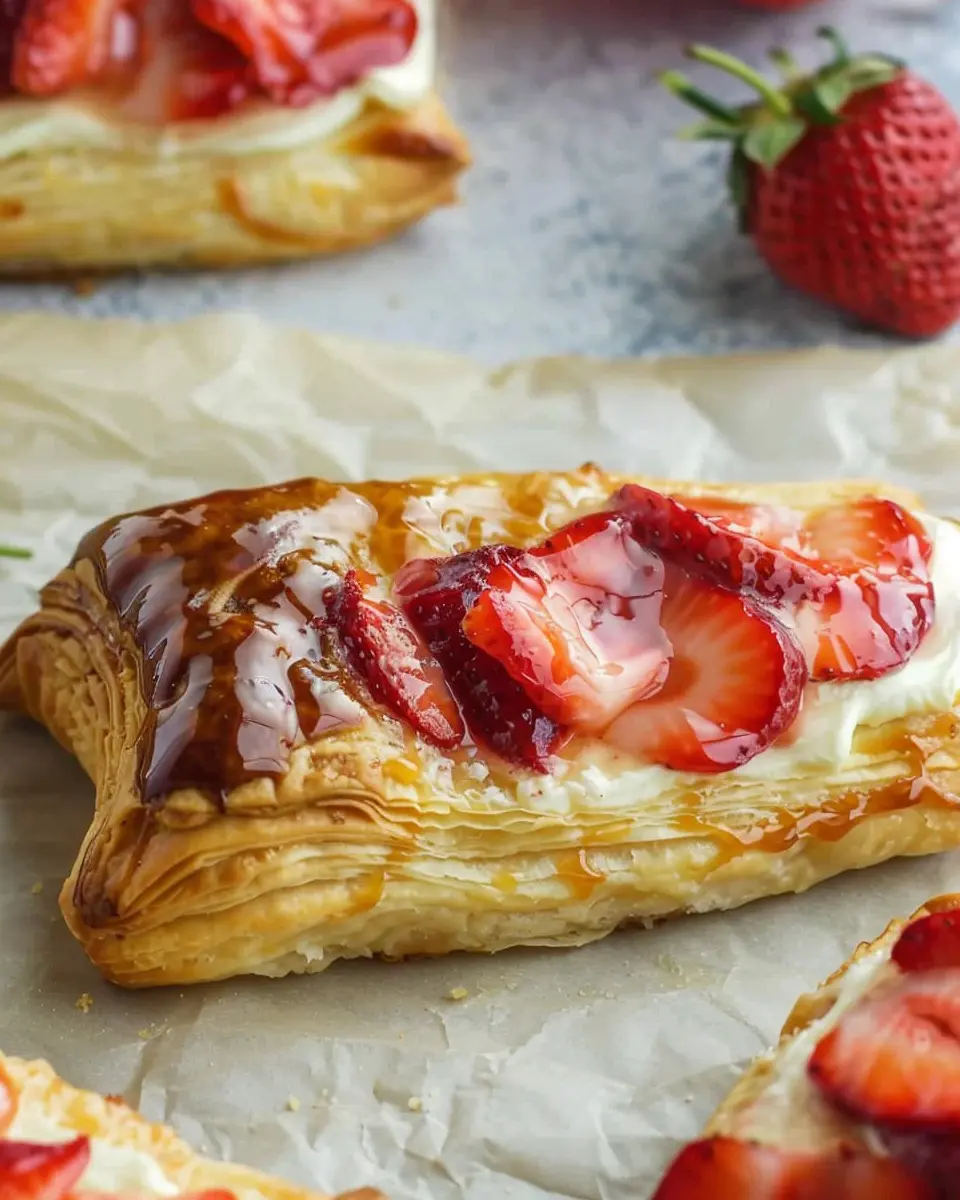
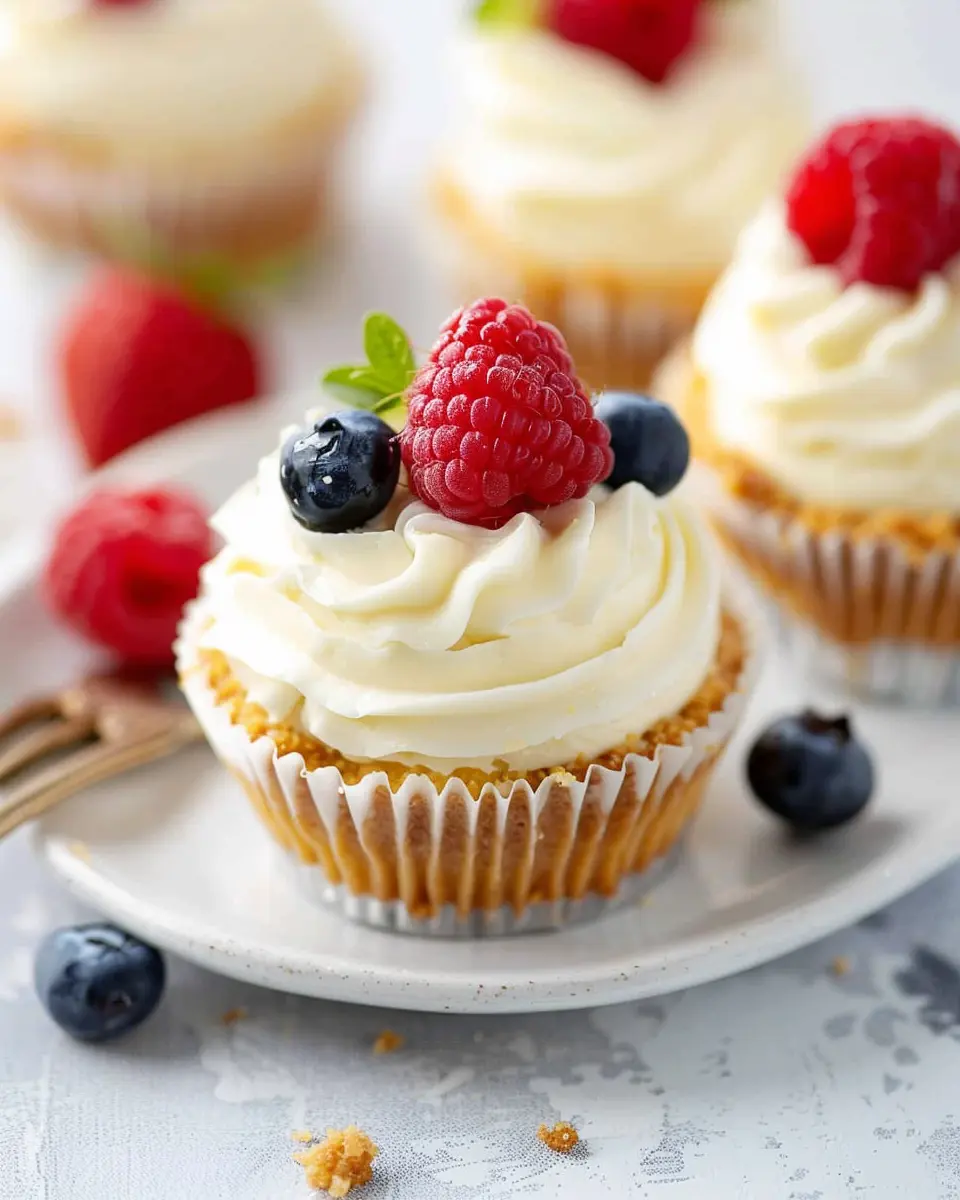
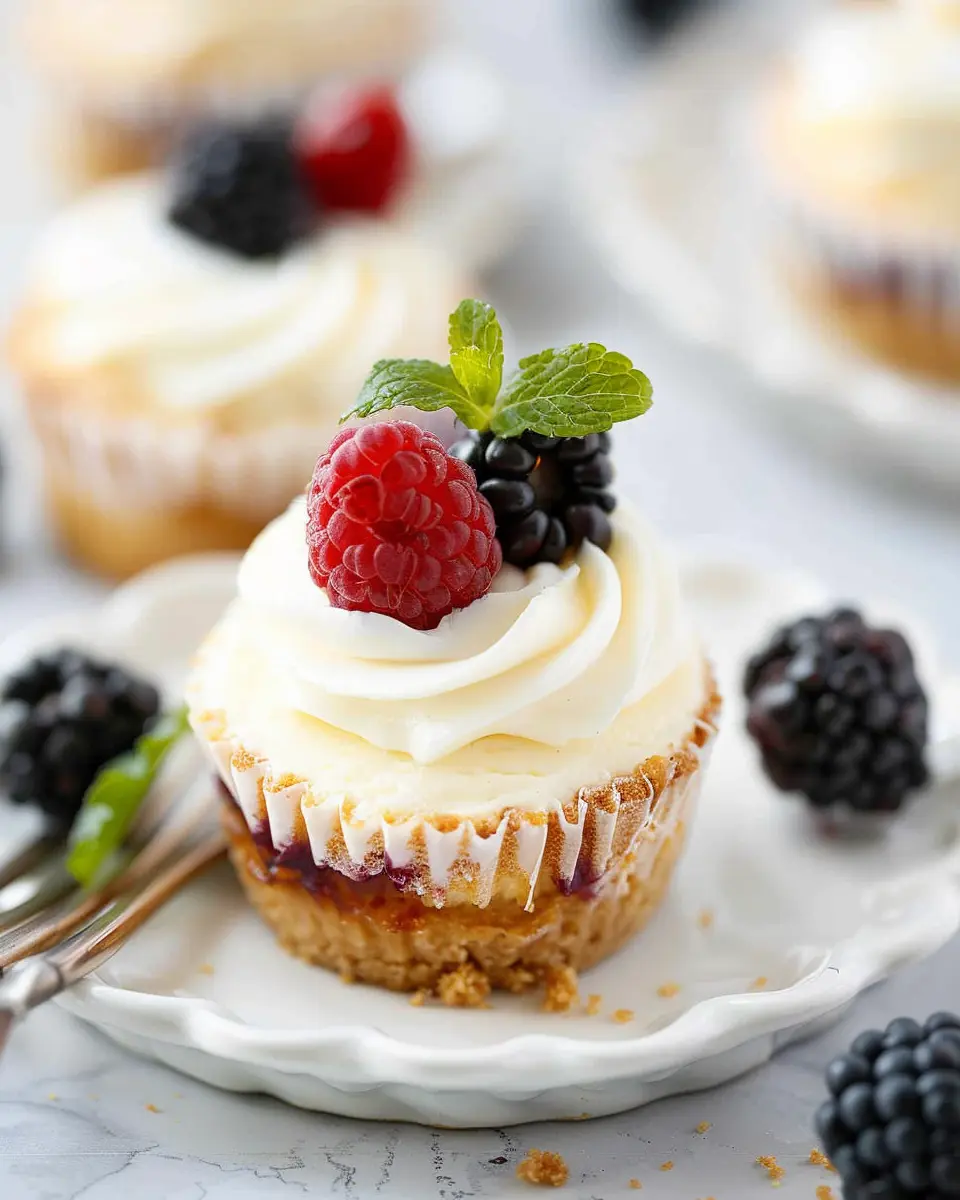
Fruit-topped Mini Cheesecakes
A refreshing twist on the classic, fruit-topped mini cheesecakes add color and flavor that everyone loves. Think creamy cheesecake paired with:
- Fresh berries like strawberries, blueberries, or raspberries
- Sliced peaches drizzled with honey
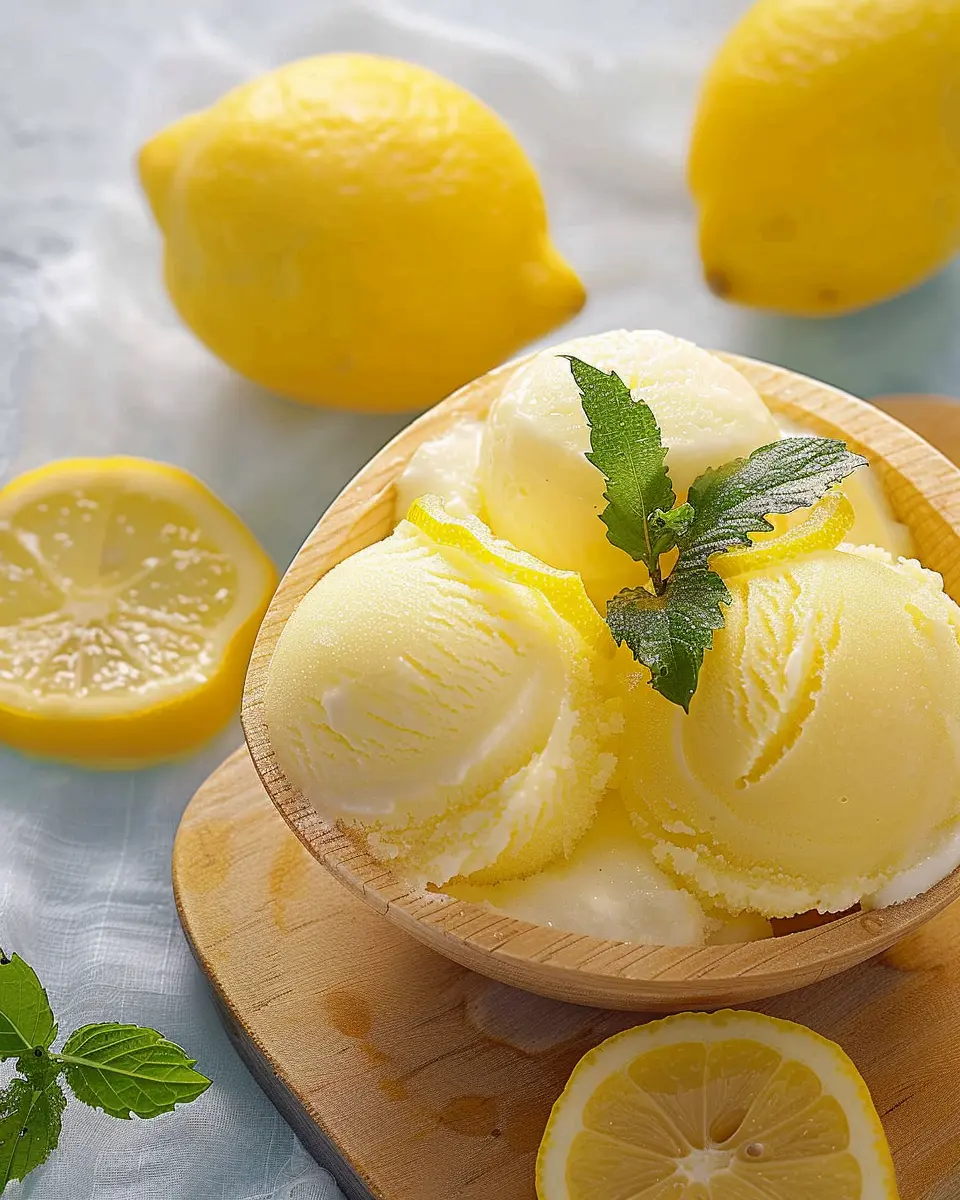
- A zesty lemon curd topping
These fruity delights not only look beautiful but also bring a lightness to each bite. The natural sweetness of the fruit complements the rich cheesiness perfectly. For more inspiration on fruit toppings, check out this fruit dessert guide.
Chocolate-flavored Mini Cheesecakes
If you’re a chocolate lover, you can’t go wrong with chocolate-flavored mini cheesecake cups. By simply incorporating cocoa powder or melted chocolate into the batter, you can create a decadent treat that’s sure to satisfy your sweet tooth.
- Consider using a chocolate crust for a double chocolatiness.
- Top each cup with chocolate ganache or chocolate shavings for an indulgent finish.
These really take your mini cheesecake cups to the next level!
No-bake Mini Cheesecake Cups
Don’t want to turn on the oven? No problem! No-bake mini cheesecake cups are incredibly easy and quick to whip up. With just a few simple ingredients, like cream cheese, heavy cream, and sugar, you can create a creamy dessert that’s not only delicious but also a breeze to assemble.
- Layer the cheesecake mixture with your favorite cookie crumbs for texture.
- Chill for a few hours to allow the cups to set perfectly.
These no-bake options are perfect for those last-minute gatherings or for enjoying a sweet treat at home.
With these variations, you’re ready to customize your mini cheesecake cups to suit any occasion, impress your guests, or just satisfy your cravings!
Baking tips for Mini Cheesecake Cups
Avoiding cracks in your cheesecake
Cracks can be the bane of any cheesecake enthusiast, but they don’t have to be! To achieve smooth, creamy mini cheesecake cups, consider a few simple techniques. First, ensure all ingredients are at room temperature—this helps achieve a silky batter that bakes evenly.
Another pro tip? Bake your cheesecakes gently in a water bath. This creates a humid environment, reducing the likelihood of cracks. Lastly, don’t overmix the batter; just blend until combined to incorporate air without overdoing it. Check out this helpful guide on preventing cheesecake cracks for more tips!
Storing and freezing your treats
Storing your mini cheesecake cups properly is key to keeping them delicious. If you’re enjoying them within a few days, place them in an airtight container in the fridge. They should stay fresh for up to a week.
Planning to enjoy them later? Freeze your cheesecakes with ease! Just wrap them tightly in plastic wrap before putting them in a freezer-safe container. They can last for up to three months. When you’re ready to enjoy, simply thaw them in the fridge overnight for a delightful treat. For more storage tips, reference sources like Healthline.
Serving Suggestions for Mini Cheesecake Cups
Ideal Serving Occasions
Whether you’re hosting a cozy gathering or simply treating yourself, mini cheesecake cups are the perfect sweet bite. These delightful treats are ideal for birthdays, holiday parties, or even casual game nights. Imagine serving them at a bridal shower or a weekend brunch—these little gems are sure to impress your guests. With their individual servings, they add a touch of elegance without the fuss. Plus, they’re easy to transport if you need to bring a dessert to share!
Fun Ways to Garnish Your Mini Cheesecakes
A simple garnish can elevate your mini cheesecake cups from delightful to dazzling! Here are a few fun ideas to get your creativity flowing:
- Fresh Fruit: Top with berries, mango slices, or kiwi for a burst of color and flavor.
- Chocolate Shavings: A sprinkle of dark or white chocolate adds a gourmet finish.
- Caramel Drizzle: A light drizzle of caramel sauce can add that decadent touch.
- Nut Crumble: Crushed nuts or a shortbread cookie create a tasty crunch.
Feel free to mix and match these toppings to find your favorite combinations! For more inspiration on garnishing desserts, check out this helpful resource.
With these tips, your mini cheesecake cups will not only taste amazing but look beautiful too! Enjoy crafting these delightful treats, whether for yourself or to share with others!
Time Breakdown for Mini Cheesecake Cups
When you’re ready to whip up some delightful mini cheesecake cups, knowing the timeline can really help with planning. Here’s a quick breakdown:
Preparation time
Getting everything prepped for your mini cheesecake cups takes about 20 minutes. This includes gathering your ingredients, preparing the crust, and mixing the creamy filling.
Baking time
The actual baking doesn’t take long—around 15-20 minutes will do it! Keep an eye on them; you want the tops to look set but not browned.
Total time
In total, you’re looking at about 40 minutes from start to finish. Not too shabby for a delectable dessert that’s sure to impress!
For more tips on timing and preparation, check out sources like Food Network for expert culinary advice.
Nutritional Facts for Mini Cheesecake Cups
Caloric Content
When it comes to indulging in mini cheesecake cups, understanding the caloric content can help you enjoy them guilt-free. A single mini cheesecake cup typically contains around 160 calories. This makes them a delightful treat that won’t completely derail your diet, especially when compared to traditional slices of cheesecake, which can pack upwards of 400 calories each!
Key Nutritional Info
Let’s break down some key nutritional information for these delicious bites:
- Fat: Approximately 9 grams, primarily from cream cheese and graham cracker crust
- Carbohydrates: About 18 grams, mainly from sugar and crust ingredients
- Protein: Roughly 3 grams, thanks to the cream cheese and eggs
These mini cheesecake cups are not only tasty but also relatively balanced. For a deeper dive into how to make healthier dessert choices, you can check out the Harvard Health Blog. Remember, moderation is key; enjoying one or two of these treats can satisfy your sweet tooth without compromising your health goals!
FAQs about Mini Cheesecake Cups
Can I use low-fat cream cheese?
Absolutely! Using low-fat cream cheese is a great way to make your mini cheesecake cups a bit lighter without sacrificing too much flavor. Just keep in mind that the texture might be slightly different—it could be a touch less creamy. If you’re looking to cut down on calories, this option is perfect, especially if you’re serving them at a gathering where there are lighter options available.
How do I prevent my cheesecakes from sticking?
There’s nothing worse than pulling out a delicious mini cheesecake cup only to find it clinging to the liner! To avoid this catastrophe:
- Use cupcake liners: Opt for non-stick liners to give your cheesecakes a smooth release.
- Spray with cooking spray: A light coat can work wonders in preventing sticking.
- Let them cool: Allow your cheesecakes to cool completely before removing them from the liners. They firm up as they cool, making them easier to handle.
Can I customize the flavors further?
Of course! One of the best aspects of mini cheesecake cups is their versatility. Feel free to play around with different flavorings and toppings. Here are some ideas:
- Fruits: Fresh berries, mango, or even caramelized bananas can add delightful twists.
- Extracts: Incorporating vanilla, almond, or even coconut extract can elevate the flavor profile.
- Chocolate: Melted chocolate drizzles or chunks can make for a rich variation.
Whether you’re a fan of classic flavors or exploring adventurous combinations, these mini treats can be tailored to suit your palate. For more creative ideas on flavors, check out resources like Food Network.
The world of mini cheesecake cups is truly yours to explore!
Conclusion on Mini Cheesecake Cups
Encouragement to Try the Recipe and Enjoy Homemade Desserts
If you’re looking to impress friends or simply indulge yourself, these mini cheesecake cups are a delightful choice. They’re manageable to make, and you’ll love how easily they come together. Sharing these creamy little treats will not only satisfy your sweet tooth but also spark conversation and smiles at your gatherings. You don’t have to be a seasoned baker; just a pinch of excitement and a willingness to experiment will guide you!
Final Thoughts on the Joy of Baking
Baking is as much about the journey as it is about the finished product. Each whisk and fold in your mini cheesecake cups brings a sense of accomplishment that store-bought snacks simply can’t replicate. Plus, when you treat yourself to homemade desserts, you’re creating memorable experiences—one delicious bite at a time! So gather your ingredients, put on some music, and allow the warmth of the kitchen to inspire you. Happy baking!
PrintMini Cheesecake Cups: The Best Easy Treat for Any Occasion
Mini Cheesecake Cups are a delightful, bite-sized dessert that is perfect for any occasion. These individual servings of creamy cheesecake are easy to make and sure to impress!
- Prep Time: 15 minutes
- Cook Time: 20 minutes
- Total Time: 2 hours 35 minutes
- Yield: 12 servings
- Category: Dessert
- Method: Baking
- Cuisine: American
- Diet: Vegetarian
Ingredients
- 1 cup graham cracker crumbs
- 1/4 cup granulated sugar
- 1/2 cup unsalted butter, melted
- 16 ounces cream cheese, softened
- 1 cup powdered sugar
- 1 teaspoon vanilla extract
- 2 large eggs
- 1 cup sour cream
Instructions
- Preheat the oven to 325°F (163°C).
- In a bowl, mix the graham cracker crumbs, granulated sugar, and melted butter together.
- Press the mixture into the bottoms of a muffin tin.
- In another bowl, beat the cream cheese until smooth, then add powdered sugar and vanilla.
- Add the eggs one at a time, mixing well after each.
- Fold in the sour cream until just combined.
- Spoon the cream cheese mixture over the crusts in the muffin tin.
- Bake for 15-20 minutes or until the centers are set.
- Let cool before serving, then refrigerate for at least 2 hours.
Notes
- These cheesecake cups can be topped with fruit, chocolate, or whipped cream.
- For a richer flavor, consider using flavored cream cheese.
Nutrition
- Serving Size: 1 cup
- Calories: 210
- Sugar: 12g
- Sodium: 250mg
- Fat: 15g
- Saturated Fat: 8g
- Unsaturated Fat: 5g
- Trans Fat: 0g
- Carbohydrates: 18g
- Fiber: 1g
- Protein: 3g
- Cholesterol: 50mg