Introduction to Witch Hat Halloween Cookies
Halloween is just around the corner, and that means it’s time to whip up some spooktacular treats! Witch Hat Halloween Cookies are not only a delightful treat but also a fun activity for friends and family. These cookies are the perfect blend of creativity and taste, making them a must-bake this season.
Why Witch Hat Cookies Are a Must-Bake This Halloween
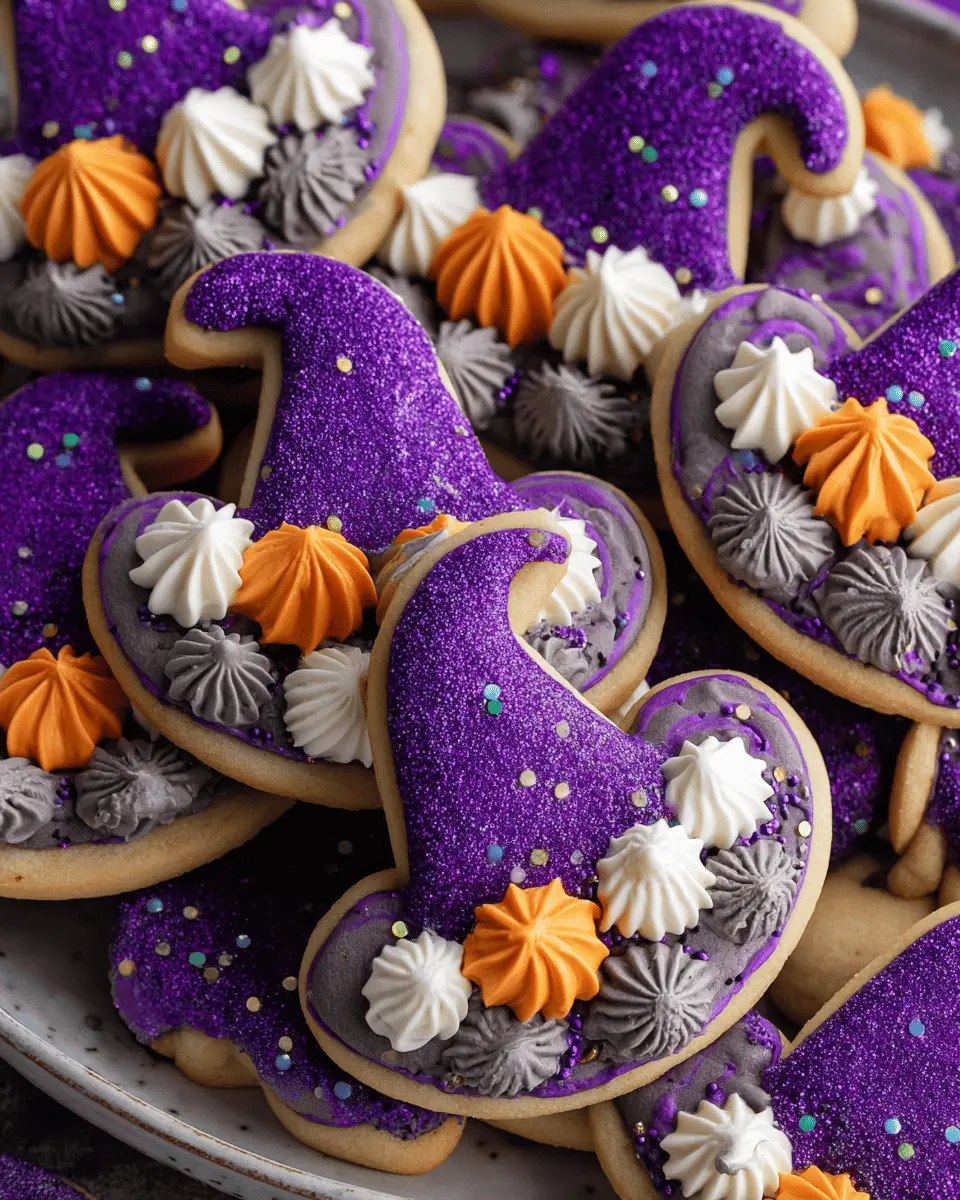
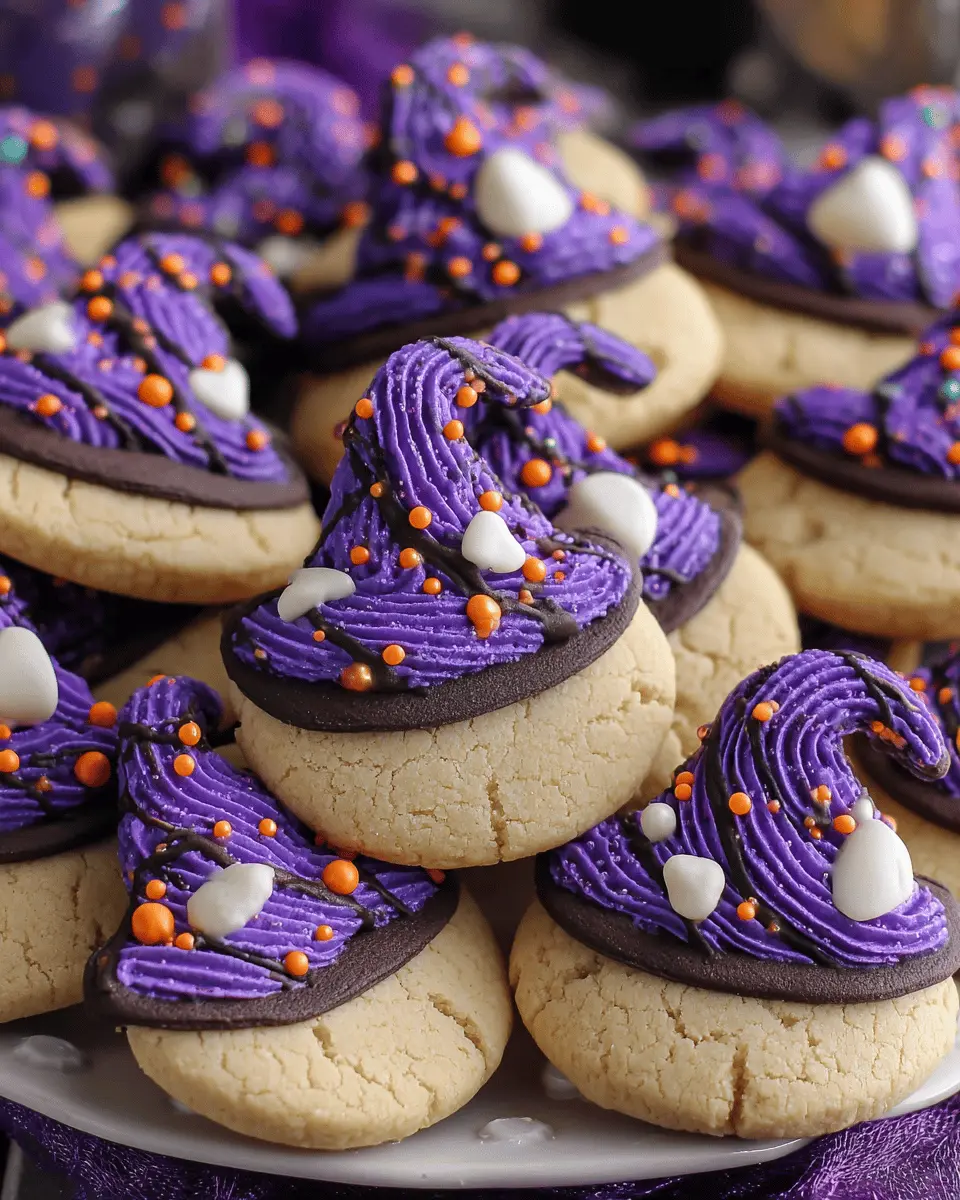
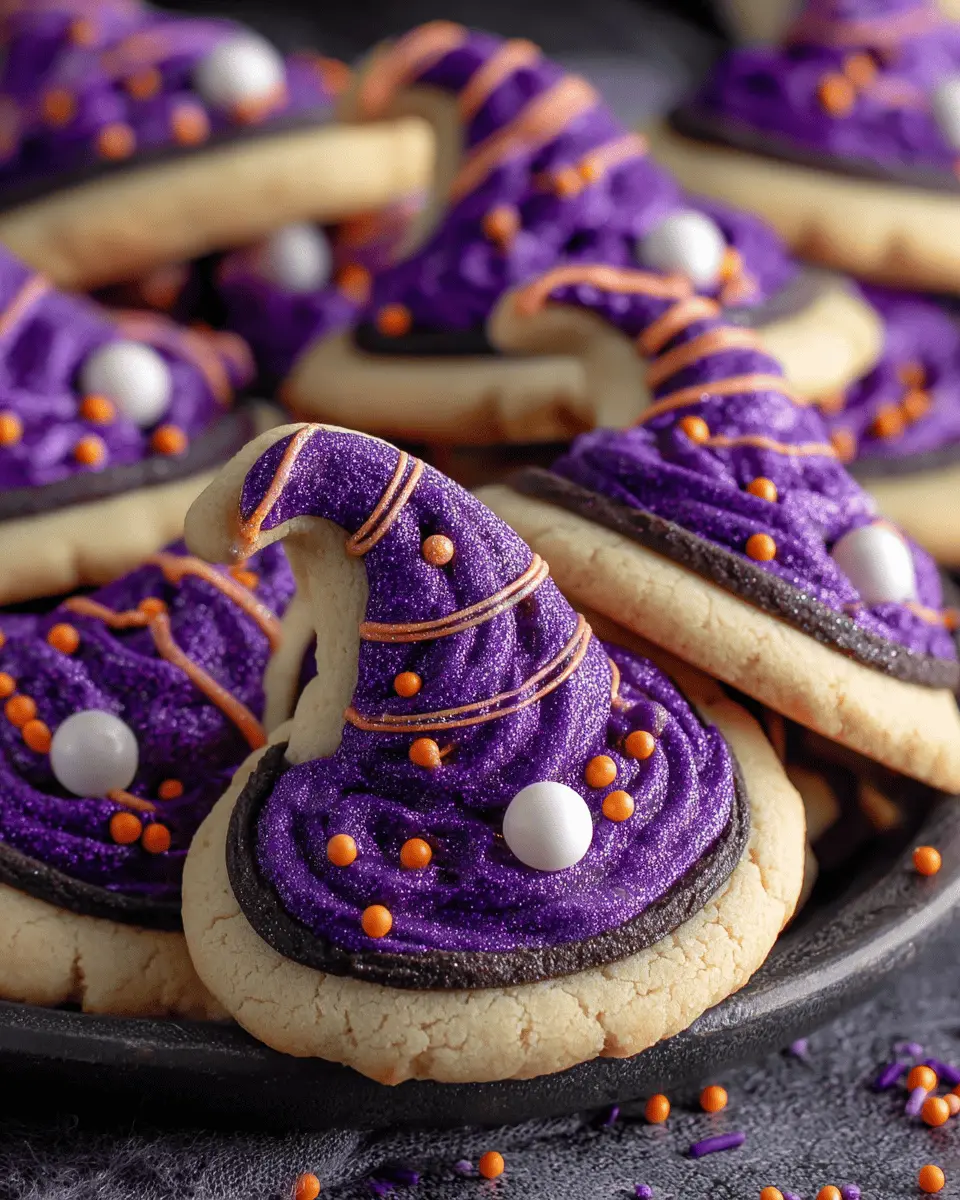
Imagine walking into a cozy kitchen, the air filled with the scent of freshly baked cookies. Now, picture those cookies shaped like whimsical witch hats! Witch Hat Halloween Cookies are not just cute; they’re incredibly easy to make, which is great for busy young professionals like you. The base of the cookie is a classic chocolate cookie, topped with a chocolate kiss and surrounded by colorful icing and sprinkles to create the illusion of a witch’s hat.
These cookies invite creativity to the forefront, allowing you to customize them with your favorite toppings, colors, and decorations. You can even experiment with flavors! Why not try adding a hint of cinnamon or nutmeg for that warm fall vibe?
Engaging and Festive
Baking these cookies is an excellent way to engage with your friends. Host a cookie-decorating party where everyone can participate. Set up a decorating station with different toppings like vibrant sprinkles, edible glitter, and diverse icing colors. It’s a great way to foster connection, and who doesn’t love a little competition while decorating? You could even offer prizes for the most creative designs—what a fun way to get into the Halloween spirit!
For more Halloween-themed ideas, check out resources like Food Network where they showcase similar festive treats. Another fantastic idea is to involve local ingredients—many bakeries will have seasonal options you can incorporate into your cookie experience.
In essence, Witch Hat Halloween Cookies are not merely desserts; they’re a reminder of the joyful moments Halloween brings, wrapped in a delicious and fun package. So grab your ingredients and unleash your inner baker—let’s take Halloween celebrations to the next level!
Ingredients for Witch Hat Halloween Cookies
Ready to whip up some delightful Witch Hat Halloween Cookies? Let’s dive into the essential ingredients you’ll need to create these spooky treats! The beauty of these cookies is in their simplicity, so here’s a quick rundown to help you gather everything before you start baking.
Essential ingredients you’ll need
- Chocolate Cookies: Choose a sturdy chocolate cookie base, like a classic chocolate wafer or homemade dough, to support that whimsical witch hat design.
- Chocolate Chips: You’ll want semi-sweet chocolate chips for melting. They provide the perfect glossy finish that makes your cookies look almost too good to eat!
- Candy Corn: This classic Halloween candy is your iconic hat topper. You can get creative with colors, but the traditional yellow, orange, and white are spooktacular.
- Royal Icing: You’ll need this for extra adhesive strength. It’s easy to make with powdered sugar, egg whites, and a dash of water. Find a great recipe here.
- Sprinkles: Optional but fun! Add festive sprinkles to give your cookies a touch of extra flair.
Gather these goodies, and you’re on your way to crafting some of the most charming cookies this Halloween season. Enjoy every step of the process, and don’t forget to have fun!
Step-by-Step Preparation for Witch Hat Halloween Cookies
Creating festive treats is a delightful way to celebrate Halloween, and these Witch Hat Halloween Cookies are no exception. With their charming chocolate kisses topping and bright colors, they’re sure to be a hit at your gathering. Let’s jump into the preparation process so you can whip up these spooky delights in no time!
Preheat the oven and prepare baking sheets
First things first: Preheating your oven to 350°F (175°C) sets the stage for perfectly baked cookies. You want those lovely, aromatic cookies to come out golden and delicious! While the oven warms up, line your baking sheets with parchment paper. This not only helps with the easy release of cookies but also simplifies cleanup. Trust me, your future self will thank you for this small extra effort.
Mix the dry ingredients
In a separate bowl, combine your dry ingredients. This typically includes flour, baking powder, and a pinch of salt. Whisk them together thoroughly to ensure even distribution. Did you know that incorporating air into your flour can make your cookies lighter? It’s a simple trick that yields delightful results!
Cream the butter and sugar
Next, grab a mixing bowl and cream together your softened butter and sugar until light and fluffy. This creaming process is crucial for incorporating air into the butter, which aids in ensuring your cookies rise beautifully. If you’re a fan of textures, using a hand mixer can amplify the fluffiness, while a spatula can be a great workout!
Add in eggs and peanut butter
Once your butter and sugar are combined, it’s time to mix in the eggs and a generous scoop of peanut butter. The peanut butter isn’t just for flavor; it adds an extra layer of richness. If you’re looking for alternatives, you might try almond butter or a nut-free substitute, especially for those with allergies. Make sure everything is well combined, as you don’t want any pockets of unblended ingredients lurking in your cookies.
Combine wet and dry ingredients
Now, gently fold your dry ingredients into the wet mixture. Take care not to overmix; a few flour streaks are okay! This step is about creating a manageable dough rather than a smooth batter. The texture is crucial for those iconic cookie shapes, so embrace a bit of rustic charm!
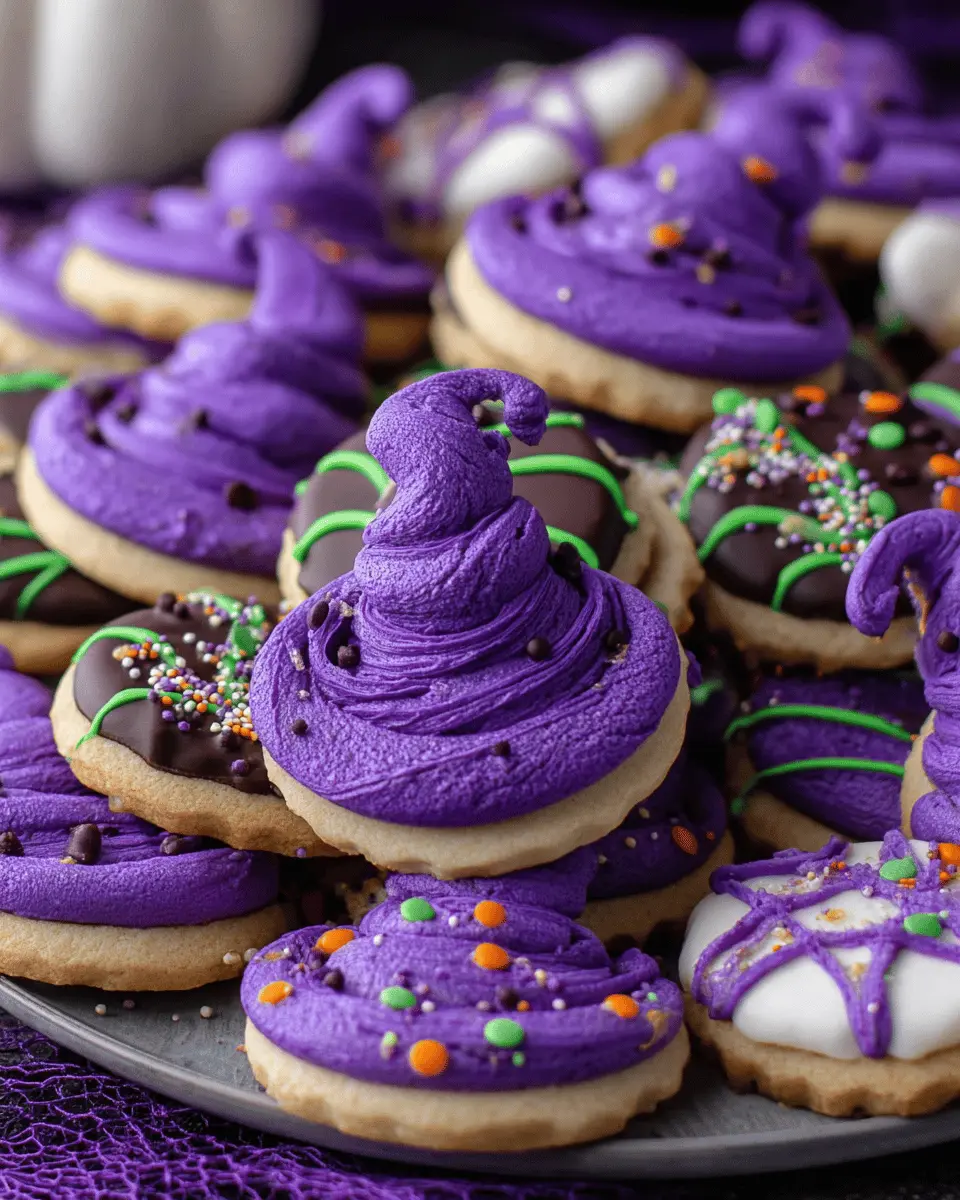
Create the spooky color swirl
For that hauntingly beautiful swirl effect, you can divide your dough into portions and add different food coloring to each. Play around with dark greens or purples—classic Halloween hues! Blink twice, and you’ll have a rainbow of cookie dough that brings out the inner artist. Use a toothpick to swirl colors together for a cloud-like effect, but don’t overdo it. You want a swirl, not a blend!
Shape the cookies and add sprinkles
Grab a tablespoon and scoop generous portions of dough onto your prepared sheets, allowing enough space between each for spreading. Before baking, sprinkle with Halloween-themed toppings like orange or black sprinkles, adding that extra festive flair. The sprinkles mimic magical sparkles—perfect for delighting kids and adults alike.
Bake and add the Hugs or kisses
Pop those cookies into your preheated oven and bake for about 10 minutes. You’ll know they’re ready when the edges are just browning and the center is softly baked. As soon as they come out, immediately press a chocolate Hug or Kiss into the center of each cookie. This will create the “witch hat” look we adore. The warmth will soften the chocolate, making it an irresistible treat!
Cool and enjoy
After about 5-10 minutes, let the cookies cool on the sheets before transferring them to a wire rack. This ensures they set properly. Once they’ve cooled, gather friends, family, or even coworkers to share the magical moment of tasting your fabulous Witch Hat Halloween Cookies. They not only satisfy your sweet tooth but bring smiles all around. Ready for more festive baking ideas? Check out these creative cookie recipes here.
In wrapping up this delicious journey, I hope you enjoy baking these spooky creations as much as I do! Happy Halloween!
Variations on Witch Hat Halloween Cookies
When it comes to Witch Hat Halloween Cookies, there’s a whole world of delicious variations waiting to be explored! Let’s dive into some tricks to make your spooky treats even more exciting.
Adding Other Spooky Shapes
While the classic witch hat shape is a Halloween favorite, why not mix it up? You can easily transform your cookie dough into other fun Halloween shapes, like ghosts, pumpkins, or bats. Using cookie cutters shaped like these characters can give your cookie platter a festive flair. Consider making an assortment of shapes and decorating them similarly with chocolate and sprinkles to create a cohesive theme. These Halloween cookie ideas can be a great way to cater to different tastes and add visual interest to your dessert table.
Using Different Chocolate Varieties in Witch Hat Halloween Cookies
Another exciting variation involves experimenting with the type of chocolate you use. If you love a rich flavor, opt for dark chocolate instead of standard semi-sweet. Want to add a bit of whimsy? Try white chocolate! You can even color it with food dye to match your Halloween theme. Did you know that using milk chocolate can create a creamier taste that pairs wonderfully with certain fillings? Think about incorporating chocolate drizzles or adding a sprinkle of sea salt on top after decorating to elevate the flavor.
Incorporating different types of chocolate can cater to diverse palates and in turn, make your Witch Hat Halloween Cookies the talk of the party! Check out this article on chocolate pairings for more inspiration.
So gather your friends and family, and let’s create some spooky fun in the kitchen!
Cooking Tips and Notes for Witch Hat Halloween Cookies
When crafting the perfect Witch Hat Halloween Cookies, a few tips can help ensure your baking experience is not only successful but also enjoyable. Here are some best practices to keep in mind:
Best Practices for a Perfect Bake
-
Room Temperature Ingredients: Using room temperature butter and eggs can make a notable difference. It helps in achieving a smooth dough that bakes evenly.
-
Chill Your Dough: Don’t skip chilling the dough! This simple step minimizes spreading, ensuring your cookies retain that distinctive hat shape. Aim for at least 30 minutes in the fridge.
-
Watch Your Oven Temperature: Make sure your oven is preheated correctly. An oven thermometer can help you avoid surprises, as many home ovens can be off by quite a bit.
-
Use Fresh Ingredients: Ensure that your baking powder and flour are fresh. Stale ingredients can lead to a flat cookie, which isn’t very witchy at all!
-
Decorating Tips: For added pizzazz, consider using colorful sprinkles or edible glitter when decorating. It adds that magical touch that aligns perfectly with the Halloween spirit.
For more great baking insights, check out The Kitchn’s Guide to Baking. Happy baking!
Serving Suggestions for Witch Hat Halloween Cookies
Creative Ways to Display and Serve
When it comes to your Witch Hat Halloween Cookies, presentation is key. To create a spooky yet delightful atmosphere, try these creative serving suggestions:
-
Spooky Plates: Use black or orange platters to accentuate the colors of your cookies. You could also line the platters with black lace or a tulle fabric for an extra touch of elegance.
-
Themed Centerpieces: For a fun twist, arrange your cookies in a large cauldron or witch hat-shaped container. This not only serves as a unique display but also makes your treat table more interactive!
-
Cookie Towers: Stack your cookies in a tiered stand. It not only saves space but also allows guests to easily grab one as they mingle.
-
Decorative Labels: Consider adding little signs or labels next to each cookie, describing your witchy creations. This adds a nice touch and engages your guests.
-
Pairing Options: Serve your cookies with milk, hot chocolate, or pumpkin spice lattes to complement the flavors and enhance the festive experience!
These strategies can elevate your cookie game and make your event unforgettable. For more festive inspiration, check out sites like Martha Stewart or Food Network. Happy baking!
Time Breakdown for Witch Hat Halloween Cookies
When it comes to creating Witch Hat Halloween Cookies, it’s all about managing your time effectively. Here’s a handy breakdown to help you stay organized and enjoy the process.
Preparation Time
Getting everything ready takes about 15 minutes. This includes gathering your ingredients like the cookies, chocolate, and any decorations. Remember, prepping everything in advance can make the baking experience much smoother!
Baking Time
The baking itself will take around 10-12 minutes. Keep an eye on those cookies, as you want them perfectly golden.
Total Time
In total, you’re looking at about 25-30 minutes from start to finish. That’s a small investment for such a fun and festive treat! If you’re keen on more fun Halloween ideas, check out sources like Taste of Home for additional inspiration.
Nutritional Facts for Witch Hat Halloween Cookies
Calories per cookie
Curious about the caloric content of these festive treats? Each Witch Hat Halloween Cookie contains approximately 150 calories. This makes them a delightful yet indulgent option for your Halloween celebrations without overdoing it!
Key nutritional information
When it comes to the nutritional profile of your Halloween delights, here are several key points to consider:
- Total Fat: 8g
- Saturated Fat: 4g
- Cholesterol: 30mg
- Sodium: 50mg
- Total Carbohydrates: 18g
- Dietary Fiber: 0g
- Sugars: 9g
- Protein: 1g
These cookies, while sweet, can fit into a balanced diet if enjoyed in moderation. They’re a fun treat to share at parties or while watching your favorite spooky film. For more on nutritional tips, check out resources like the USDA FoodData Central for comprehensive nutritional insights.
FAQs about Witch Hat Halloween Cookies
Can I make these cookies ahead of time?
Absolutely! Making Witch Hat Halloween Cookies in advance is a fantastic idea, especially if you’re prepping for a party or gathering. Bake the cookies a day or two ahead and store them in an airtight container. You can also assemble the hats (with the candy toppings) the day before serving. Just make sure to keep them in a cool place; no one wants melted chocolate ruining their spooky treat!
What can I substitute for peanut butter?
If you’re looking for alternatives to peanut butter, that’s totally doable! Here are some great substitutes:
- Almond Butter: This nut butter has a similar texture and can add a delightful almond flavor.
- Sunflower Seed Butter: Great for nut-free options, this butter still provides creaminess and a hint of sweetness.
- Cashew Butter: Another tasty alternative with a slightly different flavor profile, but still adds that creamy richness.
Feel free to experiment and find the flavor that you love best!
How should I store Witch Hat Halloween Cookies?
Storing your Witch Hat Halloween Cookies properly is key to keeping them fresh. Here’s how to do it right:
- Airtight Container: Place the cookies in a single layer in an airtight container. If you’re stacking them, use parchment paper between layers to prevent sticking.
- Cool, Dry Place: Store them at room temperature. Avoid humid places to keep the chocolate from melting or becoming gooey.
- Refrigeration: If you’re worried about freshness, you can also refrigerate the cookies. Just remember to let them come back to room temperature before serving for the best taste and texture.
If you’re looking for more tasty Halloween treat ideas, check out this resource on Halloween baking. Happy baking!
Conclusion on Witch Hat Halloween Cookies
Baking and sharing Witch Hat Halloween Cookies is an enchanting way to celebrate Halloween. Not only do these cookies look adorable, but they also taste fantastic, combining chocolate with a hint of whimsy that everyone loves.
Why you’ll love baking and sharing these cookies:
- Fun to Make: Gather your friends or family for a cozy baking session.
- Perfect for Gifting: They make delightful treats for coworkers or party hosts.
- Memorable Impressions: Your Witch Hat Halloween Cookies will surely be the talk of the celebration!
So, why not bring some magic into your kitchen this Halloween? For more baking inspiration, check out Taste of Home for seasonal recipes or Epicurious for creative decorating tips!
PrintWitch Hat Halloween Cookies: Easy Treats to Delight Everyone

These Witch Hat Halloween Cookies are simple and fun to make, perfect for entertaining and delighting guests!
- Prep Time: 15 minutes
- Cook Time: 0 minutes
- Total Time: 15 minutes
- Yield: 12 cookies
- Category: Desserts
- Method: No-bake
- Cuisine: American
- Diet: Vegetarian
Ingredients
- 1 package chocolate cookies
- 1 package candy corn
- 1 cup chocolate frosting
- 1 cup pretzel sticks
- 1 cup orange sprinkles
Instructions
- Start by spreading chocolate frosting on the bottom of each chocolate cookie.
- Place a candy corn upright in the center of the frosting to form the witch’s hat.
- Insert a pretzel stick into the frosting to represent the hat’s brim.
- Sprinkle orange sprinkles around the base for decoration.
- Allow the cookies to set before serving.
Notes
- Use various colors of sprinkles for a fun twist.
- Store in an airtight container to maintain freshness.
Nutrition
- Serving Size: 1 cookie
- Calories: 150
- Sugar: 12g
- Sodium: 80mg
- Fat: 7g
- Saturated Fat: 3g
- Unsaturated Fat: 3g
- Trans Fat: 0g
- Carbohydrates: 22g
- Fiber: 1g
- Protein: 1g
- Cholesterol: 0mg