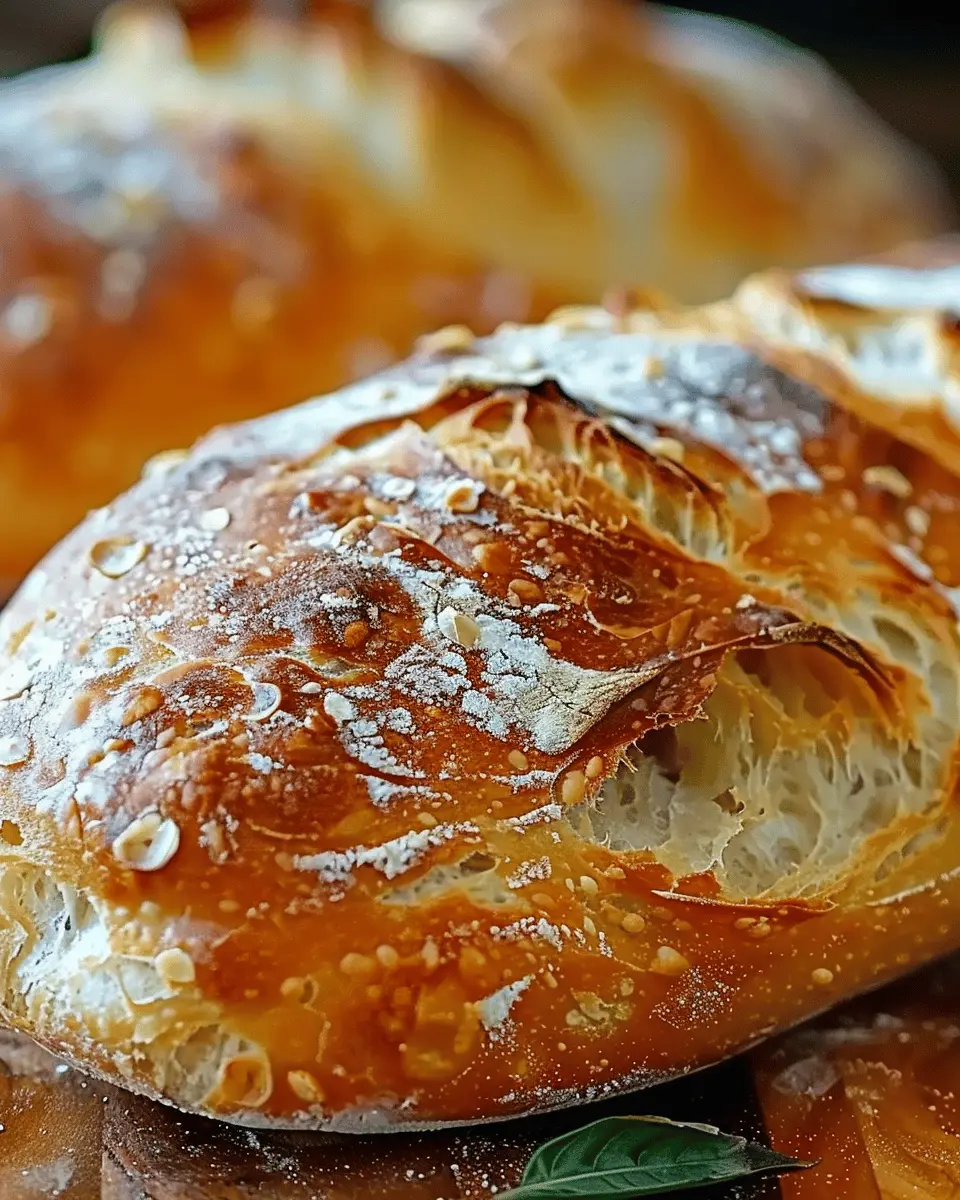
Introduction to Crusty Italian Bread
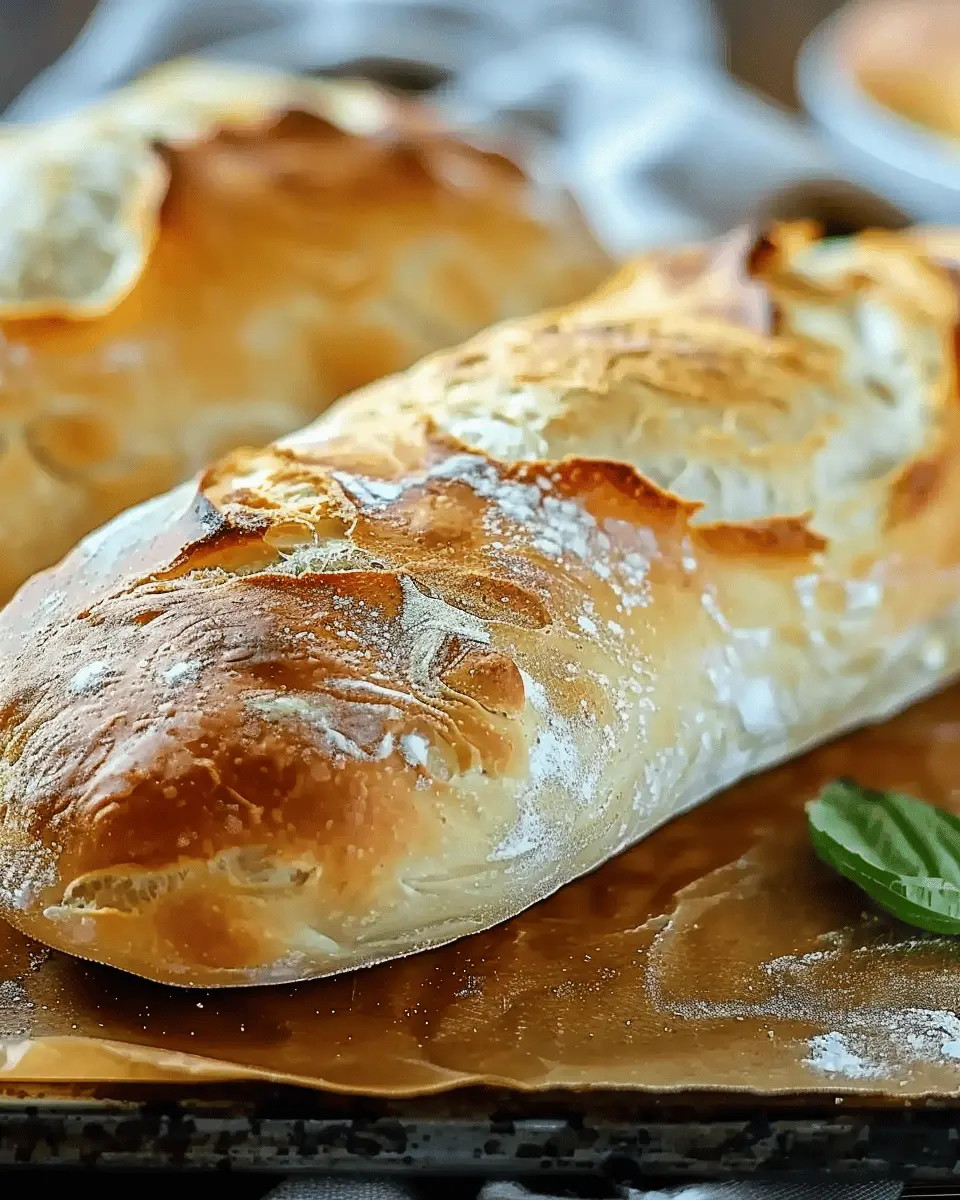
Creating a loaf of crusty Italian bread is not just about mixing flour and water; it’s about embracing the rich traditions of Italian baking that have stood the test of time. Imagine slicing into a warm loaf, the irresistible aroma wafting through your kitchen, and the satisfying sound of that delicious crust cracking as you break it apart. There’s something truly special about a freshly baked loaf that elevates any meal, making it essential for every home cook to master.
Why Crusty Italian Bread?
So why is crusty Italian bread so beloved? The answer lies in its versatility and the sheer delight it brings to the table. Whether you’re enjoying it with a bowl of simmering soup, layering it with turkey bacon and chicken ham for a gourmet sandwich, or simply toasting it and slathering on rich, creamy butter, this bread stands out as a delightful companion.
Here are some key reasons to love crusty Italian bread:
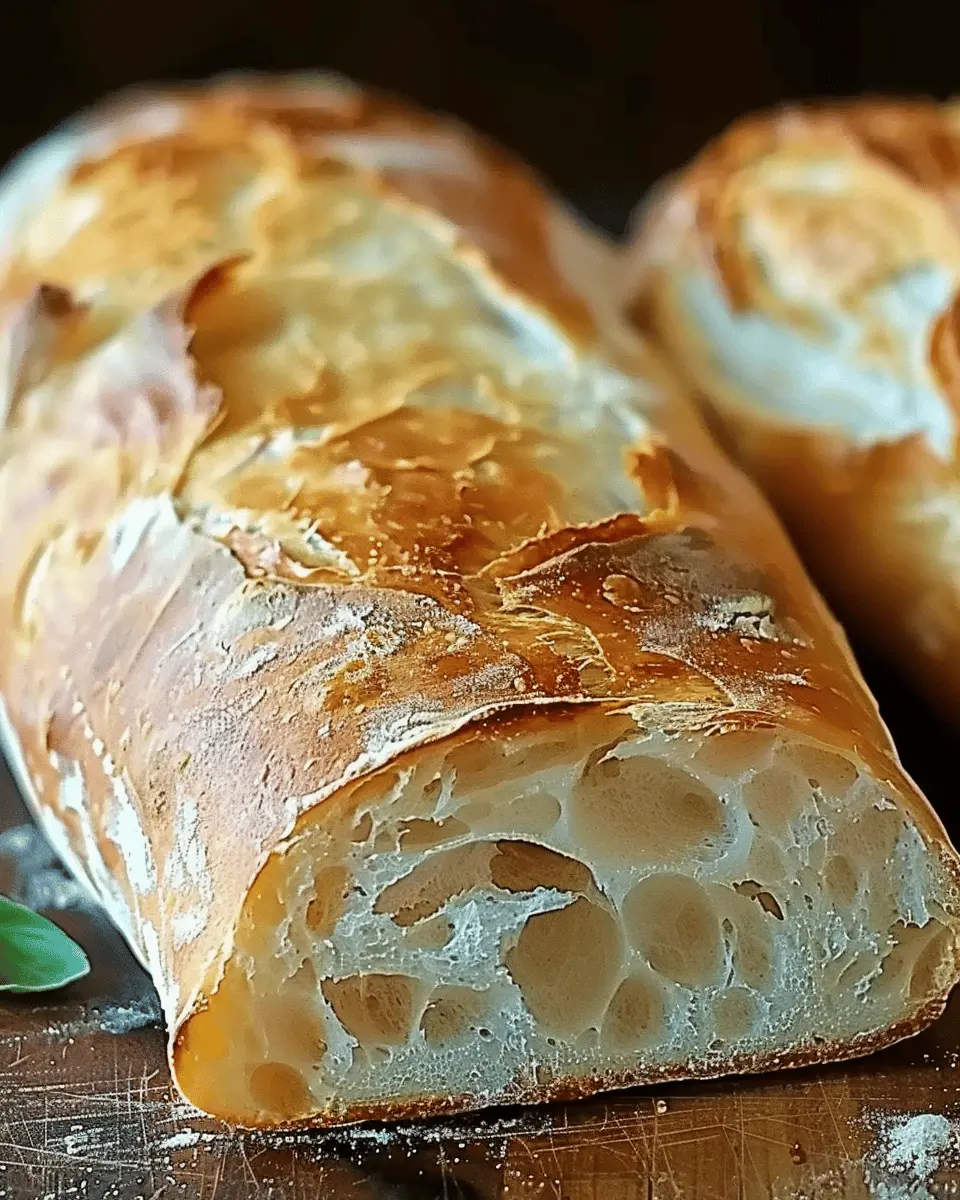
- Crispy Crust: The hallmark of Italian bread is its robust, crunchy crust. This texture provides a wonderful contrast to the soft, airy interior.
- Simple Ingredients: With just a few basic ingredients—flour, water, yeast, and salt—you can create something extraordinary.
- Artisan Appeal: Baking your own bread allows you to connect with the art of cooking in a unique way. There’s joy and satisfaction in creating something from scratch.
- Healthier Option: Homemade bread can be made with whole-grain flours, giving you the opportunity to control the ingredients and make it healthier than store-bought versions.
If you’re interested in enriching your culinary knowledge, you might find resources like “The Bread Baker’s Apprentice” by Peter Reinhart particularly insightful. Not only will you learn techniques, but you’ll also discover the joy of baking from a seasoned expert.
As you embark on your journey to bake crusty Italian bread, remember that practice is key. Don’t be disheartened by the occasional mishap; even experienced bakers have their off days. With patience and passion, you’ll soon be pulling golden-brown loaves from your oven, filling your home with inviting aromas and creating wonderful memories around the dining table.
Ingredients for Crusty Italian Bread
Creating the ideal crusty Italian bread at home starts with gathering the right ingredients. Let’s break it down into the essential components you’ll need:
Basic Ingredients
- Flour: 4 cups of all-purpose flour (or bread flour for extra chewiness)
- Water: 1.5 cups of lukewarm water (around 110°F)
- Yeast: 1 packet (about 2.25 teaspoons) of active dry yeast
- Salt: 1.5 teaspoons of sea salt (essential for flavor)
Optional Additions
- Olive Oil: 2 tablespoons (for richness)
- Sugar: 1 teaspoon (to help the yeast bloom)
Why These Ingredients Matter
Each component plays a crucial role in achieving the perfect texture and flavor. Flour gives the structure, while water helps to create the steam needed for that delightful crust. Salt, surprisingly, not only enhances flavor but also strengthens the dough’s gluten structure.
If you’re looking for tips on managing yeast more effectively, check out The Perfect Loaf for expert advice that can elevate your baking skills.
Investing in high-quality ingredients can truly transform your crusty Italian bread experience. Are you ready to give it a try?
Step-by-Step Preparation of Crusty Italian Bread
Baking your own crusty Italian bread at home can be incredibly rewarding. The aroma that fills your kitchen alone is worth the effort! Let’s take it step by step, ensuring you feel confident as you create that perfect crust and delightful crumb.
Activate the yeast
To start, we need to wake up the dry yeast. In a small bowl, combine:
- 1 ½ teaspoons of active dry yeast
- 1 teaspoon of sugar
- ½ cup of warm water (around 110°F)
Stir it gently and let it sit for about 5-10 minutes. You’re looking for it to become frothy, which indicates that your yeast is alive and ready to help your bread rise. This step is crucial; without active yeast, your dough will remain flat and dense. If you’re curious about yeast’s role, check out Serious Eats for more information.
Combine ingredients
Once your yeast is bubbly, it’s time to bring everything together. In a large mixing bowl, combine:
- 3 ½ cups of all-purpose flour
- 1 ½ teaspoons of salt
- The yeast mixture from earlier
Stir until the flour absorbs the liquid. You’ll find it helpful to use a rubber spatula or wooden spoon for this. It should come together to form a shaggy dough, hinting at the glorious crusty Italian bread that’s about to emerge from your oven!
Knead the dough
Now that you have your shaggy dough, it’s time to knead. Dust a clean surface with flour and transfer your dough onto it. Knead for around 8-10 minutes until smooth and elastic. To knead:
- Push down and away from you with the heel of your hand.
- Fold the dough back over and rotate it a quarter turn.
- Repeat!
Don’t rush this; good kneading develops gluten, giving your bread that chewy texture. Remember to sprinkle a little flour if the dough gets too sticky.
First rise
After kneading, place your ball of dough into a lightly oiled bowl, turning it to coat the surface. Cover with a damp cloth or plastic wrap, and let it rise in a warm area until it doubles in size, about 1 to 1.5 hours. If you have some on hand, a warm oven (turned off!) can be a great spot.
Preheat the oven
Once your dough has risen beautifully, preheat your oven to 450°F (232°C). At this temperature, you’ll achieve that desirable crust we’re all after. It’s wise to place an empty pan on the bottom rack of the oven while it’s preheating. This way, you can add water later, creating steam that enhances crust formation.
Shape and second rise
After your dough has risen, gently deflate it on a floured surface. Shape it into a round loaf or an oblong loaf depending on your preference. Once shaped, place it on a parchment-lined baking sheet. Cover it again and let it rise for about another 30-45 minutes.
Score the loaf
Before baking, use a sharp knife or a baker’s lame to score the top of your loaf. This step isn’t just decorative; it allows the bread to expand properly while baking, creating that signature crust. Traditional patterns like a cross or slashes in a spiral work wonderfully.
Bake the bread
Finally, add a cup of hot water to the empty pan in the oven to create steam before placing your loaf in. Bake the bread for around 25-30 minutes or until it’s golden brown and sounds hollow when tapped on the bottom. Allow it to cool completely on a wire rack.
And there you have it—your very own crusty Italian bread! Enjoy it fresh with olive oil, or use it for tasty sandwiches with turkey bacon or chicken ham. The possibilities are endless! For more tips on baking bread, you might want to explore King Arthur Baking for amazing resources. Happy baking!
Variations of Crusty Italian Bread
When it comes to baking crusty Italian bread, the beauty lies in its versatility. Whether you’re looking to spice things up or add a personal touch, there are plenty of variations to explore.
Adding Herbs and Spices
Incorporating fresh herbs or dried spices can drastically enhance your crusty Italian bread. Think about blending in rosemary, thyme, or even anise for a delightful twist. A classic choice is to mix in garlic powder or chopped fresh basil. These ingredients not only infuse the bread with flavor but also create an inviting aroma that fills your kitchen. For some inspiration, check out The Spruce Eats for herb combinations that work beautifully in bread.
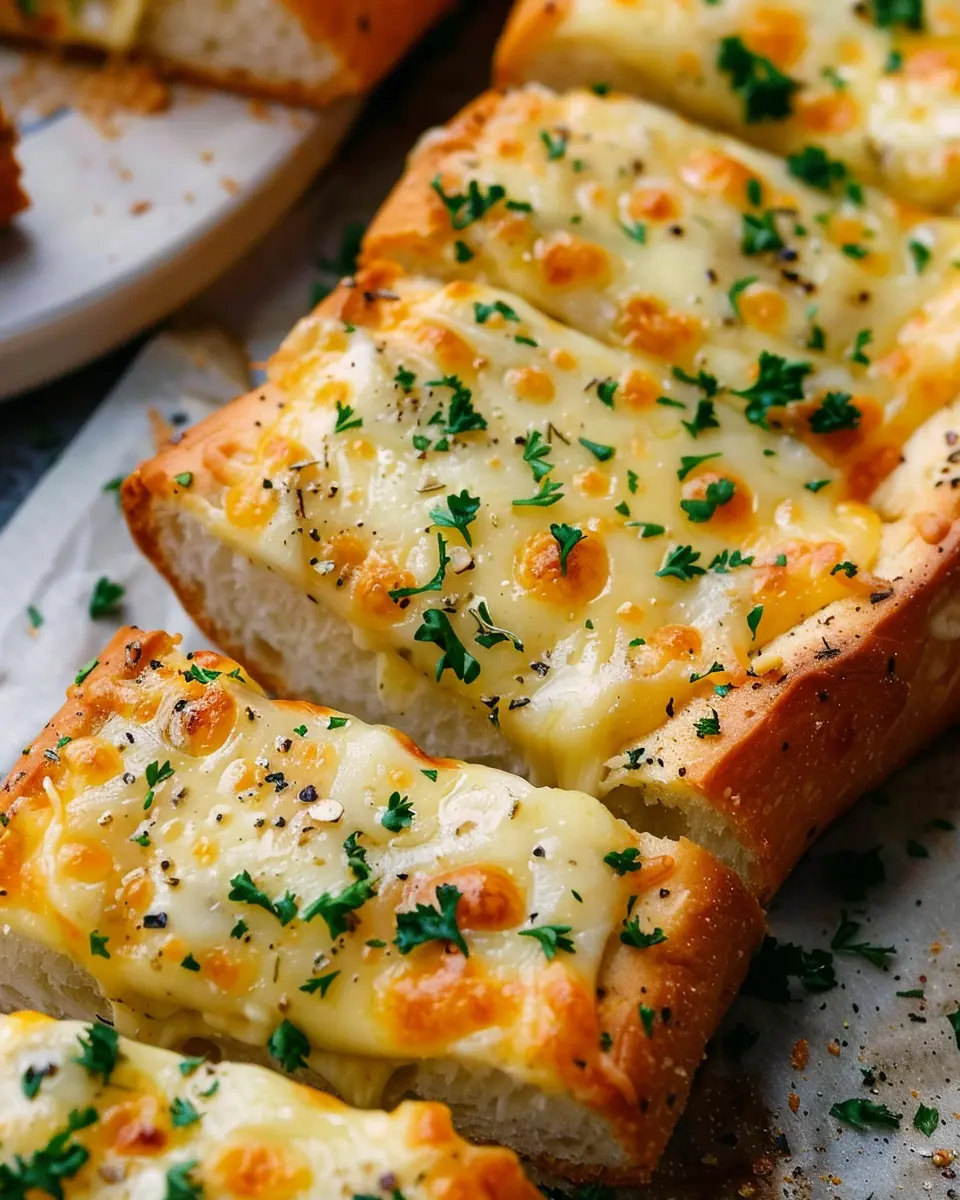
Incorporating Cheese
Imagine a warm, fresh loaf of crusty Italian bread with gooey cheese melting through. Sounds tempting, right? Feel free to experiment with different cheese types. Grated Parmesan, sharp cheddar, or even crumbled feta could all be excellent choices. Just fold in your cheese of choice during the kneading process, and prepare for some cheesy goodness in every bite!
Experimenting with Whole Wheat Flour
If you’re looking for a healthier twist, consider swapping some all-purpose flour for whole wheat flour in your crusty Italian bread. This simple change boosts fiber content and provides a nutty flavor. Start with a 50/50 ratio of all-purpose and whole wheat flour to find your perfect blend. As you get comfortable, you can adjust the ratios to suit your taste. The result? A tasty, heartier loaf that doesn’t skimp on authenticity.
Baking is all about creativity! Don’t hesitate to try these variations to make your crusty Italian bread uniquely yours. Happy baking!
Cooking Tips and Notes for Crusty Italian Bread
When it comes to baking crusty Italian bread, a few tips can elevate your loaf from good to incredible. Here are some insights to help you create that perfect crust and fluffy interior.
Use High-Quality Ingredients
Always opt for high-quality flour and water. Organic bread flour with a high protein content contributes to a better gluten structure, which is pivotal for that chewy texture we all crave.
Create Steam in the Oven
To achieve an impressive crust, create steam during the first few minutes of baking. You can do this by placing a pan at the bottom of the oven filled with water or by spraying the dough with water right before it goes in. This step is crucial for that crusty Italian bread finish that crackles when you slice it.
Watch Your Rising Times
Pay attention to your dough’s rising times. Every kitchen is different, so let the dough expand until it has doubled in size rather than sticking strictly to a clock. This ensures maximum flavor development.
Experiment, enjoy, and let your creativity flow as you bake your crusty Italian bread. For more insights, check out resources from the King Arthur Baking Company or The Bread Lab. Happy baking!
Serving Suggestions for Crusty Italian Bread
Crusty Italian bread is a delightful foundation for various serving ideas that will impress your guests or simply elevate your weeknight dinners. Here are some scrumptious ways to enjoy it:
Perfect Pairings
- Bruschetta: Top slices of your crusty Italian bread with a mixture of diced tomatoes, basil, garlic, and a drizzle of balsamic glaze. This classic Italian appetizer never disappoints.
- Sandwiches: Layer up some turkey bacon, fresh spinach, and avocado for a hearty sandwich that feels gourmet but is straightforward enough for a weekday lunch.
Dips and Spreads
- Hummus: Serve your crusty bread with a side of creamy hummus for a delightful dipping experience. Try flavors like roasted red pepper or garlic for an extra kick.
- Olive Oil & Balsamic Vinegar: For a simple yet elegant appetizer, drizzle high-quality extra virgin olive oil and balsamic vinegar on a plate for dipping heaven.
Breakfast Ideas
Why not toast some slices for breakfast? Spread your favorite nut butter or jam and enjoy your crusty Italian bread with a steaming cup of coffee.
Not only does crusty Italian bread hold up well with various toppings, but its versatile flavors also complement many cuisines, making it a fantastic staple for your kitchen. You can learn more about delicious bread pairings here. Remember, the key is to experiment and find what you love best!
Time Breakdown for Crusty Italian Bread
Preparation Time
The prep work for crusty Italian bread usually takes around 15 minutes. This involves mixing your ingredients, kneading the dough, and letting it rise. In this initial stage, you can enjoy some downtime—perhaps prep a delicious dipping oil or gather your favorite toppings!
Baking Time
Once your dough has risen, you’ll need about 30-35 minutes for baking. Be sure to check the crust’s color; a golden brown hue signals it’s ready to come out. The smell? Absolutely divine!
Total Time
In total, you’re looking at around 3-4 hours, including rising time. Don’t worry, most of this is hands-off while your dough does its thing. So grab a book or catch up on the latest culinary trends during those waiting periods—trust me, it’ll all be worth it for that, oh-so-delicious crusty Italian bread!
For some inspiration, you might check out this guide on artisanal bread making; it’s packed with tips!
Nutritional Facts for Crusty Italian Bread
When diving into the world of crusty Italian bread, understanding its nutritional profile can enhance your baking and dining experience. Here’s a quick look at what you can expect:
Calories
A typical serving of crusty Italian bread contains about 80-100 calories. This makes it a great base for your favorite toppings without feeling too heavy.
Protein
You’ll find around 2-3 grams of protein per slice. While it’s not a primary source, enjoying this bread with protein-rich toppings like Turkey Bacon or Chicken Ham can elevate your meal.
Sodium
On the sodium front, a slice usually packs in about 150-200 mg. It’s wise to keep an eye on this if you’re watching your salt intake, especially when paired with other salty ingredients.
For more on the health benefits of whole grains, check out Whole Grains Council. Knowing what you’re eating not only can enhance your culinary creations but also help you maintain a balanced diet. Who knew baking could be this informative?
FAQs about Crusty Italian Bread
What is the secret to a good crust?
The magic behind a crusty Italian bread lies in the baking technique. Start with high-quality flour, and give the dough enough time to develop flavor through fermentation. The use of steam in the oven is crucial—this helps create that beautiful, golden crust. If you don’t have a steam pan, simply place a tray of water on the bottom shelf while the bread bakes. Another key factor is the temperature; baking at a higher heat (around 450°F) gives you that crispy exterior you crave!
Can I make this bread without a stand mixer?
Absolutely! Many home bakers prefer the traditional hand-kneading method, and it can be very therapeutic. Just remember, kneading by hand usually takes about 10-15 minutes until the dough is smooth and elastic. You can also use a wooden spoon to mix the ingredients before switching to your hands. The tactile experience of making crusty Italian bread is something many find rewarding, and you’ll be able to feel the dough’s progress as you work with it.
How do I store leftover crusty bread?
To keep your leftover crusty Italian bread fresh, wrap it in a cloth or a paper bag. This helps retain moisture while still allowing the crust to remain airy. Avoid plastic bags, as they trap moisture and can make the crust soggy. If you have a larger loaf that you won’t consume within a few days, consider slicing it and freezing what you won’t use immediately. Just reheat slices in the oven for a few minutes to regain that delightful crunch!
For more tips on bread storage, check out the Bread Baker’s Guild for expert insights!
Conclusion on Crusty Italian Bread
Baking crusty Italian bread at home can be a rewarding experience that brings comfort and joy to your kitchen. As you follow the steps outlined in this recipe, remember that practice makes perfect. Your first loaf may not be flawless, but with each attempt, you’ll refine your skills and develop your unique touch.
Don’t hesitate to experiment with toppings, as fresh herbs or sprinkle cheese can elevate flavors beautifully. Enjoy your homemade bread side by side with a warm bowl of soup or roasted vegetables. For more inspiration on bread pairings, check out resources like King Arthur Baking and Food52. Happy baking!
PrintCrusty Italian Bread: Bake Perfect Crust Every Time With Ease
Bake the perfect crust every time with our easy guide to making Crusty Italian Bread.
- Prep Time: 15 minutes
- Cook Time: 30 minutes
- Total Time: 2 hours 15 minutes
- Yield: 1 loaf
- Category: Bread
- Method: Baking
- Cuisine: Italian
- Diet: Vegetarian
Ingredients
- 4 cups all-purpose flour
- 1 1/2 cups warm water
- 2 teaspoons salt
- 1 teaspoon sugar
- 2 teaspoons active dry yeast
Instructions
- In a large mixing bowl, combine warm water, sugar, and yeast. Let it sit for about 5 minutes until frothy.
- Add flour and salt to the yeast mixture; stir until a dough forms.
- Knead the dough on a floured surface for 8-10 minutes.
- Place the dough in a greased bowl, cover, and let it rise for 1-2 hours.
- Preheat the oven to 450°F (230°C).
- Shape the risen dough into a loaf and place it on a baking sheet.
- Bake for 25-30 minutes or until the crust is golden brown.
- Let cool before slicing.
Notes
- For extra crust, place a pan of water in the oven while baking.
- Let the bread cool completely for the best texture.
Nutrition
- Serving Size: 1 slice
- Calories: 120
- Sugar: 1g
- Sodium: 200mg
- Fat: 1g
- Saturated Fat: 0g
- Unsaturated Fat: 0g
- Trans Fat: 0g
- Carbohydrates: 24g
- Fiber: 1g
- Protein: 4g
- Cholesterol: 0mg