Introduction to Cherries in the Snow
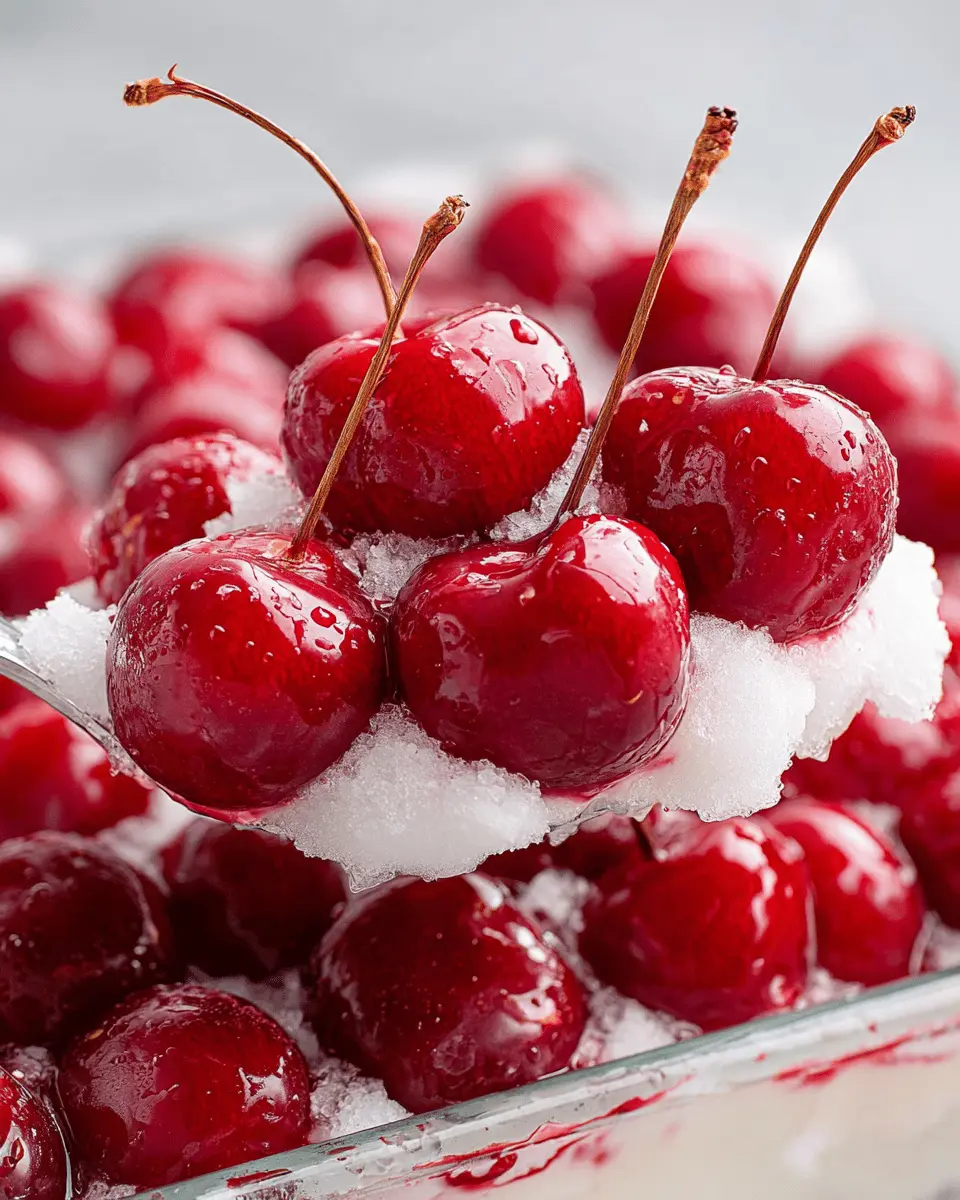
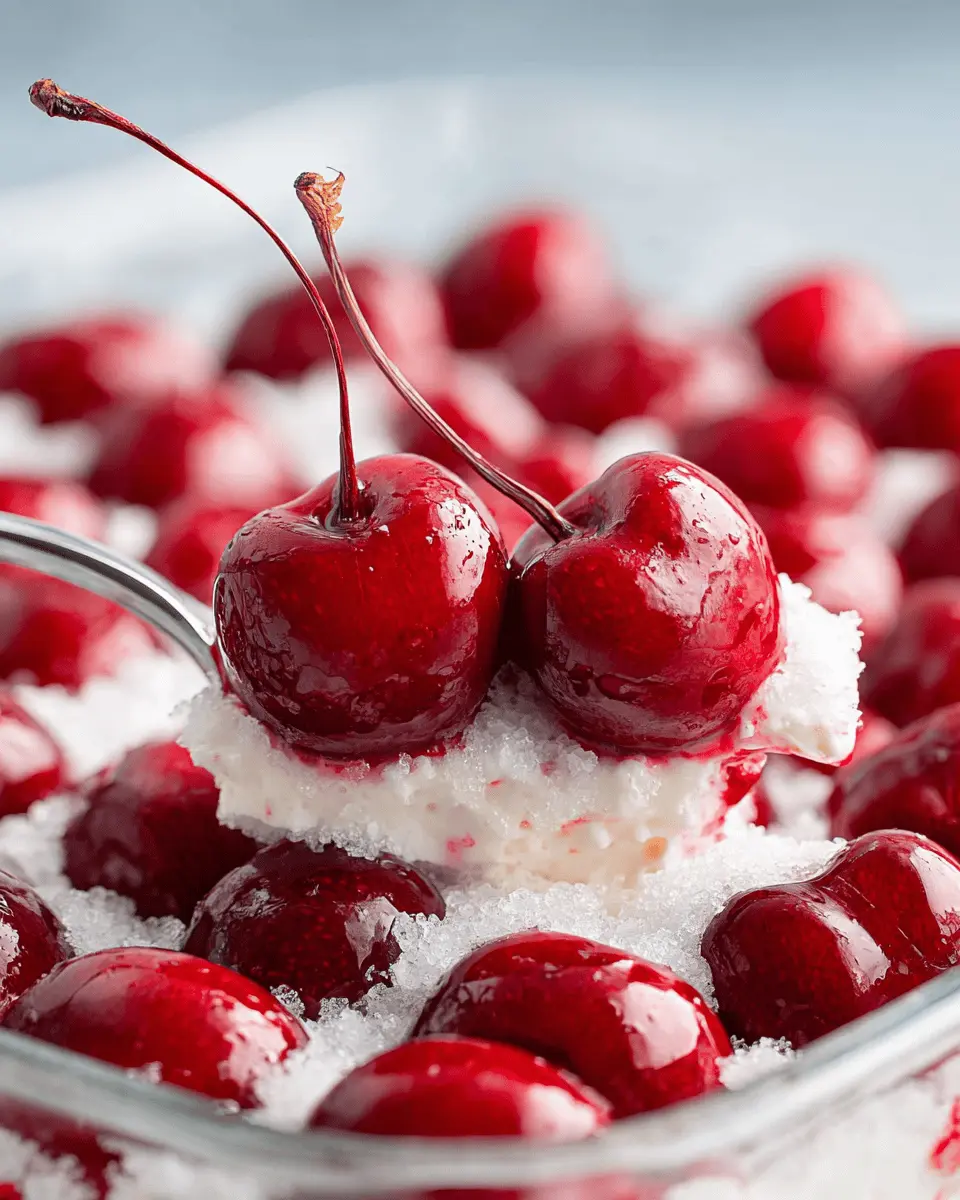
If you’re searching for a delightful and elegant dessert that’s as pleasing to the palate as it is to the eye, look no further than Cherries in the Snow. This charming dish combines the rich flavor of sweet cherries with a smooth, creamy white base, creating a striking contrast that makes it perfect for any occasion. It’s a treat that not only satisfies your sweet tooth but also adds a touch of sophistication to your dining experience.
Why Cherries in the Snow is a Perfect Dessert for Young Professionals
Life in the fast lane can leave little time for elaborate dessert-making, yet Cherries in the Snow is not only stunning but also incredibly simple to prepare. All you need is a handful of ingredients, most of which you might already have in your pantry. This ease of preparation is especially appealing for young professionals like you, who often juggle busy schedules but still crave a little indulgence.
Here are a few reasons why this dessert stands out:
-
Quick and Easy: With minimal prep time and a simple assembly process, you can whip up Cherries in the Snow in about 30 minutes, giving you more time to relax after a hectic workday.
-
Fresh and Flavorful Ingredients: Utilizing fresh cherries, which are packed with antioxidants, combined with a sometimes lighter whipped topping, makes this dessert a deliciously smart choice.
-
Versatile Appeal: This dessert can be served at casual gatherings with friends or dressed up for an elegant dinner party. Whether you’re enjoying it on a cozy weeknight or sharing it at a festive event, it never fails to impress.
-
Healthier Indulgence: Compared to many sugary desserts, Cherries in the Snow can be more health-conscious, especially when you consider substituting traditional heavy creams with lighter options.
By considering both your busy lifestyle and desire for unique flavors, Cherries in the Snow represents a bright spot in the culinary world. And if you’re interested in diving deeper into cherry varieties or exploring cherry nutrition, check out resources like the U.S. Cherry Marketing Institute.
So, are you ready to create this delightful dessert that beautifully marries taste and convenience? Let’s gather our ingredients and get started!
Ingredients for Cherries in the Snow
When it comes to crafting your delightful Cherries in the Snow, having the right ingredients makes all the difference. Here’s the lowdown on what you’ll need. Whether you’re whipping this up for a cozy dinner with friends or a special occasion, these ingredients are essential for that classic, indulgent experience.
List of Ingredients
- Fresh or Frozen Cherries: About 2 cups—ensure they’re pitted for ease!
- Cream Cheese: 8 ounces, softened—this will create that luscious base.
- Powdered Sugar: 1 cup, for sweetness—feel free to adjust to taste.
- Whipped Topping: 1 container, for that fluffy texture—opt for a low-fat version if preferred.
- Graham Cracker Crumbs: 1 cup, to add crunch—try whole grain for a healthier twist.
- Butter: 1/4 cup, melted—this binds the crust nicely.
- Vanilla Extract: A splash, for enhanced flavor—always a good idea!
A special note: if you’re wondering where to find some of these ingredients, local farmers’ markets can be a fantastic source for fresh cherries. Plus, if you want to dive deeper into the benefits of using high-quality ingredients, check out this guide from Healthline on choosing fruits and dairy. Happy cooking!
Preparing Cherries in the Snow
Making Cherries in the Snow is not just about the ingredients; it’s an entire experience filled with anticipation and joy. This delightful treat elevates the simple cherry to new heights, making it a perfect dessert for gatherings or cozy nights in. Let’s dive into the steps to prepare your very own Cherries in the Snow.
Gather Your Ingredients
The first step in any successful recipe is ensuring you have all the right ingredients ready to go. For Cherries in the Snow, you’ll need a mix of sweet and creamy elements that truly make this dessert shine. Here’s what you’ll need:
- Fresh cherries (pitted, of course): You want to use the ripest cherries you can find for the best flavor.
- Cream cheese: This is the base of your creamy layer.
- Sugar: A combination of granulated sugar and powdered sugar adds the right sweetness and texture.
- Whipped topping: Use a store-bought variety or make your own if you have the time—it will elevate your dish!
- Vanilla extract: Just a touch to enhance the flavors.
- Crushed graham crackers: These will lend a delightful crunch.
- Optional toppings: Think chocolate shavings or a sprinkle of nuts for added texture.
You can usually buy these items at your local grocery store. For organic options, check out sites like Thrive Market for added convenience and quality.
Create the Cream Cheese Base
Now that you have everything, it’s time to get your cream cheese base ready. This is what brings that lusciousness to your dessert.
-
Soften the cream cheese: Start by letting your cream cheese sit at room temperature for about 30 minutes. This makes it much easier to blend.
-
Mix in sugar: In a medium bowl, use an electric mixer to beat the softened cream cheese with granulated sugar until it’s smooth and fluffy. Here, you could add a pinch of salt to balance the sweetness if you like.
-
Add whipped topping and vanilla: Gently fold in the whipped topping and a teaspoon of vanilla extract. The goal is to keep it airy and light.
This luscious cream cheese base will be the star of your Cherries in the Snow, and trust me, it’s worth taking a moment to admire how creamy and inviting it looks!
Assemble the Layers
Now comes the fun part: assembling your Cherries in the Snow! You’ll create a beautiful layering effect that makes it look as enticing as it tastes.
-
Layer the base: Start with a thin layer of your cream cheese mixture at the bottom of your serving dish. This is where the magic begins!
-
Add the cherries: Layer fresh cherries evenly on top of the cream cheese mixture. The more cherries, the better, right?
-
Continue layering: Repeat this layering process until you reach the top, ending with a generous layer of the cream cheese mixture.
-
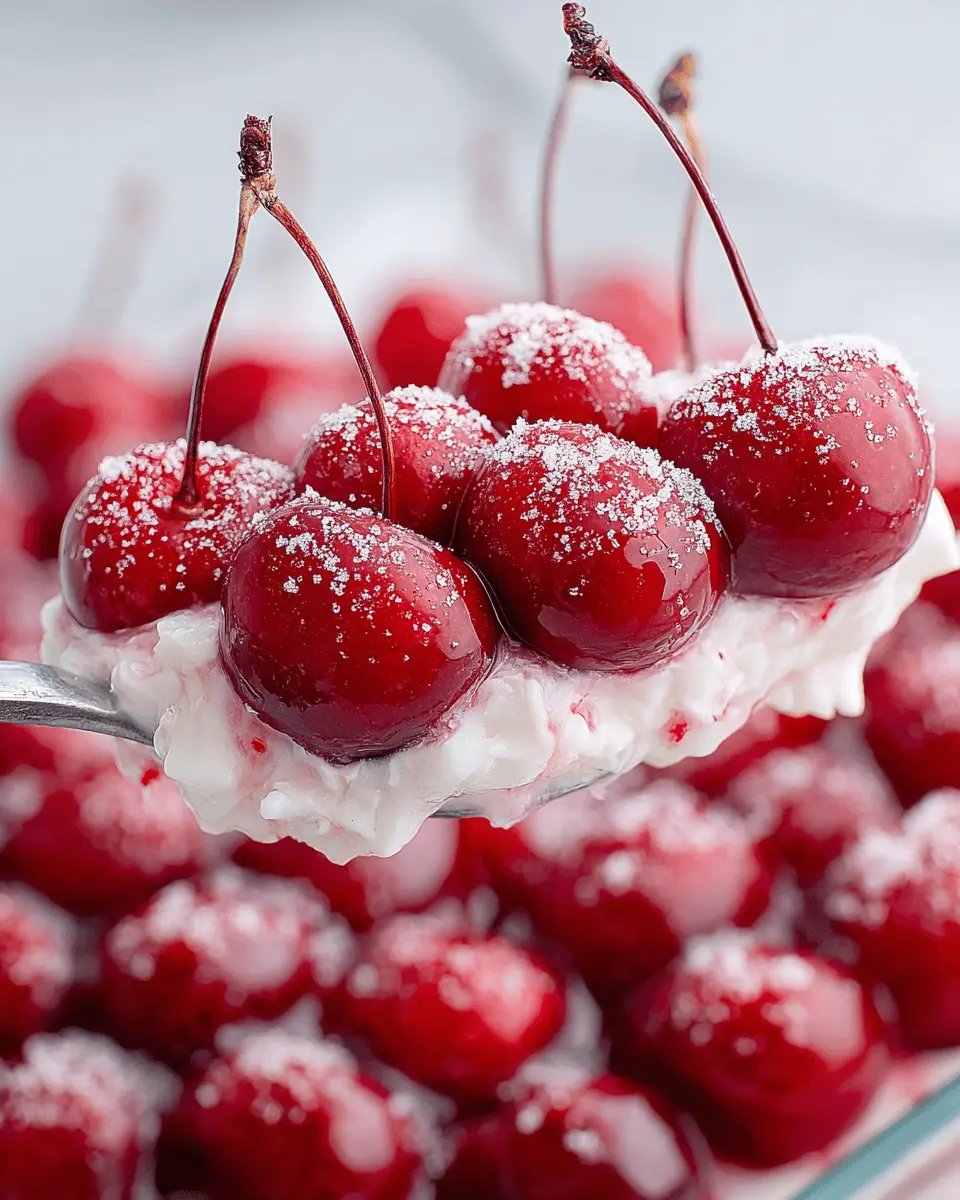
Top it off: Sprinkle some crushed graham crackers on top for that perfect crunch and visual appeal.
Chill Before Serving
The final step in this delectable journey is chilling. Cover the assembled dessert and place it in the refrigerator for at least 2 hours, or overnight if you can wait that long! Chilling gives the flavors time to meld together while the cream cheese mixture firms up for that satisfying texture.
When you’re ready to serve, you can also decorate with chocolate shavings or extra cherries for an appealing finish.
By following these steps, you’re not just preparing a dessert; you’re crafting an experience that’s bound to impress. Whether it’s for a romantic dinner or a lively gathering with friends, Cherries in the Snow will surely steal the show. Enjoy every delightful spoonful!
Variations on Cherries in the Snow
If you’re looking to add a creative twist to your Cherries in the Snow, you’re in for a treat! This classic dish is already delicious, but it’s so versatile that you can play around with flavors to suit your taste. Let’s explore some fun variations that can elevate your dessert to the next level.
Tropical Twist: Adding Pineapple
Why not take a mini-vacation with your Cherries in the Snow? Incorporating fresh pineapple can infuse your dessert with a tropical flair. Here’s how:
- Use fresh pineapple: Dice pineapple into small chunks and mix it with your cherries.
- Pineapple juice: Substitute part of the cherry juice with pineapple juice for an extra layer of flavor.
- Coconut cream: Swap out regular whipped cream for coconut cream for a smooth, tropical feel.
Pineapples are not just delicious; they also contain bromelain, which can aid digestion (source: Healthline). This remix is ideal for summer gatherings or a fun twist for a birthday party.
Nutty Delight: Incorporating Almonds
If you’re a fan of crunch, adding almonds to your Cherries in the Snow can provide that satisfying texture you crave. Here’s how to do it:
- Sliced almonds: Toast sliced almonds in a dry skillet until golden, then sprinkle them over your dessert.
- Almond extract: A few drops of almond extract can enhance the nutty flavor and provide a warm aroma.
- Almond flour: Consider incorporating almond flour into the base for added nuttiness and a slightly different texture.
Almonds are packed with healthy fats and protein, making your dessert not just tasty but nourishing, too (source: Journal of Nutrition).
With these variations, your Cherries in the Snow will be anything but ordinary. Which twist are you excited to try?
Cooking Tips and Notes for Cherries in the Snow
Ensuring a Creamy Mixture
To achieve that luscious, creamy texture that makes Cherries in the Snow so delightful, begin by using fresh, high-quality ingredients. Softened cream cheese is key; about an hour at room temperature will do the trick. Whipping the cream separately until stiff peaks form before gently folding it into your mixture will give you that airy, dreamy consistency. For an extra touch, consider adding a dash of vanilla extract to enhance the overall flavor. Feeling adventurous? Substitute some cream cheese with Greek yogurt for a tangy twist!
Chilling for Best Results
Patience is your best friend when making Cherries in the Snow. Once assembled, refrigerate the dessert for at least two hours—this time allows the flavors to meld beautifully. Those creamy layers will set perfectly, giving you a dessert that’s not just visually stunning, but also irresistibly delicious. If you’re preparing it ahead of time, it can be made up to a day in advance. For more tips on desserts and food preparation, check out Serious Eats for expert advice and delicious inspiration!
Serving Suggestions for Cherries in the Snow
Perfect Pairings with Coffee or Tea
When you’re indulging in a delightful serving of Cherries in the Snow, consider pairing it with a warm cup of coffee or tea. The rich, creamy flavors of this dessert beautifully complement the boldness of a dark brew or the delicate notes of an herbal tea.
- Coffee: A smooth latte can provide a creamy counterpart, while a rich espresso amplifies the cherries’ sweetness.
- Tea: Try a chai or a soothing chamomile for a refreshing twist.
Pairing your dessert with beverages like almond milk lattes or fruity herbal infusions not only elevates the experience but also adds an additional layer of flavor.
Creative Serving Dish Ideas
To make your Cherries in the Snow truly unforgettable, consider serving it in unique dishes. Here are a few ideas that’ll impress your guests:
- Mason Jars: Individual servings make for a charming, rustic presentation while allowing for easy transport or storage.
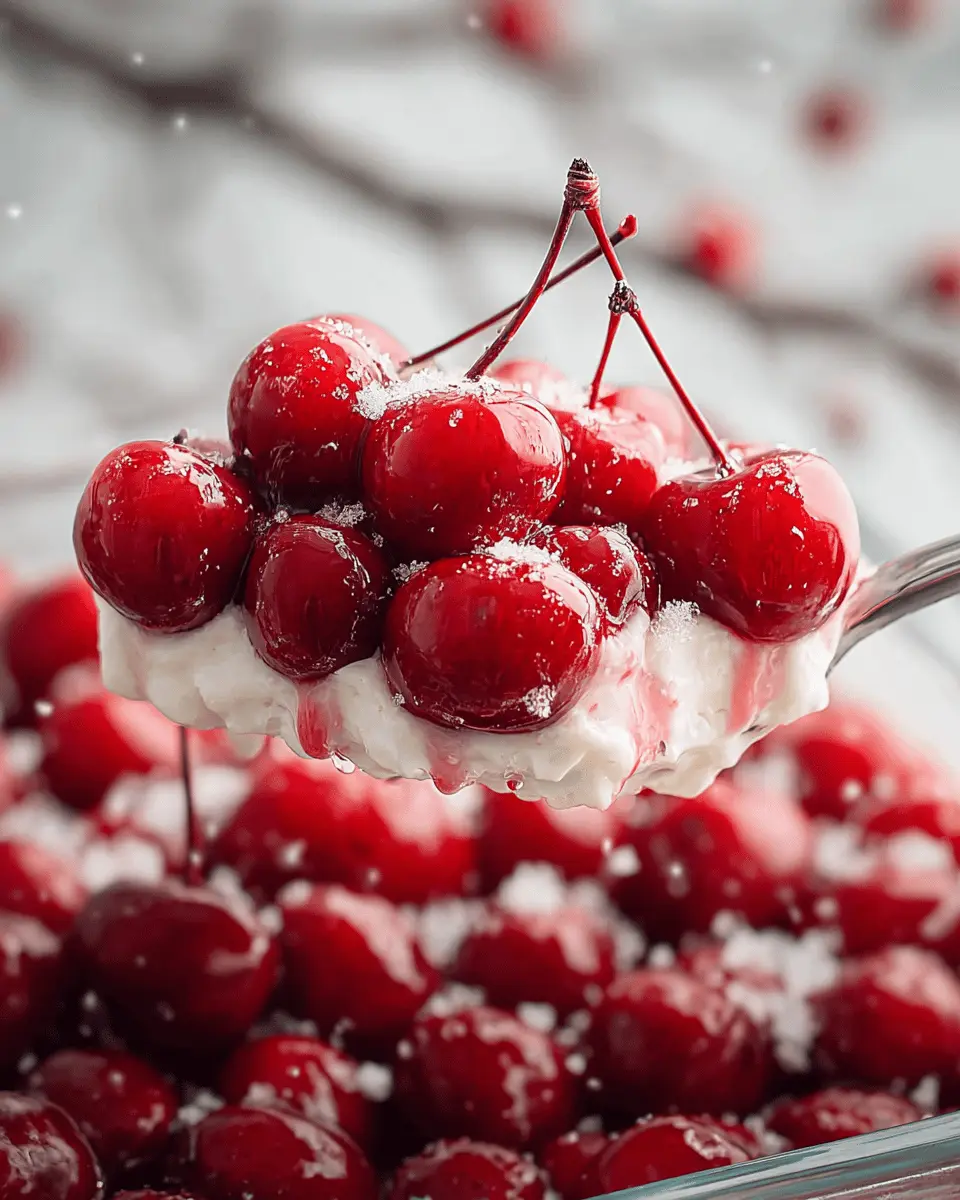
- Glass Bowls: Show off that fluffy whipped topping and jewel-like cherries through clear glass.
- Mini Tarts: For a creative twist, layer the dessert in mini tart shells, providing a delightful crunch.
With these suggestions, your Cherries in the Snow will not only taste divine but also look stunning on your table. For more delightful serving ideas, explore Epicurious for inspiration.
Time Breakdown for Cherries in the Snow
When preparing Cherries in the Snow, time management is key. Here’s a helpful breakdown to keep you on track and ensure your dish comes out perfectly!
Preparation Time
Getting started with this delicious recipe takes about 20 minutes. This includes gathering your ingredients like fresh cherries, cream, and a touch of sweetener. You’ll want to make sure everything is prepped, so it flows smoothly.
Chilling Time
Next, allow about 2–3 hours for chilling. This not only enhances the flavors but helps those cherries in the snow create that delightful frosty texture we all love.
Total Time
In total, you’re looking at roughly 2 hours and 20 minutes from start to finish. Now that you have your timeline, grab your ingredients and let’s make something memorable! For a deeper dive into meal prep tips, check out resources from The Kitchn or Bon Appétit.
Nutritional Facts for Cherries in the Snow
Estimated Calories per Serving
When you whip up a delightful Cherries in the Snow dish, you’ll be glad to know that each serving contains approximately 150 calories. This makes it a guilt-free dessert option that won’t derail your health goals.
Key Nutrients
Beyond just calories, this treat is packed with nutritious benefits:
- Vitamin C: Cherries are loaded with this antioxidant, boosting your immune system and skin health.
- Fiber: A serving offers around 2 grams, promoting healthy digestion.
- Antioxidants: They help combat inflammation and reduce the risk of chronic diseases.
For a deeper dive into the nutritional profile of cherries, check out resources like NutritionData or Healthline. Armed with this knowledge, you can enjoy your Cherries in the Snow while feeling good about the health benefits they bring!
FAQ about Cherries in the Snow
How long can Cherries in the Snow be stored?
Once you’ve crafted your delightful Cherries in the Snow, you’ll likely wonder about its shelf life. Generally, this dessert can be stored in the refrigerator for up to 3-4 days. Just make sure to keep it covered to maintain freshness. If you want to enjoy it later, consider freezing the cherry topping separately from the creamy base. When stored this way, it can last for up to 3 months in the freezer. Simply thaw in the fridge overnight before serving!
Can I use fresh cherries instead of cherry pie filling?
Absolutely! Using fresh cherries can elevate your dish to a whole new level. In fact, many home chefs prefer fresh cherries for their bright flavor and natural sweetness. Just remember to pit and slice the cherries before mixing them into the creamy layer. If you choose to use fresh cherries, a sprinkle of sugar and a hint of lemon juice can help enhance their natural taste. For tips on proper cherry preparation, check out this helpful guide.
What are some tips for making this dessert healthier?
Looking to lighten up your Cherries in the Snow? Here are a few simple tweaks:
- Opt for Greek yogurt: Substitute some or all of the cream cheese with Greek yogurt for a protein boost while reducing fat.
- Swap sugar alternatives: Use honey or maple syrup for sweetness, or explore sweeteners like Stevia and erythritol if you’re watching sugar intake.
- Add nuts for crunch: Top with chopped nuts or granola to add texture and healthy fats.
Making these small changes ensures you can enjoy this dessert while sticking to your wellness goals. For even more ideas on healthier eating, check out resources like the Academy of Nutrition and Dietetics.
Conclusion on Cherries in the Snow
Recap of Its Deliciousness and Ease of Preparation
In summary, Cherries in the Snow is a delightful dessert that perfectly balances sweetness and creaminess. With just a few simple ingredients, you can whip up this treat in no time, making it an ideal choice for gatherings or cozy evenings at home. The vibrant cherries add a pop of color and flavor, ensuring each bite is a memorable experience.
Whether you’re trying it for the first time or sharing it with friends, this dessert never disappoints. So why not indulge in a bowl of cherries in the snow? For more recipe inspiration, you might explore sites like Epicurious or Food Network. It’s time to treat yourself!
PrintCherries in the Snow: Indulgent Turkey Bacon and Chicken Ham Delight
Cherries in the Snow is a delightful dish combining turkey bacon and chicken ham for an indulgent experience.
- Prep Time: 15 minutes
- Cook Time: 30 minutes
- Total Time: 45 minutes
- Yield: 4 servings
- Category: Main Course
- Method: Baking
- Cuisine: American
- Diet: Low-carb
Ingredients
- 1 cup cherries, pitted
- 4 slices turkey bacon
- 8 ounces chicken ham
- 1 tablespoon olive oil
- 1 teaspoon black pepper
- 1 tablespoon fresh rosemary, chopped
Instructions
- Preheat your oven to 375°F (190°C).
- In a skillet, heat olive oil and sauté the turkey bacon until crispy.
- Add the chicken ham and cherries, cooking until heated through.
- Season with black pepper and rosemary.
- Transfer to a baking dish and bake for 15 minutes.
Notes
- For an extra kick, add a sprinkle of red pepper flakes.
- This dish pairs wonderfully with a side of steamed vegetables.
Nutrition
- Serving Size: 1 plate
- Calories: 350
- Sugar: 8g
- Sodium: 900mg
- Fat: 20g
- Saturated Fat: 5g
- Unsaturated Fat: 12g
- Trans Fat: 0g
- Carbohydrates: 15g
- Fiber: 3g
- Protein: 25g
- Cholesterol: 70mg