Introduction to Daisy Cake
Why Daisy Cake? A Sweet Spring Delight
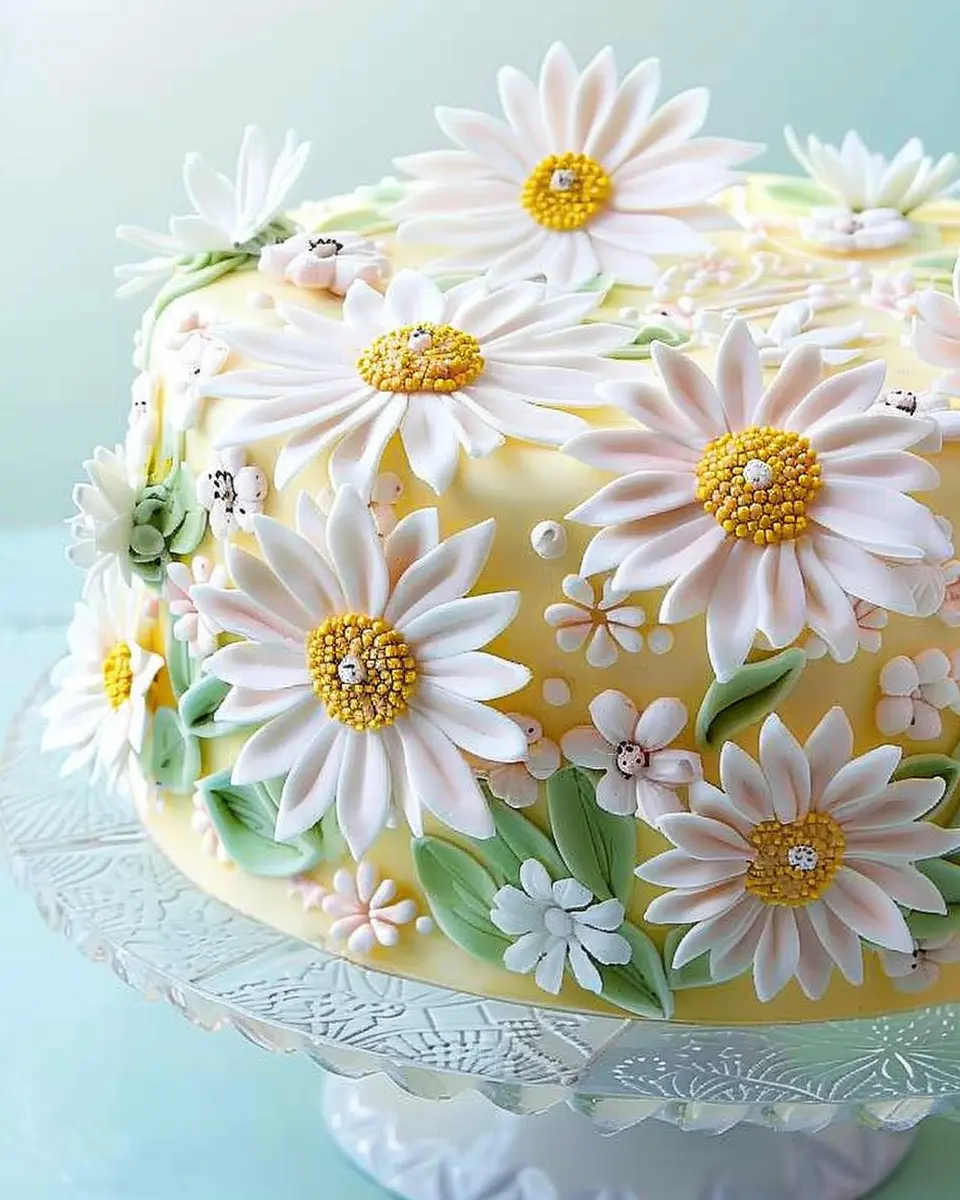
When the season shifts to spring, you might find yourself yearning for a dessert that captures the essence of blooming flowers and sunny days. Enter Daisy Cake—a delightful treat that isn’t just a feast for the palate but also a visual celebration. This lovely cake often features layers of moist vanilla or lemon-infused sponge, accompanied by light, fluffy frosting that adds a luscious texture without being overly sweet. It’s the perfect balance for those sunny afternoons spent with friends or family.
So, why choose Daisy Cake for your next gathering? For starters, it’s versatile. You can customize it with fresh fruits or even swap in a turkey bacon layer if you’re feeling adventurous. According to a study from the American Institute for Cancer Research, incorporating fruits into your diet can help improve your overall health, which is a sweet bonus to our cake indulgence. Plus, the bright and cheerful presentation will surely impress your guests, making it a star on the dessert table.
Creating a Daisy Cake is not just about baking; it’s an opportunity to unleash your creativity. Whether you’re stacking layers high or decorating with edible flowers, every cake turns out unique and special. You don’t need to be a professional baker to achieve this. If you’re a beginner, fear not; the steps are straightforward, and I’m here to guide you!
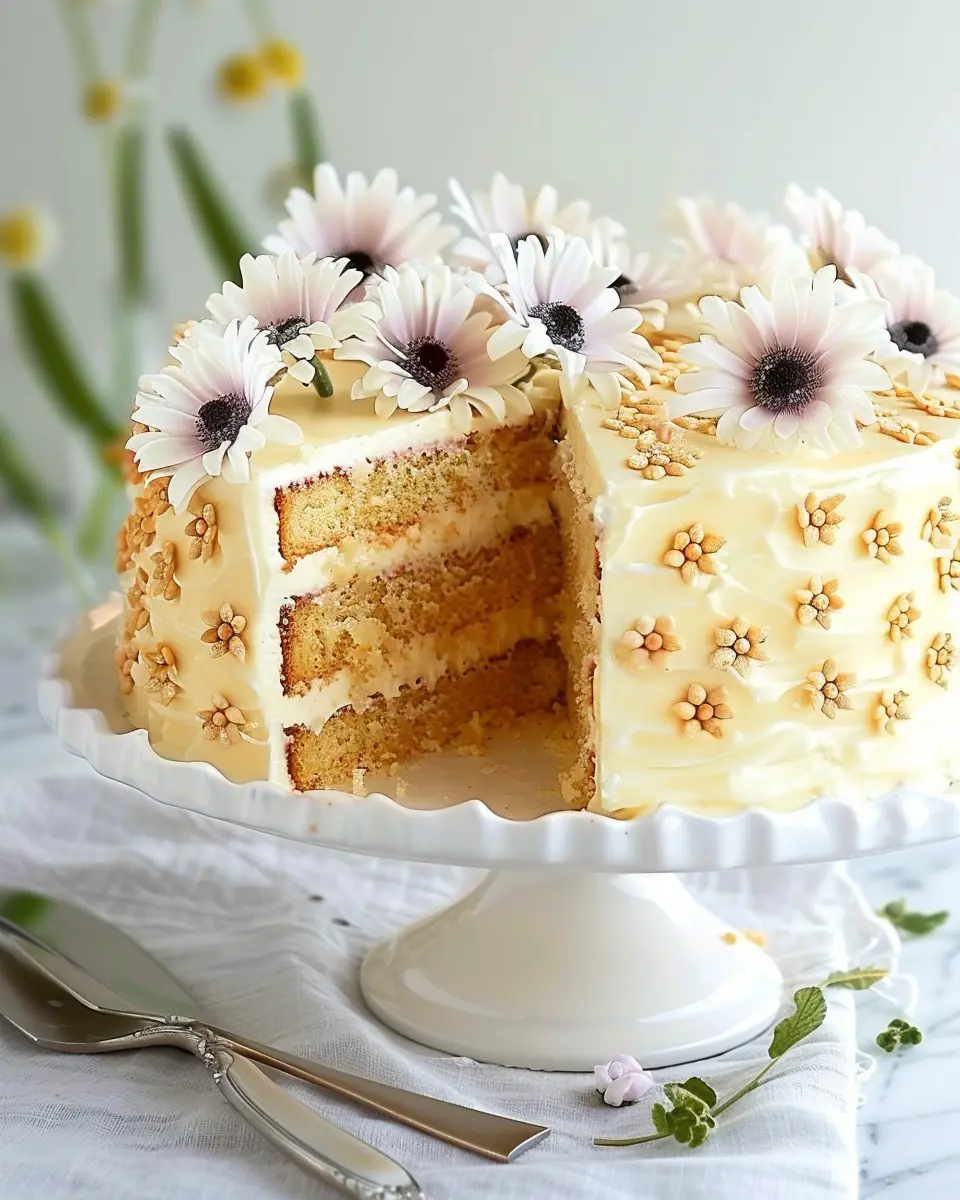
This cake is also a fantastic choice for spring celebrations. Be it birthdays, picnics, or potlucks, it’s bound to evoke smiles and warmth, making any occasion feel extra special. Imagine serving this at a baby shower, or as a centerpiece at an afternoon brunch. As you slice into that fluffy goodness, you’ll be greeted by a gorgeous cross-section that radiates warmth and happiness.
So, whether you’re celebrating a milestone or just looking to treat yourself, Daisy Cake holds promise for a delightful culinary experience. Ready to bake your way into spring? Let’s get started with the full recipe below!
Ingredients for Daisy Cake
Baking the perfect Daisy Cake is a delightful experience, and having the right ingredients makes all the difference. Let’s break down what you’ll need to create this beautiful dessert.
Rich Butter Cake Ingredients
- 1 cup unsalted butter, softened
- 2 cups all-purpose flour
- 2 cups granulated sugar
- 4 large eggs
- 1 cup whole milk
- 2 teaspoons vanilla extract
- 2 teaspoons baking powder
- Pinch of salt
This base cake is not only rich but also moist and bursting with flavor, ensuring a delightful bite every time.
Fondant Daisies Ingredients
- 1 package white fondant
- Gel food colors (yellow and green for accents)
- Cornstarch (for dusting)
Making these adorable daisies is easier than you think! Fondant is quite forgiving, which is perfect for culinary novices.
Lemon Frosting Ingredients
- 1 cup unsalted butter, softened
- 4 cups powdered sugar
- 2 tablespoons fresh lemon juice
- Zest of one lemon
- 2-3 tablespoons heavy cream
This frosting adds a zesty kick, balancing the sweetness of the cake beautifully.
Garnish Ingredients
- Fresh mint leaves
- Slices of lemon
A touch of fresh mint paired with lemon slices can elevate your Daisy Cake, making it not just tasty but also visually stunning.
Ready to get started? Check out this butter cake baking guide for tips on perfecting your technique!
Step-by-Step Preparation for Daisy Cake
Creating a beautifully decorated Daisy Cake is not just about the final product; it’s also about the joy of crafting it from scratch. Let’s go through this delightful process step by step!
Begin with the Rich Butter Cake
The foundation of your Daisy Cake is a luscious rich butter cake. Start by gathering your ingredients, typically consisting of:
- Unsalted butter
- Granulated sugar
- Eggs
- All-purpose flour
- Baking powder
- Milk
- Vanilla extract
Make sure your butter is soft but not melty. This will ensure a beautifully fluffy texture. Preheat your oven to 350°F (175°C) and grease your cake pans. You can use round pans for that traditional cake shape, or square pans for a more modern look.
Mixing the Dry Ingredients
While your oven is warming up, mix the dry ingredients in a separate bowl. Combine the all-purpose flour, baking powder, and a pinch of salt. It’s essential to whisk these together to ensure even distribution of the baking powder throughout your cake. Did you know that flour can sometimes settle over time? This step helps incorporate air, making the cake light and airy!
Creaming the Butter and Sugar
Next, it’s time to cream together the butter and sugar, which is where the magic begins. Using an electric mixer, blend until the mixture is light and fluffy – usually about 3-5 minutes. The aeration from this step is crucial for your cake’s rise. Add in your eggs, one at a time, mixing well after each addition. If you’re feeling adventurous, you can toss in a little almond extract along with the vanilla for added depth of flavor.
Combining Wet and Dry Ingredients
Incorporate the dry ingredients into your butter mix gradually, alternating with the milk. This keeps the batter smooth and helps avoid lumps. Remember to mix gently – overmixing could lead to a dense cake.
Baking the Cakes
Divide the batter evenly between your prepared pans, then bam—it’s baking time! Pop your cakes in the oven and allow them to bake for about 25-30 minutes. You’ll know they’re ready when the top springs back upon touch and a toothpick inserted comes out clean. As the lovely aroma fills your kitchen, resist the urge to peek too often!
Crafting Fondant Daisies
While your cakes cool, focus on making those adorable fondant daisies. You’ll need white and yellow fondant, which you can easily find in craft stores or online. Roll the white fondant into small balls and then flatten them to create petals. A simple round cutter works best for the center using yellow fondant.
For detailed tutorials, check out Wilton’s guide on fondant flowers to enhance your decorating skills!
Preparing the Zesty Lemon Frosting
Now onto a key player—the frosting! Opt for a zesty lemon frosting to give your cake a refreshing twist. Start with softened butter and powdered sugar, then add fresh lemon juice and lemon zest. Mix until smooth. If it’s too thick, add a touch of milk; if too thin, a bit more sugar does the trick.
Assembling Your Delightful Daisy Cake
Finally, it’s assembly time! Level your cooled cakes with a knife for a clean finish. Spread a layer of lemon frosting on the top of the first layer, then place the second layer on top. Use more frosting on the top and decorate with your handmade fondant daisies. The contrasting colors will make your Daisy Cake visually stunning and incredibly inviting.
There you have it! A step-by-step guide to crafting a delightful Daisy Cake. Enjoy the process as much as the final creation, and don’t forget to share the joy with friends and family. Happy baking!
Variations on Daisy Cake
Daisy Cake is a delightful treat that can take on many roles at the dessert table. Let’s explore a couple of fun variations that can elevate this classic dessert, making it suitable for various occasions.
Fruit-infused Delight
Adding fruit to your Daisy Cake can introduce a burst of flavor and moisture. Here are a couple of ideas to get you started:
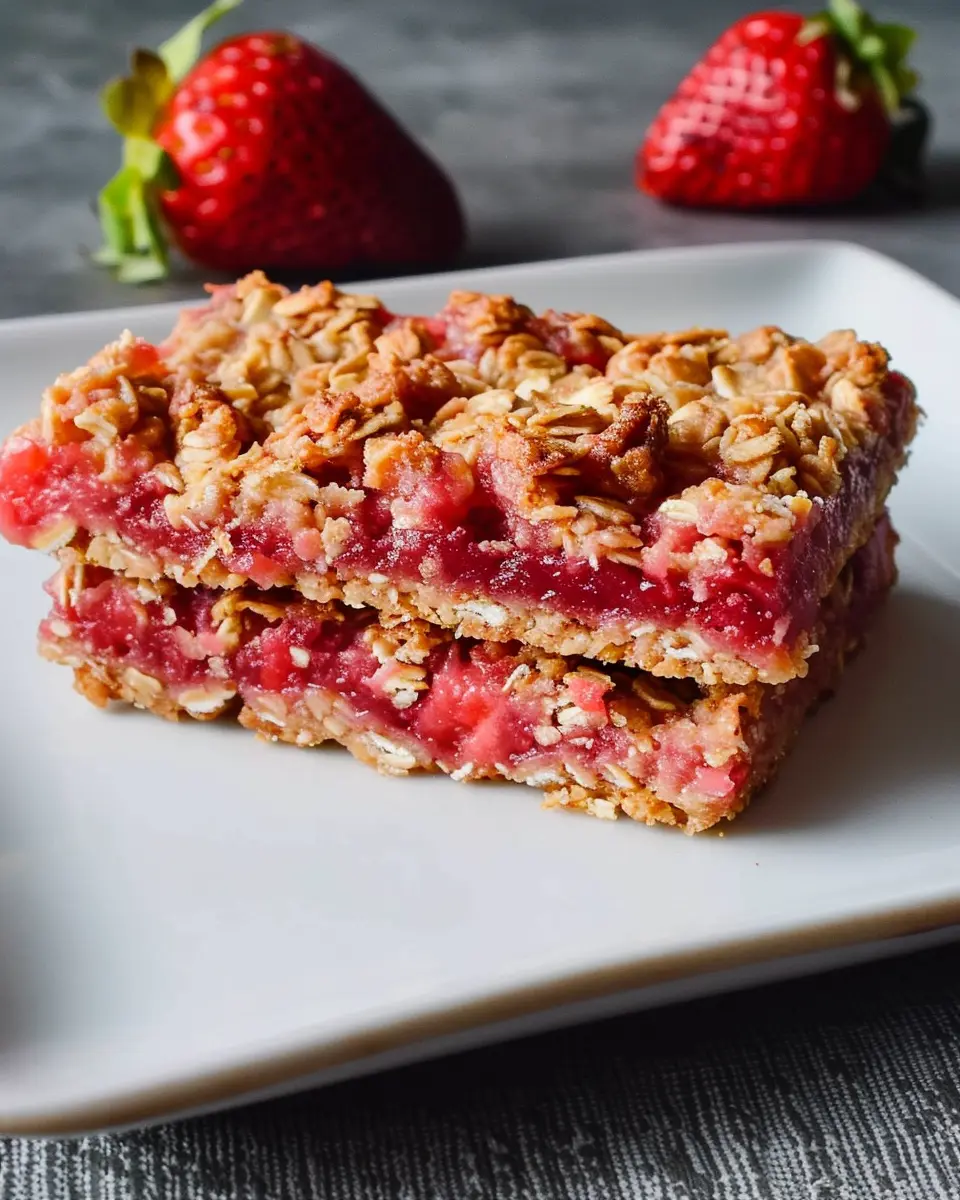
- Berry Bliss: Incorporate fresh strawberries or blueberries into the batter. Their natural sweetness will complement the cake beautifully. You can also top your cake with a berry glaze for an extra pop.
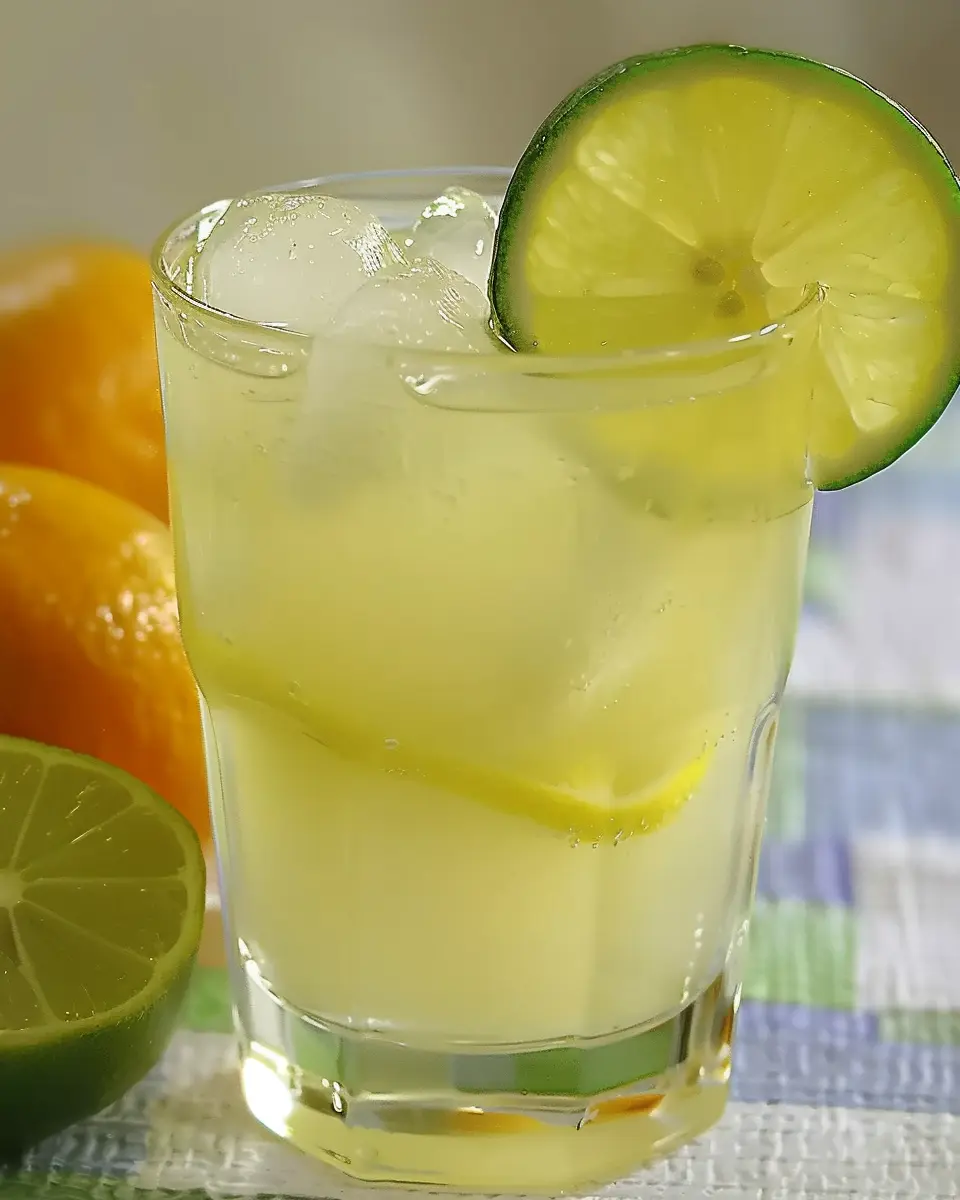
- Citrus Zest: Try adding lemon or orange zest to your cake mix. The bright acidity will balance the sweetness and give your cake a refreshing edge. Finish it with a drizzle of citrus icing for added zing!
For more fruit-based dessert inspiration, consider checking out resources like the Fruit and Vegetable Association.
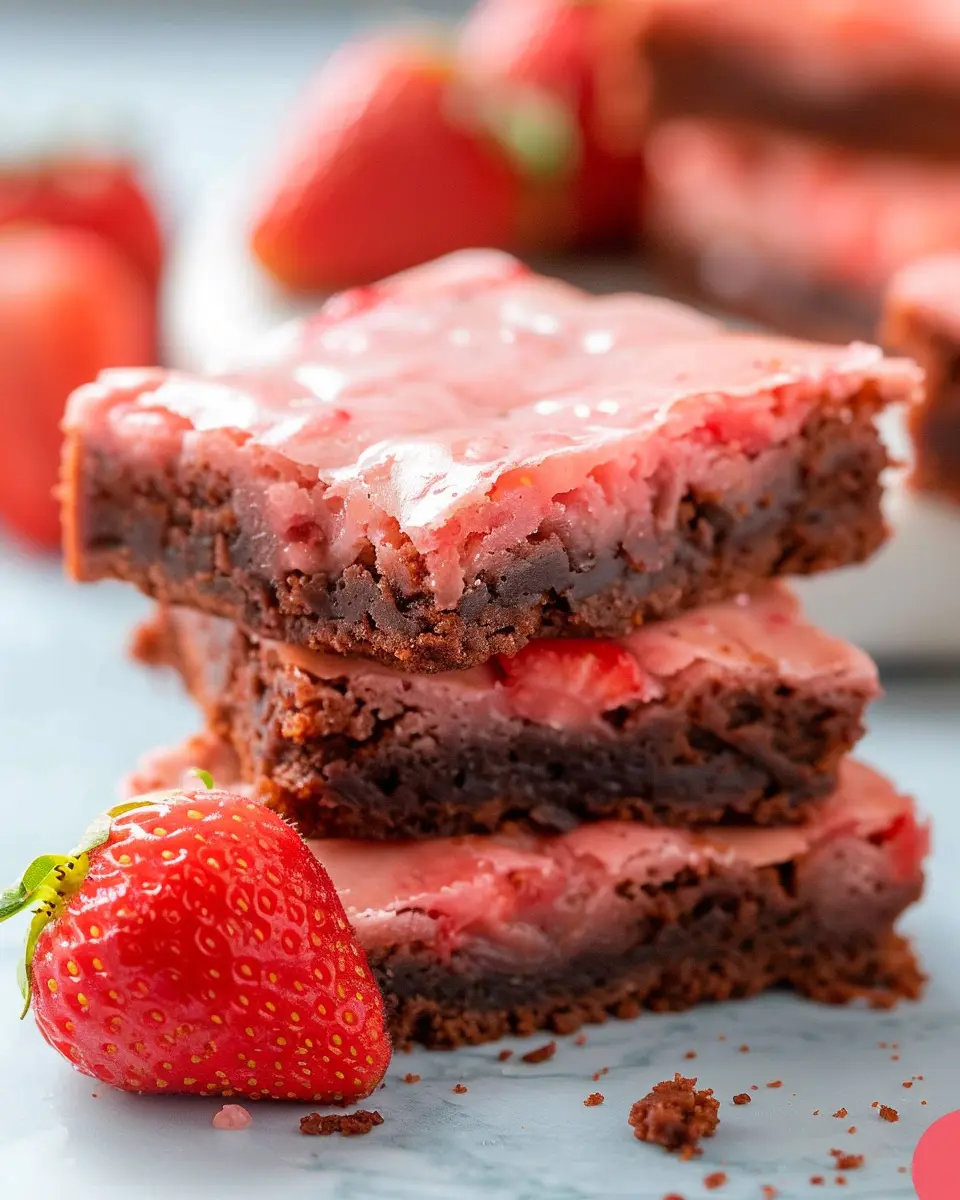
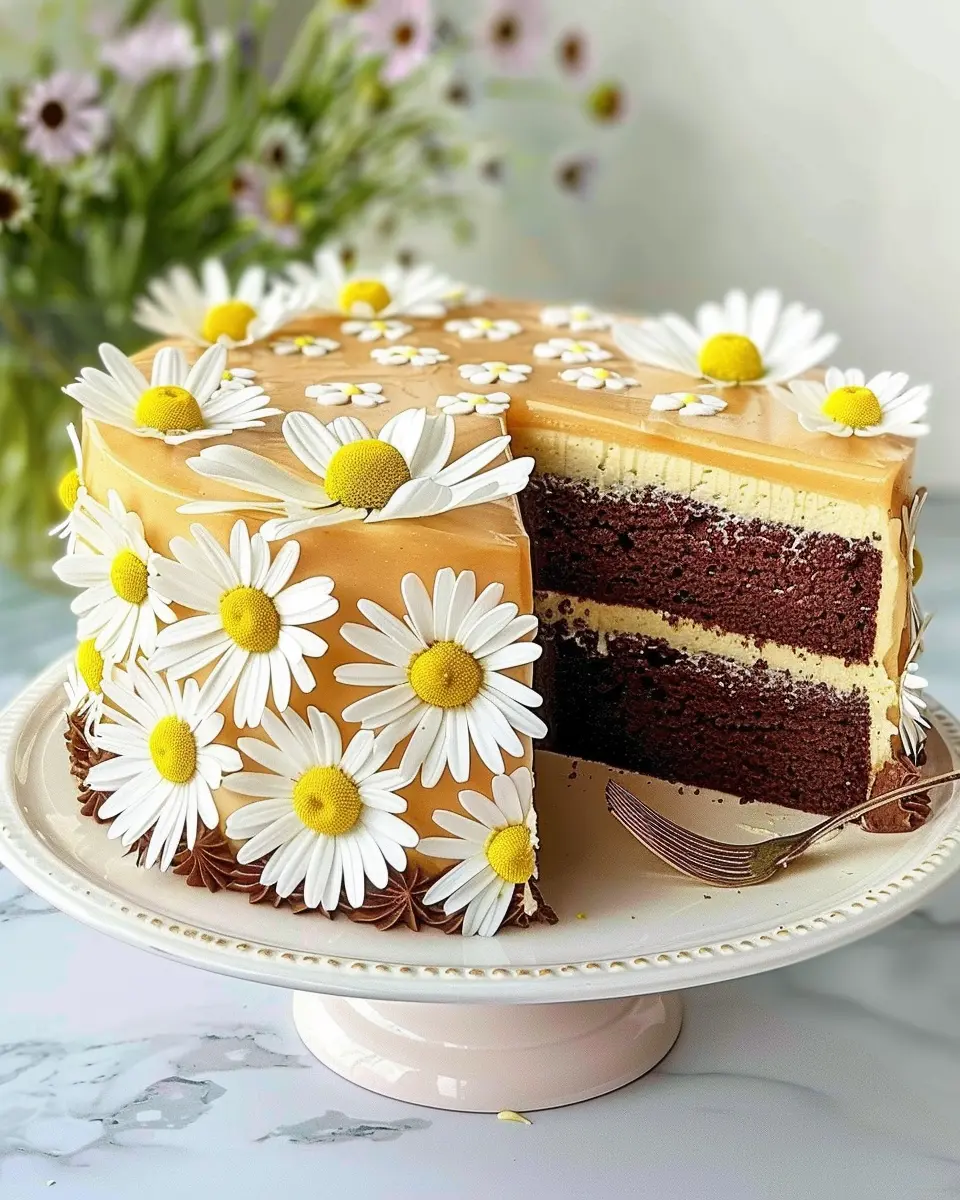
Chocolate Indulgence
For all the chocolate lovers out there, transforming your Daisy Cake into a chocolatey delight is a seamless endeavor. Here’s how to do it:
- Cocoa Powder: Substitute some of the flour with unsweetened cocoa powder. This will give your cake a rich and decadent flavor profile.
- Chocolate Chips: Fold in some semi-sweet chocolate chips to the batter for delightful pockets of melting chocolate throughout your cake.
Whether you choose fruity or chocolatey, these variations on Daisy Cake offer something for every palate, making it a flexible choice for celebrations or weeknight desserts. Remember, the only limit is your imagination! Happy baking!
Cooking Tips and Notes for Daisy Cake
When you’re whipping up a delightful Daisy Cake, a few simple tips can elevate your baking game.
Use Fresh Ingredients for Best Flavor
The flavor of your Daisy Cake hinges on the ingredients you choose. Always opt for fresh, high-quality items—this means using real butter, fresh eggs, and pure vanilla extract. Did you know that fresh baking powder should be used for the best rise? Check the expiration date at the back of the pantry! Fresh ingredients not only enhance taste but also improve texture, so it’s worth the effort.
Importance of Cooling Cakes Properly
Patience is key when it comes to cooling your Daisy Cake. Allow it to cool in the pan for about 10-15 minutes before transferring it to a wire rack. This prevents the cake from becoming soggy and helps maintain its structure. If you’ve ever sliced into a warm cake and had it fall apart, you know this tip is a game changer! Plus, serving your cake at room temperature will allow those flavors to shine.
Feel free to check out this resource for more insights on cooling your cakes effectively!
Serving Suggestions for Daisy Cake
Ideal Pairings with Tea or Coffee
When it comes to enjoying Daisy Cake, choosing the right beverage can elevate your experience. A warm cup of chai tea or a well-brewed cappuccino complements the cake’s light sweetness beautifully. The spices in chai will enhance the subtle flavors, while the creamy notes of cappuccino provide a luscious contrast. For an afternoon pick-me-up, consider preparing a refreshing herbal tea, like chamomile, that balances the sweetness without overpowering it.
Presentation Ideas for Special Occasions
Making Daisy Cake the centerpiece of your gathering? Presentation is everything!
- Layer it Up: Create a tiered display with multiple layers of Daisy Cake, showcasing the whimsical design of each slice.
- Garnish with Fresh Flowers: Place edible flowers around the base for a delightful touch, making it visually appealing.
- Festive Plates: Serve the cake on beautiful platters or colorful paper plates for birthday parties or casual gatherings.
These simple yet effective presentation ideas can turn your Daisy Cake into a showstopper! For more on cake decoration and serving styles, check out resources from Food52 and Bon Appétit.
Remember, sharing your creation is just as rewarding as baking it! What occasion will you celebrate with your Daisy Cake?
Time Breakdown for Daisy Cake
When you’re diving into making a delicious Daisy Cake, it’s important to manage your time efficiently. Here’s a quick breakdown to help you plan your baking adventure.
Preparation Time
Getting everything ready is key. You’ll spend about 20 minutes gathering ingredients, preheating the oven, and prepping your cake pans. Don’t rush; taking your time to measure and mix ensures better results.
Baking Time
Once your cake batter is ready, bake that Daisy Cake for approximately 30-35 minutes. Keep an eye on it; every oven can be a bit different. Insert a toothpick to check for doneness!
Assembly Time
After cooling, it’s time to assemble! This should take about 15 minutes, where you’ll layer and frost your cake, creating that beautiful daisy effect.
Total Time
In total, you can expect about 1 hour and 10 minutes from start to finish. Not too bad for a stunning cake that’s bound to impress your friends! If you’re new to baking, check out these baking tips to make the process easier!
Ready to whip up your Daisy Cake? Your kitchen will be filled with delightful scents in no time!
Nutritional Facts for Daisy Cake
Understanding the nutritional profile of your beloved Daisy Cake can help you enjoy it even more! Here are a few key points to consider:
Calories per Slice
Each slice of Daisy Cake typically contains around 250-300 calories. This makes it a delightful treat without overindulging.
Sugar Content
For those keeping an eye on sugar intake, a slice usually has about 15-20 grams of sugar. It’s sweet, but moderation is key—perhaps enjoy it as a weekend indulgence!
Serving Size Recommendations
Aiming for a slice of Daisy Cake that’s around 1/12 of a standard cake is often perfect. It satisfies your sweet tooth while allowing room for balance throughout your day. Remember, sharing is caring, so consider serving it at gatherings!
For more insights on healthy dessert options, check out resources like The USDA’s Dietary Guidelines.
FAQ About Daisy Cake
Can I make this cake ahead of time?
Absolutely! Daisy Cake is perfect for making in advance. You can bake the cake layers up to two days before you plan to serve it. Just wrap each layer in plastic wrap and keep them in the fridge. This not only saves you time but allows the flavors to meld beautifully. If you want to prepare even further ahead, you can freeze the layers. Just ensure they’re well-wrapped to prevent freezer burn. When you’re ready to enjoy your cake, simply thaw it overnight in the fridge, then frost and decorate as desired.
How should I store leftovers?
If you have any leftovers from your Daisy Cake, don’t worry about waste! Store your cake in an airtight container at room temperature for up to three days. If you’ve used a perishable frosting, like cream cheese, it’s best to keep it in the refrigerator. You can also rewrap individual slices in plastic wrap for an easy grab-and-go treat. For longer storage, consider freezing the slices; just wrap them tightly to maintain freshness. They can last in the freezer for up to three months!
Are there substitutions for the cake ingredients?
Definitely! The beauty of baking is in its versatility. Here are a few substitutions you can try for your Daisy Cake:
- Flour: If you’re gluten-free, almond flour or coconut flour can work well. Just note that different flours absorb moisture differently.
- Sugar: Consider using coconut sugar or honey if you’re looking for a more natural sweetener.
- Butter: For a dairy-free option, replace it with coconut oil or vegan butter.
Feel free to experiment with these alternatives to suit your dietary needs or taste preferences. For more tips on ingredient substitutions, check out this resource from the American Institute for Cancer Research.
By addressing these common questions, we hope to make your Daisy Cake baking adventure a breeze! If you have any more inquiries, don’t hesitate to ask. Happy baking!
Conclusion on Daisy Cake
Final Thoughts on Baking Your Own Daisy Cake
Creating your own Daisy Cake can be an incredibly rewarding experience that brings together the joy of baking and the satisfaction of enjoying a homemade dessert. As you whisk together the ingredients and watch the cake rise, remember that the heart of this recipe lies in its simplicity and the love you put into it. Whether you’re celebrating a special occasion or just want to treat yourself, this cake never fails to impress. Don’t forget to share your baking journey on social media or with friends! If you’re eager for more baking inspiration, check out King Arthur Baking for more delightful recipes. Happy baking!
PrintDaisy Cake: The Best Delightfully Moist Recipe for Every Occasion

This delightful Daisy Cake is perfect for every occasion, offering a moist texture and amazing flavor that will leave your guests asking for seconds.
- Prep Time: 15 minutes
- Cook Time: 30 minutes
- Total Time: 45 minutes
- Yield: 8 servings
- Category: Desserts
- Method: bake
- Cuisine: American
- Diet: vegetarian
Ingredients
- 2 cups all-purpose flour
- 1 ½ cups granulated sugar
- ½ cup unsalted butter
- 1 cup whole milk
- 3 large eggs
- 2 tsp baking powder
- 1 tsp vanilla extract
- ¼ tsp salt
Instructions
- Preheat the oven to 350°F (175°C).
- In a mixing bowl, cream together the butter and sugar until light and fluffy.
- Add the eggs one at a time, beating well after each addition.
- Stir in the vanilla extract.
- In a separate bowl, whisk together the flour, baking powder, and salt.
- Gradually add the dry ingredients to the creamed mixture, alternating with milk, and mix until just combined.
- Pour the batter into a greased cake pan and smooth the top.
- Bake for 25-30 minutes or until a toothpick inserted in the center comes out clean.
- Allow to cool before serving.
Notes
- For added flavor, consider adding lemon zest or almond extract.
- This cake can be frosted with your favorite icing or served plain.
Nutrition
- Serving Size: 1 slice
- Calories: 350
- Sugar: 25g
- Sodium: 200mg
- Fat: 15g
- Saturated Fat: 9g
- Unsaturated Fat: 4g
- Trans Fat: 0g
- Carbohydrates: 45g
- Fiber: 1g
- Protein: 6g
- Cholesterol: 70mg