Introduction to Apple Bars
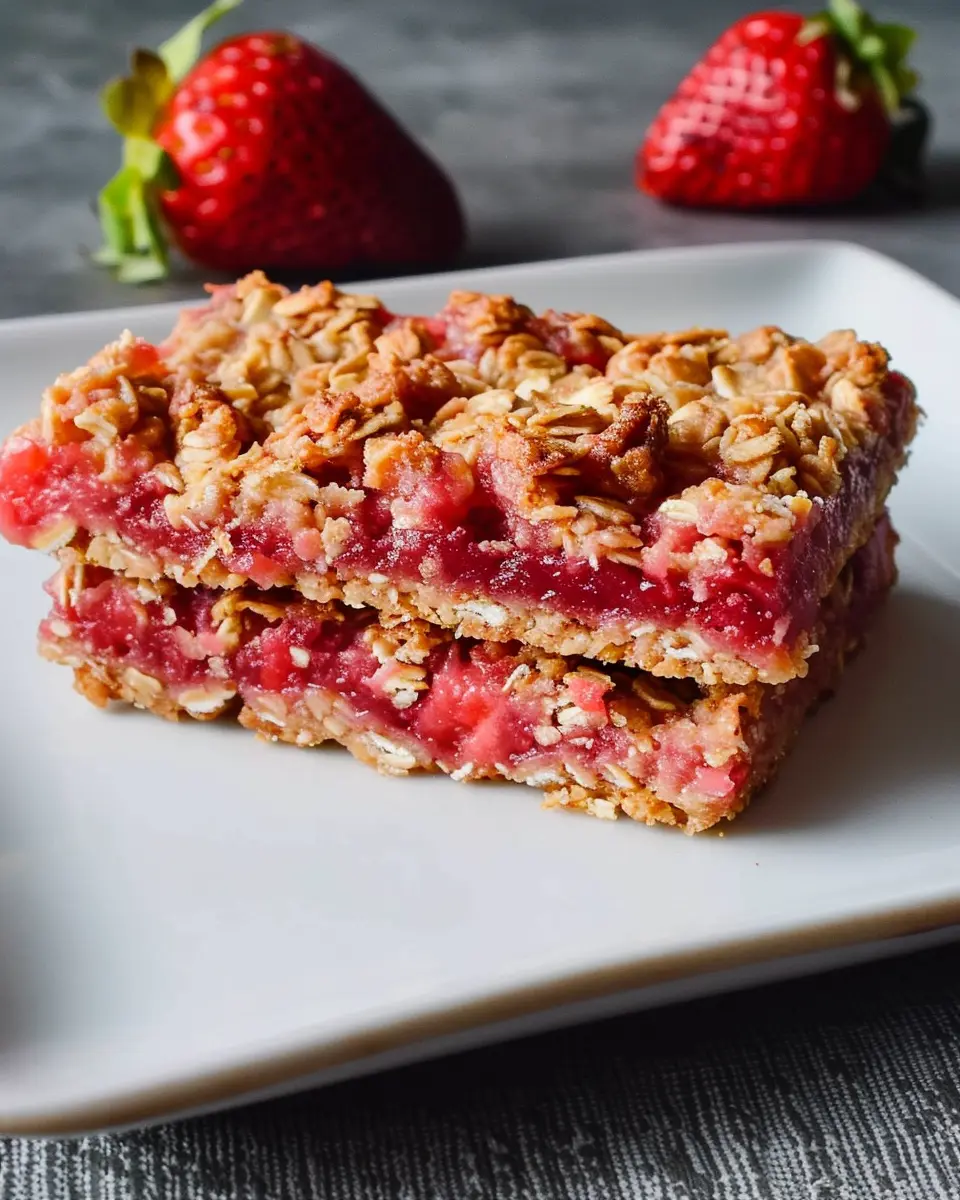
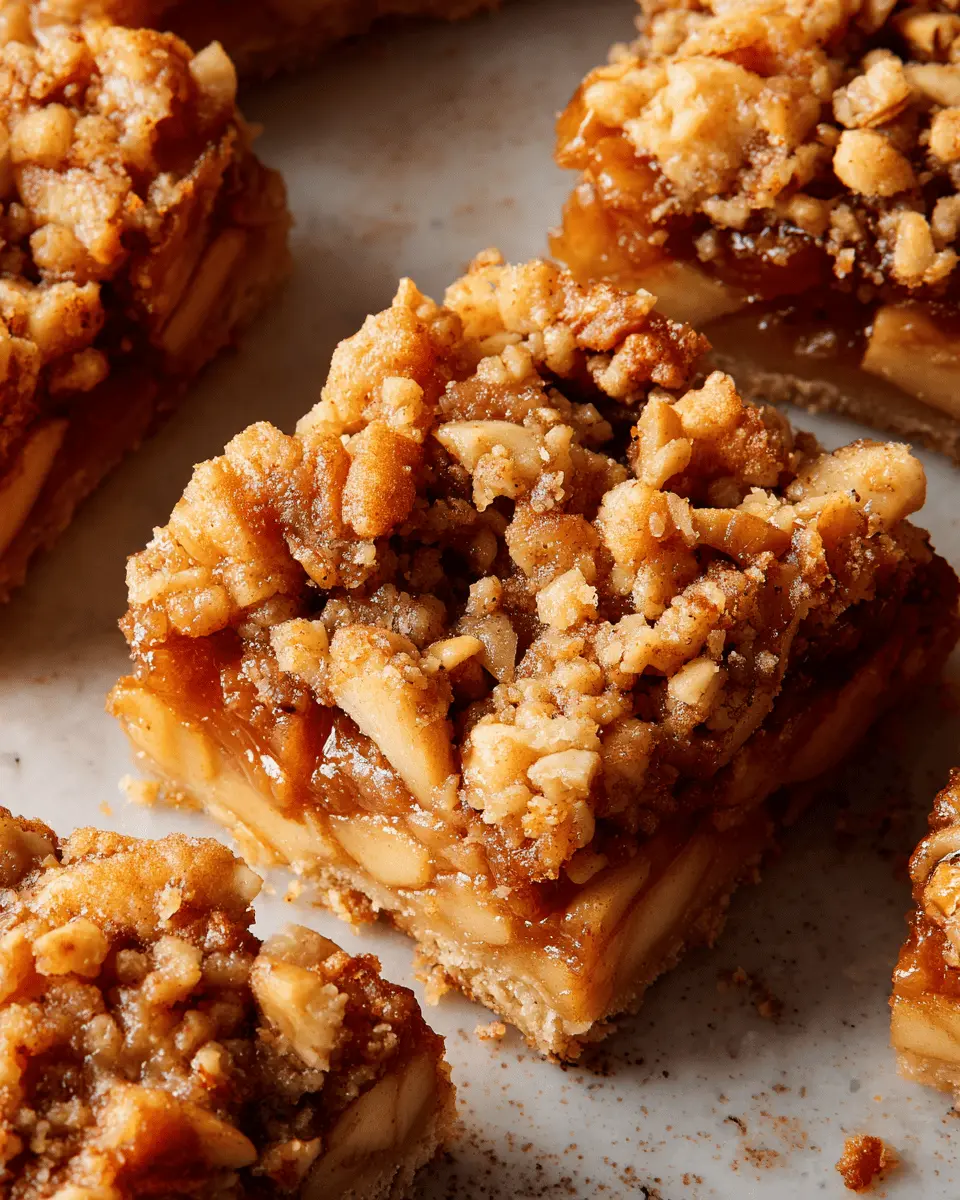
When it comes to homemade treats, few desserts capture the essence of comfort and nostalgia quite like apple bars. These delightful baked goods are not just a feast for the eyes; they bring back fond memories of fall afternoons, cozy kitchens, and the sweet aroma of cinnamon wafting through the air. If you’ve ever indulged in a slice of crisp, warm apple goodness topped with a drizzle of caramel, you know exactly what I mean!
Why apple bars are the perfect homemade treat
So, why are apple bars the quintessential go-to for your next bake-off or casual lunch date? Let’s dive into their irresistible charm:
-
Flavorful Experience: The combination of tart and sweet apples, often enhanced with spices like cinnamon and nutmeg, creates an explosion of flavors that dance on your taste buds. According to Food52, the sweet-tart balance in apple desserts tends to resonate with a larger audience, making these bars excellent crowd-pleasers.
-
Versatile Serving Options: Whether served warm with a scoop of ice cream or enjoyed cold with a cup of tea, apple bars have a flexible appeal. They can be enjoyed any time of the day—breakfast, snack, or dessert—making them a versatile addition to your recipe repertoire.
-
Easy to Make: Unlike more complex desserts, apple bars are often straightforward and do not require advanced baking skills. Plus, they can be whipped up in under an hour, allowing for effortless entertaining or last-minute cravings. If you need inspiration for quick recipes, check out Serious Eats!
-
Nutrition Benefits: Apples are packed with fiber and essential nutrients. A single apple offers about 4 grams of fiber, helping you feel full and satisfied. So, indulging in apple bars can be a guilt-free way to enjoy something sweet, especially when made with whole ingredients.
In summary, apple bars are not just another dessert; they embody a cozy, heartfelt experience that appeals to all senses. With a delightful aroma, a comforting texture, and a multitude of ways to enjoy them, they make for the perfect homemade treat. The allure of these bars is undeniable, and soon enough, they might just become your new favorite bakery-style dessert. Keep reading for our easy-to-follow recipe!
Ingredients for Apple Bars
When you’re ready to whip up a batch of delicious apple bars, you’ll want to gather some essential ingredients that provide both flavor and texture. Here’s what you need:
- Fresh Apples: About 4 cups of peeled, cored, and sliced apples. Fuji or Honeycrisp work wonders for their sweetness and firmness.
- Flour: 2 cups of all-purpose flour will give your bars the perfect chewy base.
- Sugar: A mix of 3/4 cup of granulated sugar and 1/4 cup of brown sugar adds depth and richness.
- Butter: 1/2 cup of unsalted butter, softened, creates a lovely buttery taste and texture.
- Eggs: 2 large eggs act as a binding agent and help with moisture.
- Cinnamon: 1 teaspoon of ground cinnamon enhances that comforting autumn flavor.
- Baking Powder & Baking Soda: 1 teaspoon of each to ensure your bars rise beautifully.
- Vanilla Extract: 1 teaspoon for added aroma and flavor.
- Salt: Just a pinch to balance the sweetness.
These simple ingredients combine to create a delightful treat, perfect for sharing (or not!). Want to explore more about apples? Check out the USDA’s Nutritional Guidelines for health benefits. Happy baking!
Step-by-Step Preparation for Apple Bars
Creating delectable apple bars can become a cherished kitchen tradition. These delightful treats are perfect for any occasion, whether you’re hosting a gathering or simply craving something sweet at home. Let’s dive into the preparation process so you can have your kitchen smelling heavenly and your taste buds satisfied!
Gather and Prepare Your Ingredients
Before you start baking, it’s essential to gather your ingredients. This not only keeps things organized but also ensures you have everything on hand when you need it. Here’s what you’ll typically require:
-
For the Dough:
-
2 cups all-purpose flour
-
1/2 cup granulated sugar
-
1/2 teaspoon salt
-
1 cup (2 sticks) cold unsalted butter, diced
-
1 egg yolk (optional for richness)
-
For the Apple Filling:
-
4 to 5 medium apples, peeled and sliced (Granny Smith works beautifully)
-
1/4 cup brown sugar
-
1 tablespoon lemon juice
-
1 teaspoon cinnamon
-
A pinch of nutmeg
-
For the Crumb Topping:
-
1/2 cup oats
-
1/2 cup brown sugar
-
1/3 cup all-purpose flour
-
1/4 cup melted butter
-
1/2 teaspoon cinnamon
Make sure to select fresh, crisp apples for the best flavor! A great source for picking the right apple varieties is The Spruce Eats, which provides insight into how each type holds up when baked.
Make the Dough
Now that your ingredients are prepped, it’s time to whip up the dough. In a large mixing bowl, combine the flour, sugar, and salt. Use a pastry cutter or your hands to blend in the cold, diced butter until the mixture resembles coarse crumbs. If you’re feeling adventurous, add the egg yolk to enrich the dough further.
Once combined, gather the dough into a ball, wrap it in plastic, and chill it in the fridge for about 30 minutes. Chilling helps prevent the butter from melting during baking, leading to that perfect flaky texture.
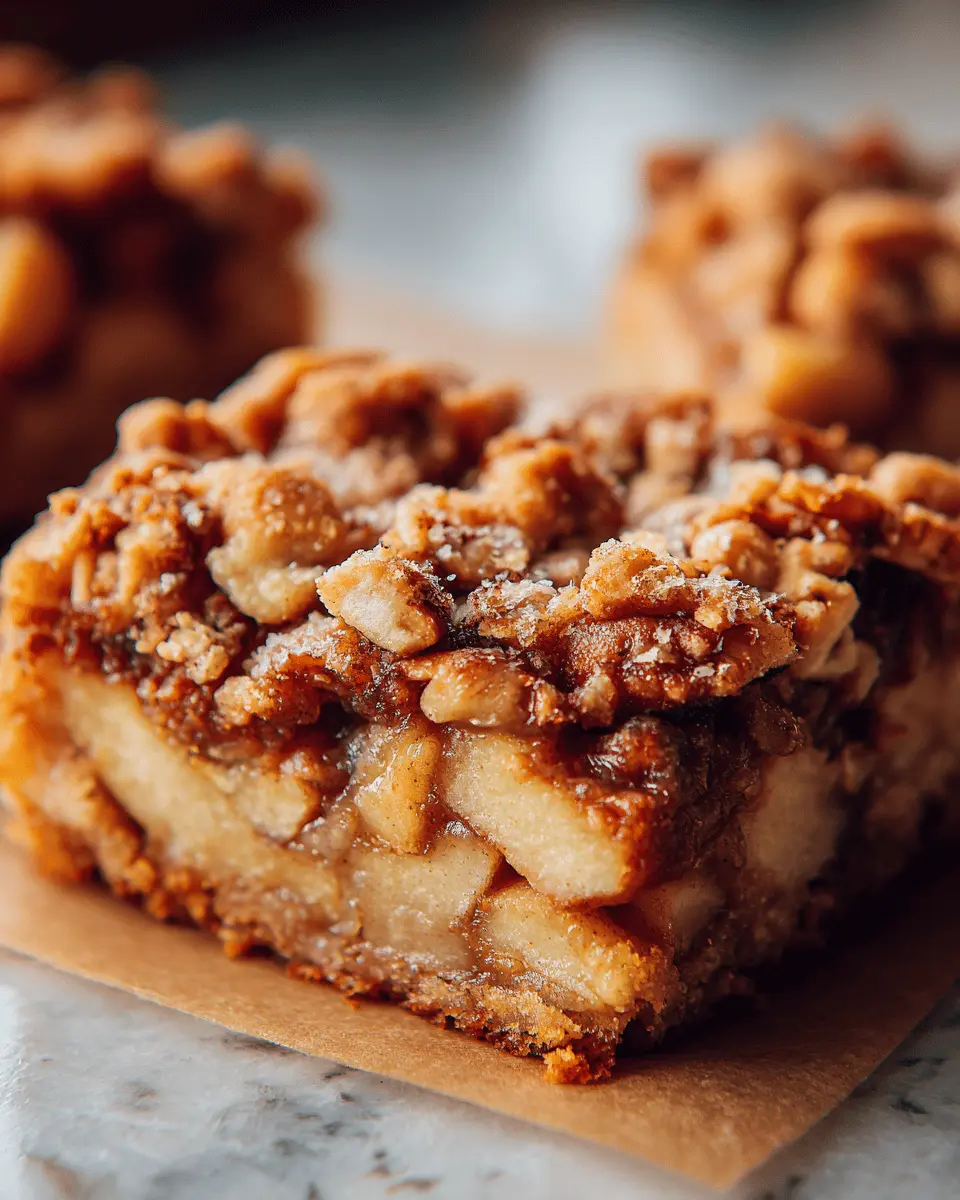
Prepare the Apple Filling
While your dough is chilling, let’s work on the filling. In a separate bowl, toss your sliced apples with brown sugar, lemon juice, cinnamon, and nutmeg. This not only coats the apples but also infuses them with flavor. Allow the mixture to sit for about 15–20 minutes, enabling the sugars to draw out the juices from the apples. This step ensures your bars won’t be soggy later.
Roll Out the Dough and Assemble the Bars
Next, preheat your oven to 350°F (175°C). On a floured surface, roll out about two-thirds of the chilled dough into a rectangle roughly 1/4 inch thick. Transfer the rolled dough into a greased 9×13 inch baking dish, ensuring it covers the bottom completely. Now, pour your apple filling over the dough, spreading it evenly.
Using the remaining dough, roll it out and cut it into strips to create a lattice pattern on top of the apple filling. This not only looks visually stunning but also allows steam to escape during baking, keeping your apple bars perfectly cooked.
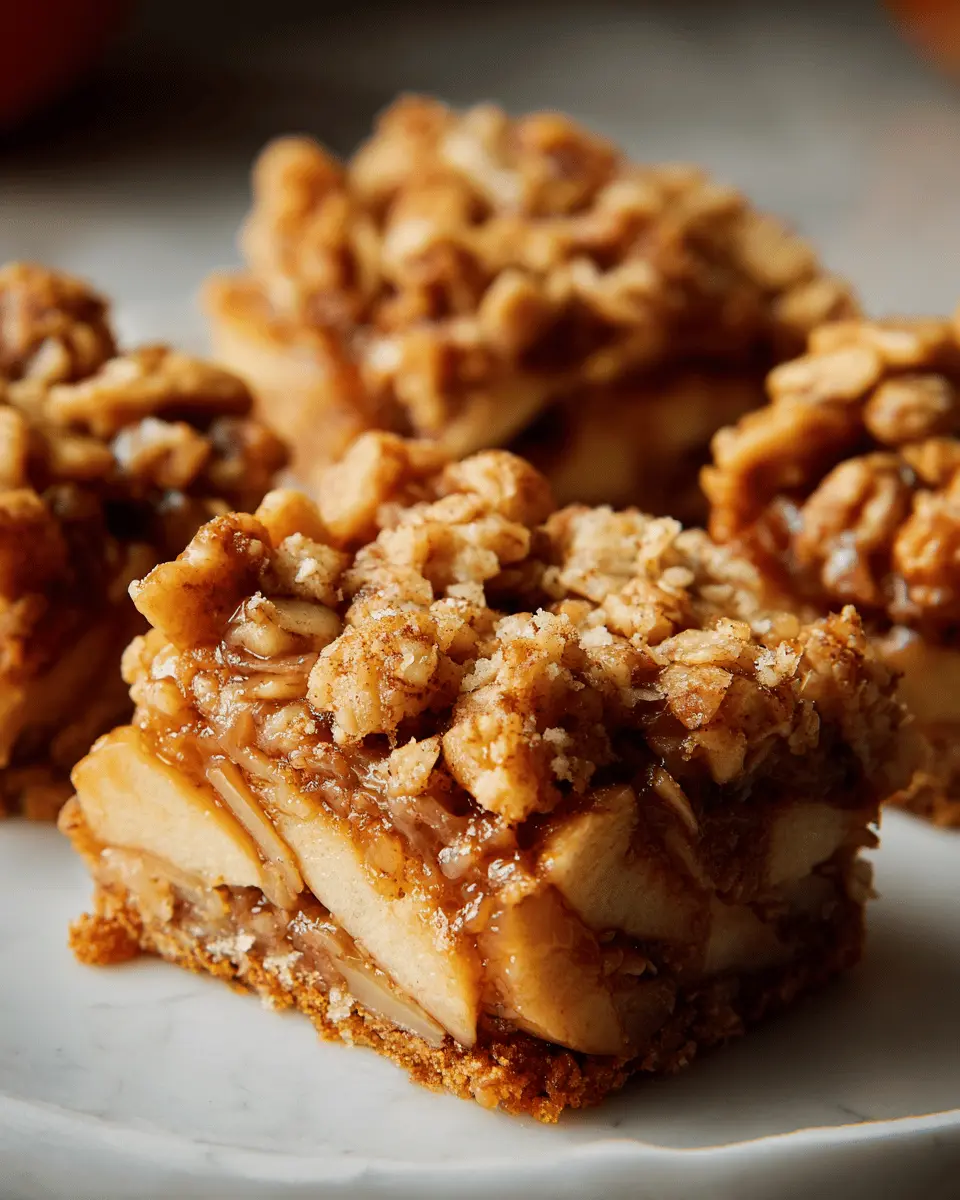
Add the Crumb Topping
Now it’s time for the finishing touch! In a small bowl, mix oats, brown sugar, flour, melted butter, and cinnamon until crumbly. Sprinkle this mixture generously over the apple filling and the lattice work. It adds a delightful crunch to your apple bars and enhances the overall flavor.
Bake to Perfection
Place your assembled apple bars into the preheated oven and bake for about 40–45 minutes, or until the top is golden brown and the apple filling is bubbling. Your kitchen will soon be filled with a warm, inviting aroma!
Once baked, remove the apple bars from the oven and allow them to cool in the pan for at least 15 minutes before cutting into squares. This will make serving easier and keeps those delicious layers intact.
And there you have it—a step-by-step guide to creating mouth-watering apple bars that are sure to impress! Enjoy your freshly baked treats, and don’t forget to share them with friends or savor them yourself. Happy baking!
Variations on Apple Bars
Apple bars are a delightful treat that can be tailored to fit every palate. Here are a couple of variations that will elevate your apple bars to new heights.
Adding Nuts for a Crunch
If you’re like me, there’s nothing quite like that satisfying crunch in any dessert. Adding nuts to your apple bars is a fantastic way to introduce texture and flavor. Consider using:
- Walnuts: Earthy and rich, they pair perfectly with the sweetness of apples.
- Pecans: Their caramel notes can enhance the overall taste.
- Almonds: Sliced or chopped, they add an extra crunch without overwhelming the apple flavor.
To incorporate nuts, simply fold them into your batter before baking or sprinkle them on top for a delightful finish. This not only enhances the taste but also provides a boost of nutrients—walnuts are packed with antioxidants and omega-3s. You can find more about the health benefits of nuts at Healthline.
Incorporating Caramel for Sweetness
Looking for a way to amp up the sweetness in your apple bars? Caramel is your answer! Drizzling warm caramel over the baked bars is a showstopper. Here are a few options for adding that gooey goodness:
- Caramel Sauce: Drizzle it on right before serving for a warm, melty treat.
- Caramel Bits: Fold these into the batter for little bursts of caramel that melt as they bake.
Not only does caramel add sweetness, but it also balances the tartness of the apples. For tips on making your own simple caramel sauce, check out this guide on Sally’s Baking Addiction.
By trying these variations, you’ll create a version of apple bars that might just become the centerpiece of every gathering!
Cooking Tips and Notes for Apple Bars
Importance of Tart Apples
When making delicious apple bars, the choice of apples is crucial. Opt for tart varieties like Granny Smith or Jonagold. Tart apples provide a delightful contrast to the sweetness of the filling, ensuring your bars aren’t overly sugary. According to The Produce Mom, the right apple can elevate your dessert’s flavor profile significantly. Picking the right fruit makes all the difference!
Chilling the Dough for Best Results
For a perfectly flaky crust, don’t skip the chilling step! After mixing your dough ingredients, wrap it in plastic wrap and refrigerate for at least 30 minutes. Chilling solidifies the fats, allowing them to create that sought-after flaky texture when baked. This simple step can take your apple bars from good to great! Remember, patience pays off in baking, so resist the urge to skip this key step.
By following these tips, you’ll be well on your way to baking apple bars that impress friends and family alike. Happy baking!
Serving Suggestions for Apple Bars
When you bake a batch of delicious apple bars, savoring them in delightful ways can transform your treat into a memorable experience. Here are a couple of suggestions to elevate your enjoyment!
Indulge with Ice Cream or Whipped Cream
One of the best ways to serve apple bars is by pairing them with a scoop of vanilla ice cream or a dollop of whipped cream. The creamy texture perfectly complements the warm, spiced apples and adds an extra layer of indulgence. Opt for homemade whipped cream for a fresher touch—it’s incredibly simple and enhances the flavor beautifully.
Sip with Coffee or Tea
Imagine enjoying your apple bars with a hot cup of coffee or tea. A rich, full-bodied coffee will contrast nicely with the sweetness of the bars, while a spiced chai or hot herbal tea can enhance the apple and cinnamon notes. The combination of warm desserts and hot beverages creates a cozy atmosphere, making it a perfect afternoon treat.
For more inspiration, check out these delightful coffee pairings here. And if you’re curious about different types of teas that will complement apple bars, take a look here.
With these serving suggestions, you’re all set to enjoy your apple bars to the fullest!
Time Breakdown for Apple Bars
Preparation Time
Making apple bars is simple and enjoyable! You’ll need about 15 minutes to gather your ingredients and prepare the filling. Make sure to chop your apples finely for the best texture.
Cooking Time
Once everything is prepped, pop your apple bars in the oven for about 30 to 35 minutes. This is the perfect time to relax—maybe enjoy a cup of coffee or catch up on your favorite podcast.
Total Time
In total, you’re looking at around 50 minutes from start to finish. This includes preparation and cooking. Essentially, you can whip up this delightful treat and still have time for your favorite evening activities!
For more recipe inspiration, check out Joy of Baking for variations and tips on crafting the perfect dessert.
Nutritional Facts for Apple Bars
Calories per serving
Apple bars are not only delicious but can also fit well into a balanced diet. Each serving typically contains around 150-200 calories, depending on the specific ingredients used. This makes them a perfect sweet treat without the guilt!
Key nutrients
When you indulge in these delightful apple bars, you’re not just satisfying your sweet tooth—you’re also enjoying a variety of nutrients:
- Fiber: Apples are a great source of dietary fiber, aiding in digestion and promoting a feeling of fullness.
- Vitamins: Rich in Vitamin C and several B vitamins, apples contribute to a healthy immune system and energy levels.
- Antioxidants: The phytochemicals found in apples help combat oxidative stress, promoting overall health.
For more in-depth nutritional information, check out the USDA’s food database or similar resources. Keeping an eye on wholesome ingredients can elevate your snacks while offering some health benefits. So the next time you reach for an apple bar, you can feel good about the choice you’re making!
FAQs about Apple Bars
If you’re diving into the world of apple bars, you might have a few burning questions. Let’s tackle those to ensure your baking adventure is a smashing success!
Can I use frozen apples for the filling?
Absolutely! Frozen apples can be a convenient and delicious alternative to fresh ones. Just make sure to let them thaw and drain excess moisture before using them in your filling. You might also want to add a bit more sugar and spice since frozen apples can sometimes lack the same flavor punch as fresh ones. For tips on maximizing flavor, check out this resource on apple varieties.
How do I store leftover apple bars?
Storing your apple bars properly is essential for maintaining their freshness. Here’s how you can do it:
- Room Temperature: If you plan on eating them within a few days, store them in an airtight container at room temperature.
- Refrigerator: For longer storage, place them in the fridge, again in an airtight container. They can last up to a week this way.
- Freezing: If you want to save some for later, wrap them tightly in plastic wrap and then place them in a freezer bag. They can last up to three months in the freezer!
What can I substitute for butter in the dough?
If you’re looking to swap out butter in your apple bars dough, consider these options:
- Coconut Oil: It adds a subtle coconut flavor and keeps everything vegan-friendly.
- Shortening: This can create a flaky texture similar to butter.
- Avocado: Mashed avocado not only replaces fat but also adds a creamy texture and healthy fats.
Experimenting with these substitutes can bring new tastes and textures to your apple bars!
Conclusion on Apple Bars
Final thoughts on enjoying homemade apple bars
When it comes to homemade apple bars, the experience goes beyond just taste; it’s about the delightful aroma that fills your kitchen, the joy of sharing them with loved ones, and the simple pleasure of indulging in a comforting dessert. These bars are perfect for any occasion, whether it’s a casual gathering or a cozy night in with your favorite book.
Think about pairing your apple bars with a scoop of vanilla ice cream or a drizzle of caramel sauce for an extra touch of decadence. Have you ever thought about experimenting with different spices? A hint of nutmeg or a splash of lemon juice can elevate the flavor. Make it a fun weekend project—invite friends over for a baking party, and enjoy the scene as much as the treat!
For more recipes and tips on enjoying delicious desserts, check out sources like The Spruce Eats or Taste of Home. Remember, the best part about apple bars is how personal they can be. So, get creative and make them your own!
PrintApple Bars: Easy and Indulgent Recipe for Homemade Delight
Delicious homemade apple bars that are easy to make and perfect for any occasion. Packed with flavor and indulgence, these bars will become a family favorite.
- Prep Time: 15 minutes
- Cook Time: 40 minutes
- Total Time: 55 minutes
- Yield: 12 bars
- Category: Dessert
- Method: baking
- Cuisine: American
- Diet: vegetarian
Ingredients
- 3 cups all-purpose flour
- 2 cups sugar
- 1 cup unsalted butter, softened
- 1 teaspoon baking powder
- 1/2 teaspoon salt
- 1 teaspoon cinnamon
- 4 large apples, peeled and sliced
Instructions
- Preheat the oven to 350°F (175°C).
- In a large bowl, cream together the butter and sugar until smooth.
- Beat in the eggs one at a time, then stir in the vanilla.
- Combine flour, baking powder, salt, and cinnamon; gradually stir into the creamed mixture.
- Fold in the apples.
- Spread the batter into a greased 9×13 inch pan.
- Bake for 30 to 40 minutes, or until a toothpick inserted into the center comes out clean.
- Let cool and cut into bars.
Notes
- For a sweeter bar, add more sugar.
- Serve with ice cream for an extra indulgence.
Nutrition
- Serving Size: 1 bar
- Calories: 250
- Sugar: 20g
- Sodium: 100mg
- Fat: 10g
- Saturated Fat: 6g
- Unsaturated Fat: 4g
- Trans Fat: 0g
- Carbohydrates: 35g
- Fiber: 2g
- Protein: 2g
- Cholesterol: 40mg