Introduction to Santa Cheesecake Hats
The holiday magic of Santa cheesecake hats
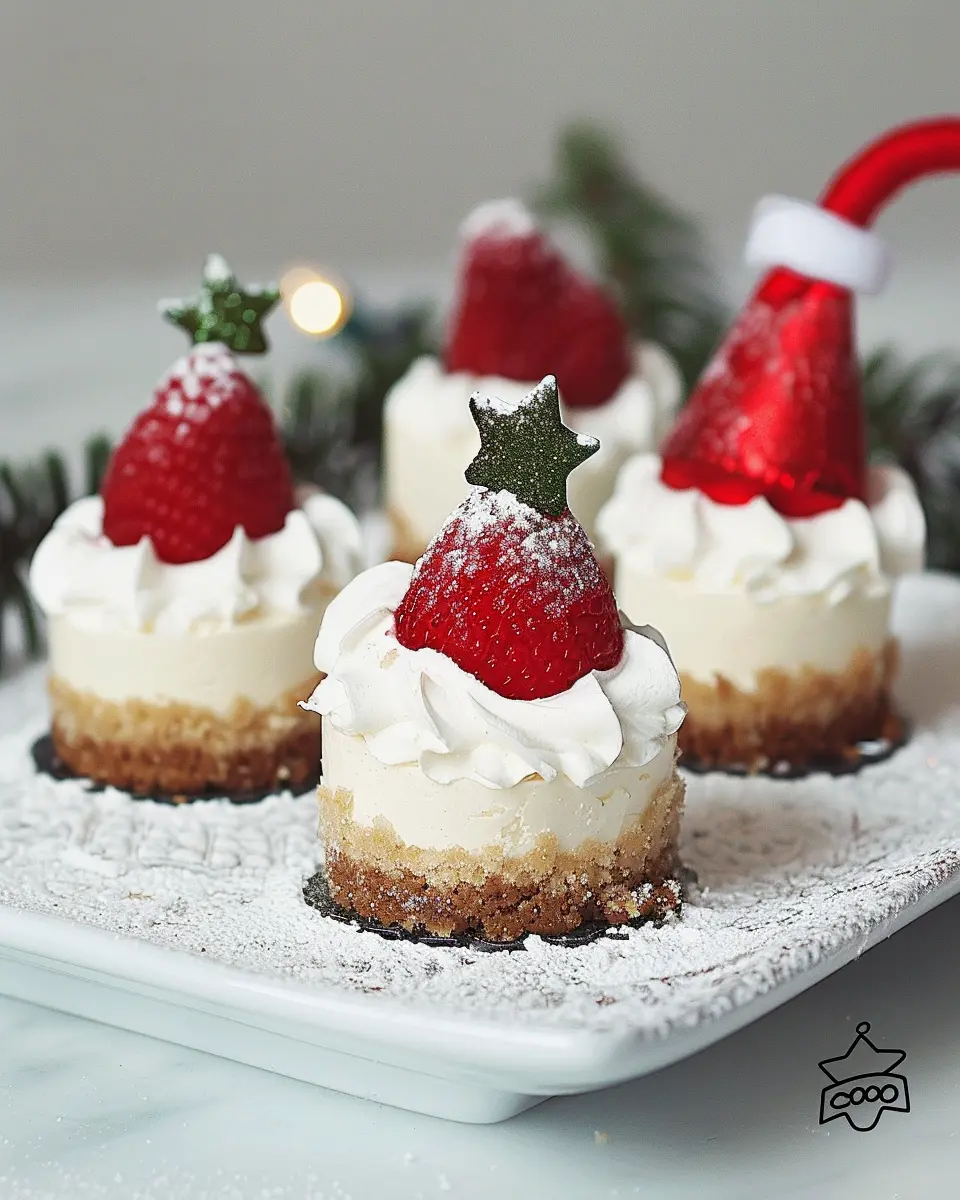
Ah, the holiday season! It’s that wonderful time of year when kitchens are filled with laughter, the smell of baked goods wafts through the air, and festive decorations create a warm ambiance. One delightful treat that captures the spirit of this season is Santa cheesecake hats. Imagine rich, creamy cheesecake topped with decorative elements that resemble festive hats—how charming is that?
Santa cheesecake hats not only satisfy your sweet tooth but also add a whimsical touch to your holiday gatherings. They’re an ideal dessert for parties, family gatherings, or even just a cozy night watching holiday movies. With their playful design and delicious flavor, they’re sure to be a conversation starter.
Making cheesecake has become quite the art form, and if you’re looking for tips to master this delectable dish, you might want to check out resources like BBC Good Food for expert advice. Choosing high-quality ingredients is essential. Cream cheese, for instance, plays a pivotal role in crafting that luscious texture we all adore in a cheesecake. Opt for products that offer high fat content for the best results.
The beauty of Santa cheesecake hats lies in their versatility. You can customize them to fit various tastes and diets—whether you prefer traditional flavors or something a bit more adventurous. Luckily, they are also fairly easy to prepare, making them perfect for young professionals looking to impress guests without spending entire days in the kitchen. Plus, who doesn’t enjoy indulging in a decadent treat after a long workweek?
As you gear up for the holiday festivities, consider how Santa cheesecake hats will elevate your dessert table. Not only do they provide a scrumptious end to a meal, but they also mirror the joy and excitement of the season. So roll up your sleeves, gather your favorite flavors, and let’s create some holiday magic together!
With that in mind, let’s dive right into the recipe, which will detail how to make these adorable cheesecakes that will undoubtedly steal the show at your next gathering.
Ingredients for Santa Cheesecake Hats
Creating the perfect Santa Cheesecake Hats can bring joy to your festive gatherings. Let’s dive into the essential ingredients you’ll need to whip up these delightful treats!
The Sweet Base
- Cream Cheese: 16 oz, softened – the star of the show for that rich, creamy flavor.
- Granulated Sugar: ½ cup – for just the right sweetness.
- Vanilla Extract: 1 tsp – adds that warm, aromatic touch.
- Sour Cream: ½ cup – enhances the creaminess and adds a tangy twist.
The Crunchy Crust
- Graham Cracker Crumbs: 1 ½ cups – these will give your cheesecake hats their delightful crunch.
- Unsalted Butter: ½ cup, melted – binds everything together.
Toppings for Festive Flair
- Turkey Bacon: 4 slices, cooked and crumbled – adds a savory touch to balance the sweetness.
- Chicken Ham: 4 oz, diced – a flavorful addition that fits the seasonal spirit.
- Red and Green Sprinkles: for a festive decoration – who doesn’t love a pop of color?
These ingredients form the foundation of your Santa Cheesecake Hats. As you gather these items, remember that the joy of baking often comes from experimenting, so don’t hesitate to make the recipe your own! For more sweet inspirations, check out this delightful cheesecake variation.
Step-by-step preparation of Santa Cheesecake Hats
Making Santa cheesecake hats is not only a delightful baking endeavor, but it’s also an entertaining holiday activity that’s sure to impress your friends and family. This recipe combines creamy cheesecake with a crunchy graham cracker crust, topped off with a festive strawberry to create an adorable Santa hat appearance. So, let’s get started with the detailed preparation steps!
Gather your ingredients
Before you dive into the magic of baking, the first step is to gather all your ingredients. This ensures a smooth process and makes it less daunting when you start mixing. Here’s what you’ll need:
-
For the crust:
-
1 ½ cups graham cracker crumbs
-
1/3 cup granulated sugar
-
½ cup unsalted butter (melted)
-
For the cheesecake filling:
-
4 packages (8 oz each) cream cheese, softened
-
1 cup granulated sugar
-
1 teaspoon vanilla extract
-
4 large eggs
-
1 cup sour cream
-
For assembling the Santa hats:
-
Fresh strawberries (for the red part)
-
Whipped cream (optional for extra fluff)
Create the graham cracker crust
To create a delicious foundation for your Santa cheesecake hats, preheat your oven to 325°F (163°C). In a mixing bowl, blend together the graham cracker crumbs and sugar until well combined.
Next, incorporate the melted butter, mixing until the crumbs are evenly moist and resemble wet sand.
-
Press the mixture firmly into the bottom of a 9-inch springform pan, ensuring it’s packed tightly.
-
Bake for about 10 minutes or until slightly golden. Pro tip: Let it cool while you prepare the cheesecake filling!
Mix up the cheesecake filling
Now comes the fun part: the cheesecake filling! In a large mixing bowl, use an electric mixer to beat the softened cream cheese until smooth. Then gradually add in the sugar and vanilla extract until fully incorporated.
-
Add the eggs one at a time, mixing on low speed to prevent overmixing.
-
Finally, fold in the sour cream until just combined. Your filling should be creamy and luscious at this stage.
Bake the cheesecake to perfection
Pour your luscious cheesecake filling over the cooled graham cracker crust, spreading it evenly. Bake in the preheated oven for 50-60 minutes, or until the center feels set and doesn’t jiggle when shaken gently.
- Insider’s tip: To prevent cracks, you can place a shallow pan with water on the rack below your cheesecake during baking—think of it as a spa day for your dessert!
Chill the cheesecake
Once your cheesecake is beautifully baked, it’s crucial to let it cool before chilling. Remove it from the oven and cool on a wire rack for about an hour.
- After it has cooled, wrap it in plastic wrap and refrigerate for at least 4 hours or overnight. This step helps the flavors meld and makes it easier to cut into perfect Santa cheesecake hats later.
Cut and assemble the Santa hats
Now for the final assembly! Once your cheesecake has chilled, carefully remove it from the springform pan and place it on a cutting board.
-
Cut out small circles (think mini hats) using a cookie cutter or a sharp knife, ideally around 3 inches in diameter.
-
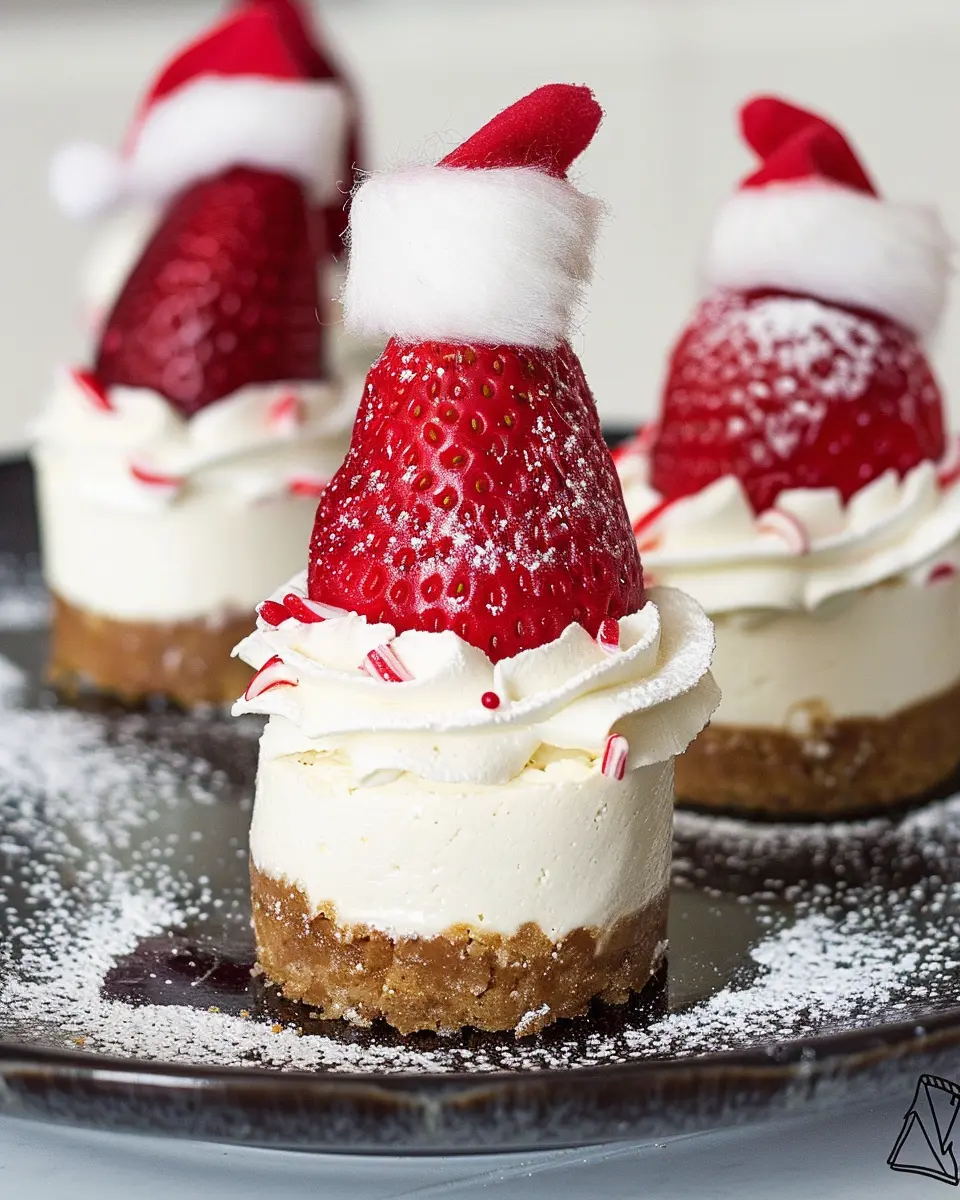
Place a strawberry on top of each cheesecake circle, positioning it at an angle to mimic Santa’s hat.
-
Finish off with a dollop of whipped cream at the base of the strawberry for that extra festive touch!
And voilà! Your Santa cheesecake hats are ready to steal the show this holiday season. Share this delicious dessert at your next gathering and watch them disappear faster than you can say “ho ho ho”! For more holiday recipes, check out Food Network or Allrecipes for inspiration. Enjoy your festive baking!
Variations on Santa Cheesecake Hats
Chocolate Santa Cheesecake Hats
If you’re a chocolate lover, these Santa cheesecake hats are about to become your holiday obsession! Start by mixing cocoa powder into your cheesecake filling for a rich, velvety base that perfectly complements the traditional cream cheese flavor. To really amp up the chocolate goodness, consider drizzling a warm chocolate ganache over the top before adding your signature whipped cream “hat.” You can also add small chocolate candies or even crushed chocolate cookies around the base for that extra festive flair. Just imagine sinking your fork into that creamy chocolate layer — it’s a festive treat that sings joy with every bite!
Seasonal Fruit Variations
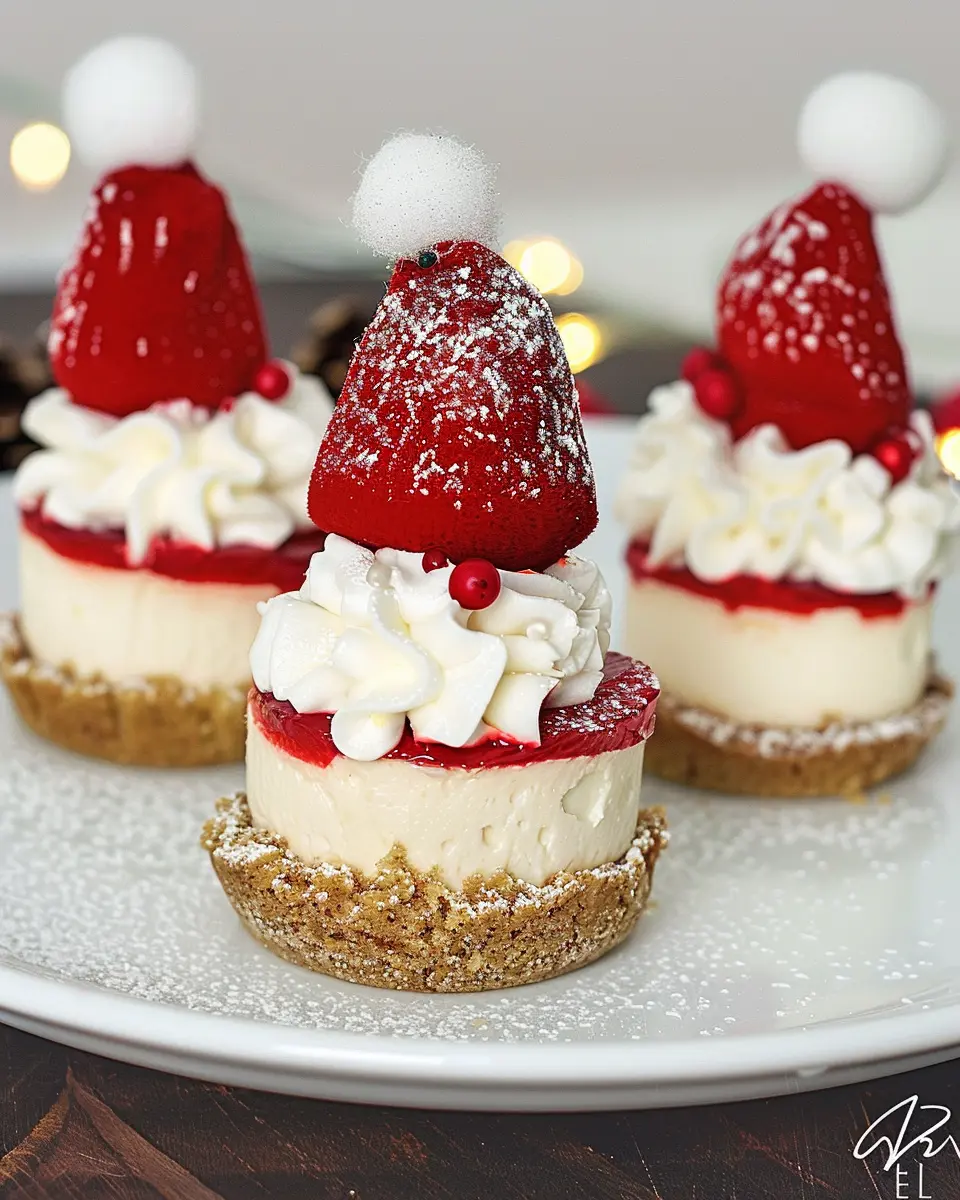
Not only do Santa cheesecake hats look delightful, but they can also incorporate seasonal fruits for a refreshing twist. For instance, you can top them with a layer of festive berries like strawberries, raspberries, or cranberries. These fruits not only add a pop of color but also bring a tangy brightness that balances the sweetness of the cheesecake. If you’re feeling adventurous, consider using a balsamic reduction drizzled over the fruit for an unexpected gourmet touch. Plus, it’s a great way to add some natural sweetness without processed sugars. Freshly sliced kiwi or oranges can also make stunning garnishes, embodying the colors of the season while bringing your festive platter to life.
If you’re looking for delicious inspiration, check out AllRecipes for more unique flavor combinations. With these variations, your Santa cheesecake hats will not only impress but also delight every guest at your holiday gatherings!
Cooking Tips for Santa Cheesecake Hats
Creating delicious Santa Cheesecake Hats can be both a fun and rewarding experience. Here are some handy tips to help you nail this festive dessert.
Choose the Right Ingredients
- Cream Cheese: Opt for full-fat cream cheese for a rich and creamy texture that sets beautifully.
- Turkey Bacon: For a savory twist on the classic hat design, use crispy turkey bacon instead of regular bacon. This adds a unique flavor while keeping things light and delicious.
Make the Perfect Crust
A sturdy crust holds everything together. Use graham cracker crumbs or Oreo cookies for a flavorful base. Don’t forget to press the mixture firmly into the pan to prevent crumbling during cutting.
Watch Your Bake Time
Overbaking can lead to cracks—definitely not the look you want for your Santa Cheesecake Hats! To avoid this, keep a close eye during the final minutes and take it out when the center is slightly wobbly; it will firm up as it cools.
Personal Touches
Feel free to get creative with toppings. Use red and green fruits or edible glitter to enhance your festive theme. The little details can make a big difference!
Want more tips on cheesecake? Check out The Cheesecake Factory for inspiring ideas! Remember, baking is all about experimentation and having fun in the kitchen!
Serving suggestions for Santa Cheesecake Hats
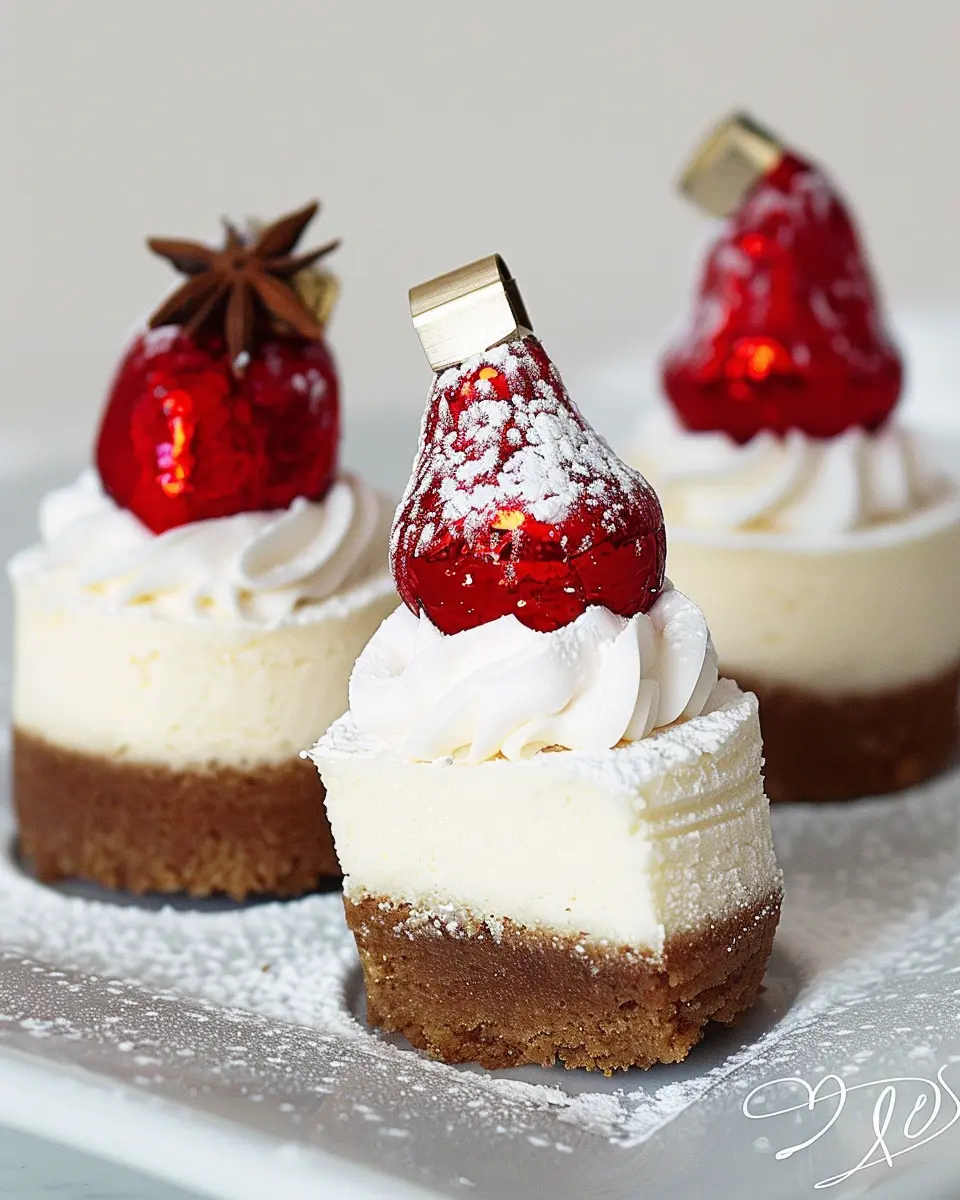
When it comes to serving Santa Cheesecake Hats, presentation is key! These delightful treats aren’t just tasty; they’re also visually appealing, making them perfect for holiday gatherings. Here are some fun ideas to elevate your serving game:
Create a Festive Platter
- Colorful arrangement: Use a large white platter to contrast against the vibrant red hats. Surround them with fresh berries or edible flowers for an eye-catching display.
- Decorative garnishes: Add a sprinkle of crushed nuts or cocoa powder around the cheesecake hats for an extra touch.
Pair with Refreshing Beverages
Complement your Santa Cheesecake Hats with beverages like iced tea, lemon-infused water, or a festive hot cocoa. These drinks can balance the creaminess of the cheesecake and keep your guests refreshed.
Make it a Holiday Treat Station
Set up a fun Santa Cheesecake Hat station where guests can decorate their own! Provide toppings such as chocolate shavings, fruit slices, and whipped cream. Not only does this engage your guests, but it also allows for creative expression.
For more crisp and engaging recipes, you might want to check our ultimate cheesecake guide. So, how will you present your delightful creations this holiday season?
Time breakdown for Santa Cheesecake Hats
When you’re diving into making Santa Cheesecake Hats, you’ll want to plan your time wisely. Here’s a quick breakdown to help you manage your holiday baking:
Preparation time
Gather your ingredients and get those creative juices flowing! You’ll need about 20 to 30 minutes to prepare your Santa Cheesecake Hats. This includes mixing the cheesecake batter, preparing the hats, and setting up your workspace for some fun decorating.
Cooking time
Once your treats are ready for the oven, they’ll need around 15 to 20 minutes to bake. It’s the perfect time to clean up and start daydreaming about how delicious they’ll be!
Total time
From start to finish, making these delightful Santa Cheesecake Hats will take you about 1 hour. Just enough time to squeeze in a holiday playlist and get into the festive spirit. Celebrate the season with these cute treats, and check out more tips on how to make your desserts shine at Baker’s Journal. Happy baking!
Nutritional Facts for Santa Cheesecake Hats
Calories per Serving
When indulging in Santa Cheesecake Hats, it’s helpful to know that each delightful serving contains approximately 250 calories. This makes them a suitable treat for the holiday season, allowing you to enjoy festive flavors without overindulging.
Key Nutritional Values
These tasty cheesecake hats don’t just satisfy your sweet tooth; they also offer some essential nutrients! Here’s a quick look at their nutritional profile:
- Protein: Around 5 grams per serving, thanks to the rich cream cheese.
- Carbohydrates: Approximately 30 grams, mostly from the crust and sweet toppings.
- Fats: About 14 grams, including some heart-healthy options if you opt for lighter options.
For more on balanced holiday treats, check out resources from health organizations like the American Heart Association. It’s important to find that balance between festive enjoyment and nutritious choices, especially during the busy holiday season.
Creating delicious desserts doesn’t have to compromise your health goals. By opting for lower-sugar alternatives or adding fresh fruit toppings, you can make your Santa Cheesecake Hats not just a treat, but a more balanced choice. Enjoy the holidays with flavors that make your taste buds dance while keeping nutritional content in mind!
FAQs about Santa Cheesecake Hats
Can I make these cheesecake hats a day in advance?
Absolutely! In fact, making your Santa cheesecake hats a day in advance can actually enhance their flavor. The filling has time to set and meld with the crust, resulting in a creamier taste. Just cover them tightly with plastic wrap and store them in the refrigerator. When you’re ready to serve, a little fresh garnish can brighten them up!
What can I use if I don’t have a springform pan?
No springform pan? No problem! You can easily use a standard pie dish or even a tart pan, provided they have a removable bottom for easy release. Alternatively, consider lining a square baking dish with parchment paper, which allows for easy lifting when it’s time to cut your Santa cheesecake hats into delightful squares.
Are there any gluten-free options for the crust?
Definitely! If you’re looking for gluten-free options, simply swap the traditional graham cracker crust with crushed gluten-free cookies or oats mixed with coconut oil. Almond flour is another fantastic gluten-free alternative that maintains a lovely texture. Just ensure that your toppings and fillings, like cream cheese and whipped cream, are also gluten-free to keep your dessert safe for everyone!
For more detailed gluten-free tips, check out the Gluten Intolerance Group, which offers a wealth of resources. Happy baking with your Santa cheesecake hats!
Conclusion on Santa Cheesecake Hats
Creating these Santa Cheesecake Hats is the perfect way to add a sweet, festive touch to your holiday gatherings. Not only are these treats visually appealing, but they also offer a delightful combination of flavors that will enchant your guests. Whether you’re using them for a holiday party, as a unique dessert for Christmas dinner, or a fun project with family, they’re sure to bring joy to the table.
As you make your own Santa Cheesecake Hats, feel free to experiment with different toppings or flavors. Have you thought about pairing your cheesecakes with alternative toppings? Check out some amazing ideas from Best Bites for more inspiration.
Happy baking, and may your holidays be filled with sweet memories!
PrintSanta Cheesecake Hats: Easy Holiday Treats Everyone Will Love

Delight your family and friends this holiday season with these adorable Santa Cheesecake Hats! They’re easy to make and even easier to eat.
- Prep Time: 20 minutes
- Total Time: 20 minutes
- Yield: 10 servings
- Category: Desserts
- Method: No-Bake
- Cuisine: American
- Diet: Vegetarian
Ingredients
- 8 ounces cream cheese
- 1 cup powdered sugar
- 1 teaspoon vanilla extract
- 1 cup whipped topping
- 10 mini chocolate chips
- 10 strawberries
- 10 graham cracker crumbs
Instructions
- In a mixing bowl, beat the cream cheese until smooth.
- Gradually add powdered sugar and vanilla extract, mixing until well combined.
- Fold in the whipped topping until light and fluffy.
- Using a piping bag, pipe the cheesecake mixture onto the tops of the strawberries.
- Sprinkle the tops with graham cracker crumbs for a Santa hat effect.
- Add mini chocolate chips for eyes.
Notes
- For a fun variation, add food coloring to the cheesecake mixture for different colors.
- These treats can be made a day in advance and stored in the refrigerator.
Nutrition
- Serving Size: 1 cheesecake hat
- Calories: 150
- Sugar: 12g
- Sodium: 100mg
- Fat: 10g
- Saturated Fat: 6g
- Unsaturated Fat: 2g
- Trans Fat: 0g
- Carbohydrates: 15g
- Fiber: 0g
- Protein: 2g
- Cholesterol: 30mg