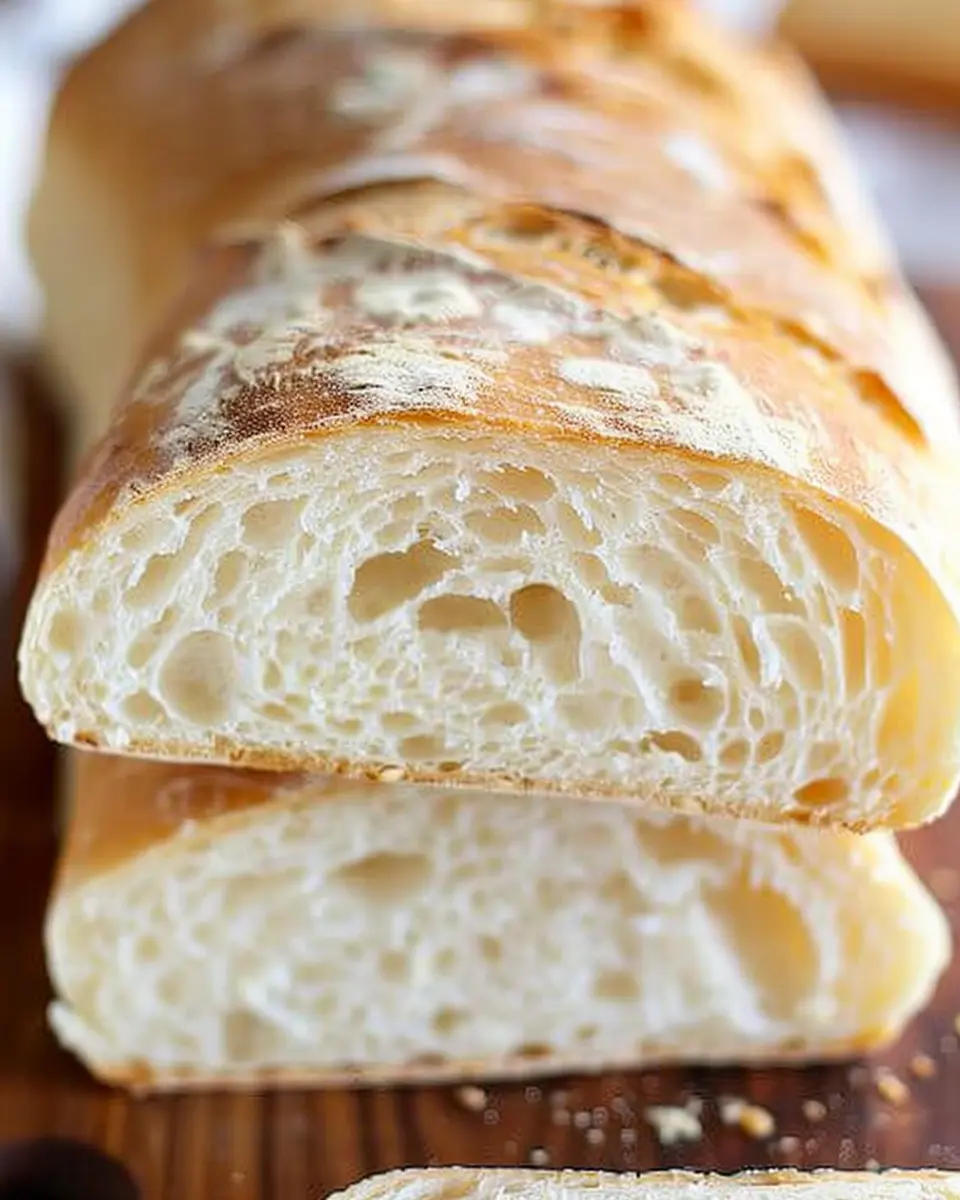
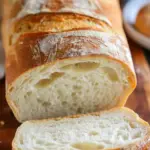
Introduction to Homemade Bread
When it comes to comfort food, homemade bread has a unique and lasting charm. Just think about it: the warm, inviting aroma wafting through your home as you knead the dough brings back memories of family gatherings and cozy afternoons. Bread-making isn’t just about creating a meal; it’s about nurturing a wholesome experience that fuels both body and soul.
Why Homemade Bread is the Ultimate Comfort Food
There’s something incredibly gratifying about crafting homemade bread from scratch, and yes, it’s easier than you might think! The beauty of making your own bread lies in its simplicity and the control you have over the ingredients. You know exactly what’s going into your loaf, which is a relief in today’s world filled with preservatives and additives.
-
Freshness: There’s a huge difference between store-bought bread and freshly baked bread. The latter has a texture and flavor that you just can’t replicate. A 2021 survey by the American Bakers Association showed that 77% of consumers prefer fresh bread, citing taste as a key reason!
-
Cost-Effective: Making homemade bread can also be economical. For the price of a single loaf at the store, you can create multiple loaves at home, especially if you start experimenting with different recipes. This could even become a fun weekend project!
-
Healthier Options: You control the ingredients! Whether you want to incorporate whole grains, switch to gluten-free flour, or avoid sugar, the choice is yours. This aspect is especially important for health-conscious individuals.
-
Creative Outlet: Baking can be a great stress-reliever. Is there anything more satisfying than pulling a perfectly risen loaf out of the oven? Plus, the opportunities for creativity are endless, from adding seeds to experimenting with herbs.
If you’re ready to take the plunge into the world of homemade bread, you’re in the right place! Let’s embark on this delicious journey together. You can explore more about baking techniques through authoritative sources like the King Arthur Baking blog or Breadtopia. It’s all about enjoying the process and savoring the end result—fresh, warm, homemade bread.
Ingredients for Homemade Bread
When it comes to crafting homemade bread, having the right ingredients on hand is essential. Let’s break it down into what you absolutely need and a few extras that can redefine your bread experience!
Essential pantry staples
To make a classic loaf, you’ll want these fundamental ingredients:
- Flour: All-purpose or bread flour works best. They provide the gluten necessary for that lovely rise.
- Water: Room temperature is ideal; it activates the yeast without scorching it.
- Yeast: Active dry yeast or instant yeast will help your bread rise beautifully.
- Salt: This not only adds flavor but also strengthens the dough.
- Sugar: A little sweetness helps to activate the yeast and can enhance the flavor as well.
These staples form the heart of your homemade bread.
Optional ingredients for added flavor
Want to elevate your loaf? Consider these optional ingredients:
- Olive oil or melted butter: Adding fat gives your bread a tender crumb and rich flavor.
- Herbs and spices: Think rosemary, garlic powder, or even cinnamon for a unique twist.
- Seeds or nuts: Pump up the texture and nutrition by tossing in flaxseed or walnuts.
- Cheese: Adding grated cheese can turn your loaf into a gourmet treat.
Experimenting with these elements can make your homemade bread truly special! For more tips on enhancing flavors, check out resources on baking techniques or tips from baking professionals. Happy baking!
Step-by-step preparation of Homemade Bread
Making homemade bread can be one of the most rewarding kitchen adventures, and it’s surprisingly easy once you know the basics. Here’s a simple guide that breaks down the process into manageable steps, so you can create a delicious loaf right in your own home.
Proofing the yeast
The first step in making homemade bread is proofing your yeast. This is crucial because it ensures that your yeast is active and ready to help your bread rise.
- What you need:
- 2.25 teaspoons of active dry yeast
- 1 cup of warm water (about 110°F or 43°C)
- 1 tablespoon of sugar
- In a small bowl, mix the warm water with sugar and sprinkle the yeast on top.
- Allow the mixture to sit for about 5-10 minutes until it becomes frothy. This is a sign your yeast is alive and kicking!
If you’re interested in the science behind yeast, you can explore more on The Fresh Loaf for deeper insights into fermentation.
Mixing in the dry ingredients
Next up is combining the dry ingredients.
- You’ll need:
- 3 cups of all-purpose flour (you may need a bit more for dusting)
- 1 teaspoon of salt
- Optional add-ins (like herbs or spices) for flavor
- In a large mixing bowl, combine the flour and salt. Make a well in the center and pour in your frothy yeast mixture.
- Start to mix with a wooden spoon until a sticky dough forms. Don’t worry about it being a bit messy!
Kneading the dough
Now comes the fun part—kneading the dough!
- Turn the dough onto a lightly floured surface.
- Knead it for about 8-10 minutes. A good rule of thumb is to press down, fold, and rotate. You want the dough to become smooth and elastic. If it’s too sticky, add a little extra flour as needed.
Kneading is essential for developing gluten, which gives bread its structure.
First rise and what to watch for
After kneading, it’s time for the dough to rise.
- Place the dough in a greased bowl, cover it with a clean kitchen towel, and let it rise in a warm spot for about 1-2 hours. The dough should roughly double in size.
What to watch for: Generally, if your dough has risen well, you should be able to gently poke it, and it will slowly spring back—a sign it’s ready for shaping!
Shaping the loaves and the second rise
Once your dough has risen, it’s time to shape it.
- Gently deflate the dough and place it on a floured surface.
- Shape it into a loaf or divide into smaller portions for individual rolls. Tuck the edges under to create a smooth top.
- Place your shaped dough into a greased loaf pan or on a baking sheet. Cover again and let it rise for another 30-60 minutes. You want it to rise to about 1 inch above the edge of the pan.
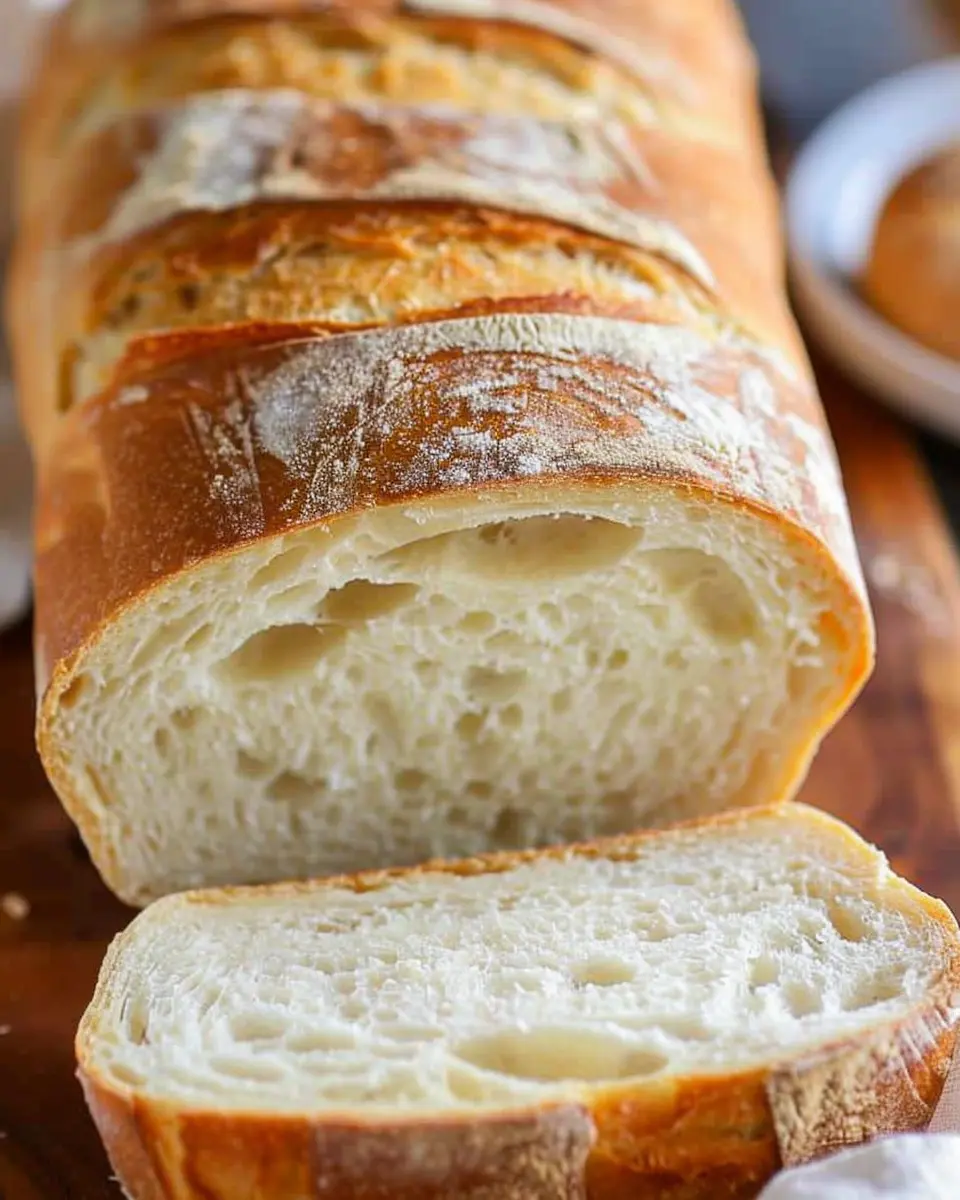
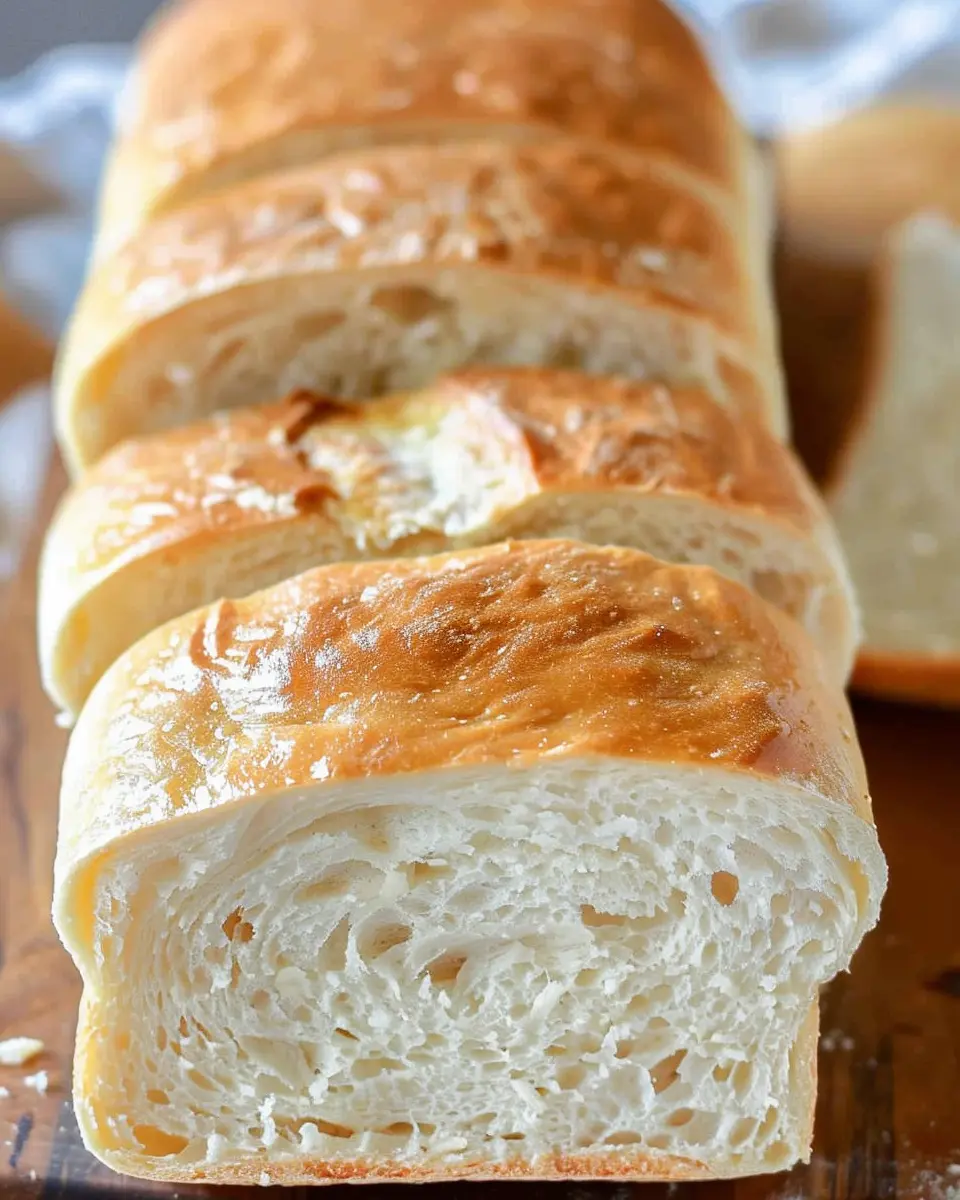
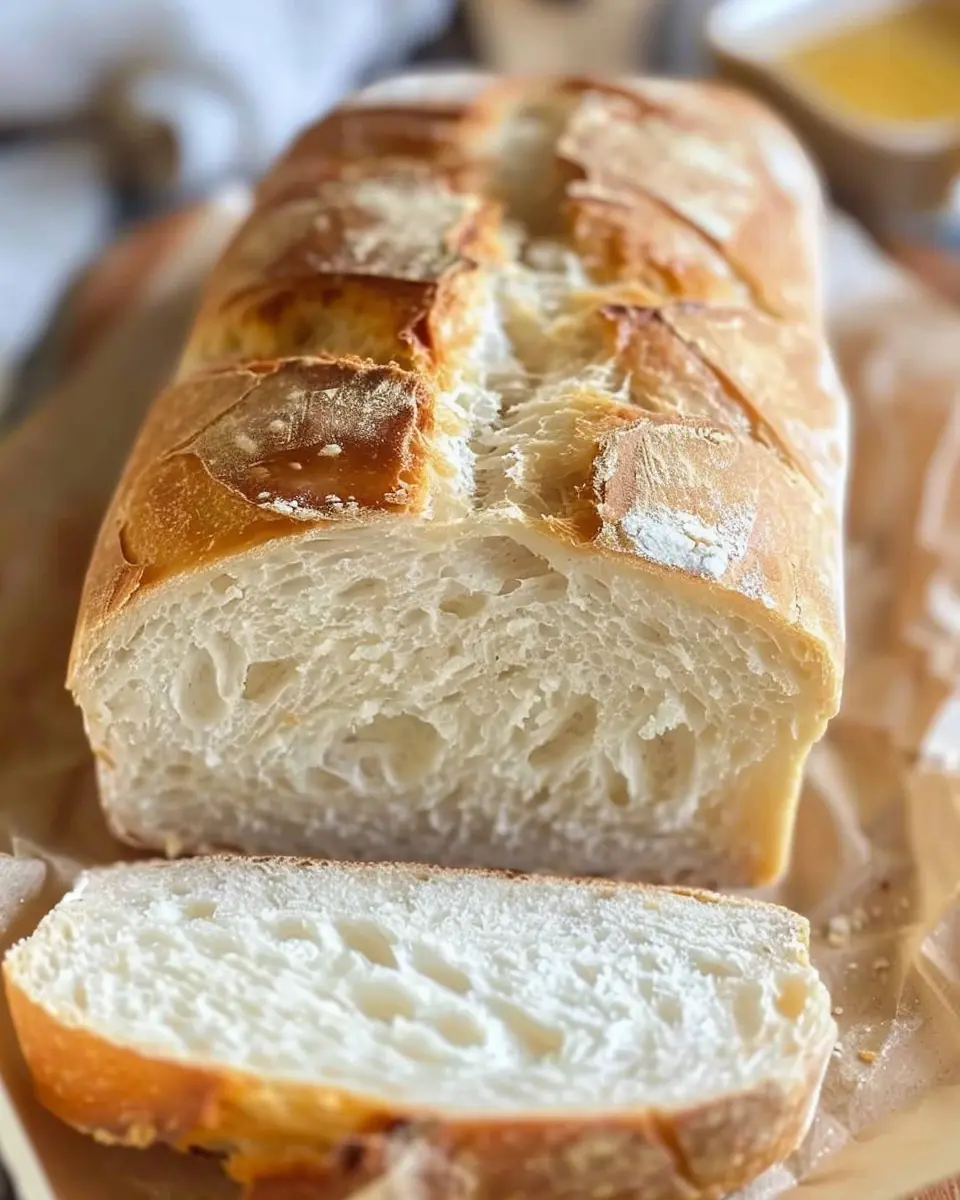
Baking the perfect loaf
Finally, it’s time for the moment of truth—baking your homemade bread!
- Preheat your oven to 375°F (190°C).
- Bake for 25-30 minutes, or until the bread is golden brown and sounds hollow when tapped on the bottom.
Pro Tip: For a crustier loaf, you can place a pan of hot water on the bottom oven rack to create steam while baking.
When your bread is done, let it cool on a wire rack before slicing—if you can resist the temptation!
Baking homemade bread can transform your kitchen into a warm haven. Not only will the aroma tantalize your senses, but the taste will make your efforts truly worthwhile. Happy baking!
Variations on Homemade Bread
Making homemade bread is not just about following a recipe; it’s about exploring new flavors and textures that can elevate your meals. Here are some delicious variations that will make baking even more fun!
Whole Wheat Bread for a Nutty Flavor
If you’re looking to add a healthy twist, try making whole wheat bread. The nutty flavor and hearty texture make it a favorite for sandwiches. Use 100% whole wheat flour or a mix of whole and white flour for a lighter bite. Not only does whole wheat bread provide more nutrients, including fiber, but it also gives your homemade bread a rich, rustic flavor that’s perfect for toasting or slathering with your favorite spreads.
Herb-Infused Bread for Savory Lovers
Are you a fan of savory flavors? Incorporating fresh herbs into your homemade bread can transform a simple loaf into a culinary delight. Consider adding rosemary, thyme, or even garlic into your dough. Just a teaspoon of dried herbs can enhance the flavor profile immensely. Pair your herb-infused creation with olive oil for dipping, and you’ve got a mouthwatering appetizer that everyone’s sure to love!
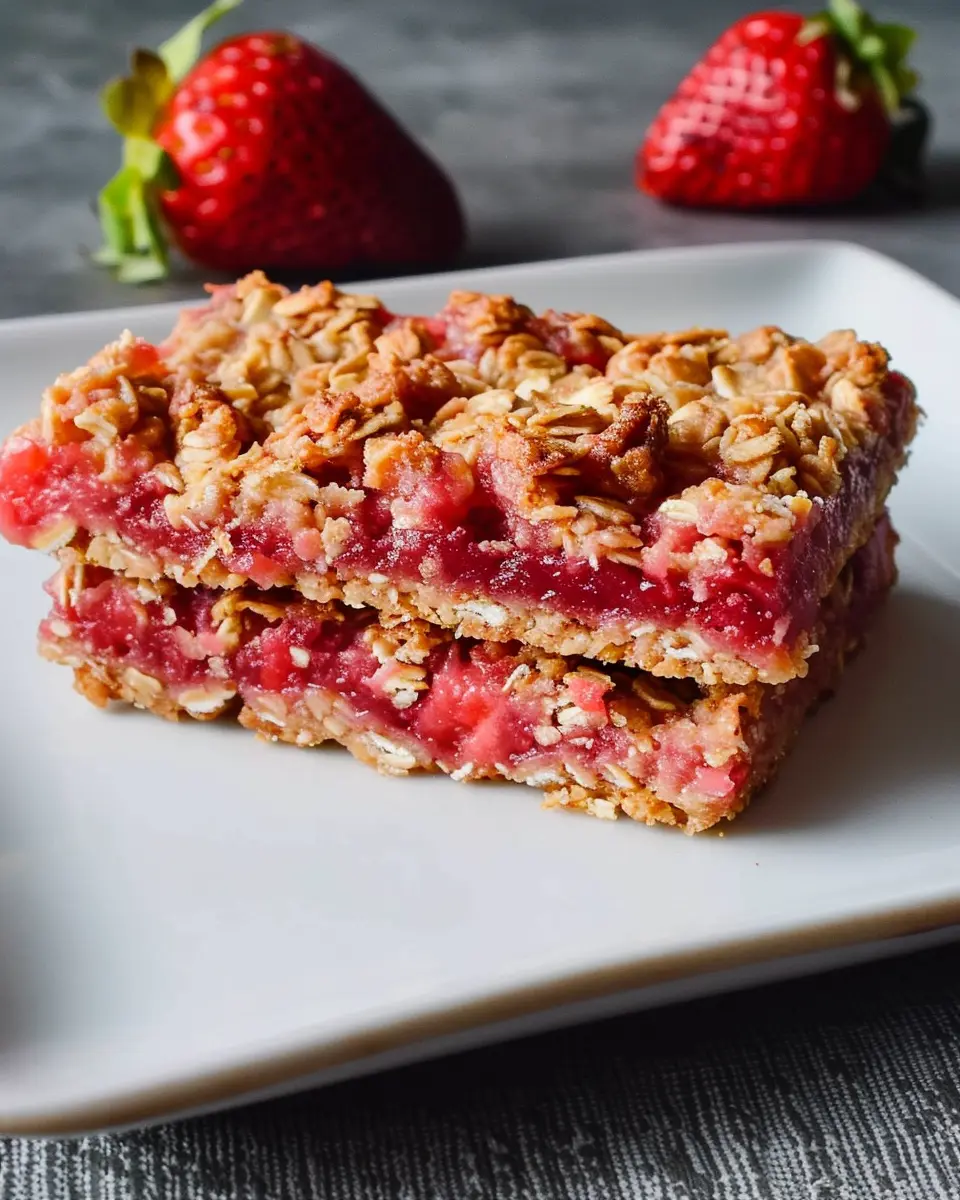
Sweet Bread Options for a Twist
Don’t shy away from sweet options, either! Adding cinnamon, nuts, or dried fruits can make your homemade bread an indulgent breakfast treat. For example, a cinnamon swirl bread is perfect for brunch and pairs wonderfully with coffee. You can also sprinkle in chocolate chips for a decadent dessert loaf that’s sure to impress.
Experimenting with these variations will not only satisfy your taste buds but will also make the process of baking homemade bread endlessly enjoyable. Want to dive deeper? Check out more ideas from King Arthur Baking for inspiration!
Cooking tips and notes for Homemade Bread
Common bread-making pitfalls to avoid
When making homemade bread, there are a few common missteps that can lead to disappointment. First, ensure your yeast is fresh; expired yeast can ruin the rise of your dough. Also, be cautious about how much flour you add. Too much can make your bread dense—use the “spoon and level” method to measure accurately. Finally, don’t rush the dough’s resting time; it needs to rise to develop that delightful texture and flavor.
Best practices for storing homemade bread
Once you’ve perfected your homemade bread, proper storage is vital to keep it fresh.
- Room Temperature: Wrap the bread in a clean kitchen towel or place it in a bread box to maintain its crustiness.
- Freezing: For longer storage, slice your bread and wrap individual pieces in plastic wrap before placing them in a freezer bag. This way, you can easily grab a piece without thawing the entire loaf.
For more detailed insights, check out King Arthur Baking, a fantastic resource for all things baking! With these tips, you’ll enjoy your homemade bread to the fullest!
Serving suggestions for Homemade Bread
Perfect pairings for sandwiches
There’s nothing quite like a fresh slice of homemade bread to elevate your lunchtime favorites. Here are a few delicious combinations you might want to try:
- Turkey Bacon Avocado: Layer crispy slices of turkey bacon, creamy avocado, and fresh spinach for a satisfying, savory delight.
- Chicken Ham with Cheese: Create a classic sandwich with chicken ham and your favorite cheese. Add some pesto or mustard for that extra zing.
- Veggie Delight: Load up on seasonal veggies like roasted red peppers, cucumbers, and hummus for a refreshing, plant-based option.
Each bite embodies the comfort of home, making your meals feel special.
Creative uses for leftover bread
We’ve all had those moments when we’ve made more homemade bread than we can eat. Why let it go to waste? Here are some creative ways to use it:
- Bread Pudding: Transform stale bread into a warm, comforting dessert with eggs, milk, sugar, and spices.
- Croutons: Cube your leftover bread, toss it with olive oil and herbs, and bake until crispy for delicious homemade croutons perfect for salads or soups.
- French Toast: Revive your bread with a classic breakfast dish. Dip slices in a mixture of eggs and milk, then pan-fry for a delightful morning treat.
By reimagining your homemade bread, you not only minimize waste but also delight your taste buds! For more ideas on reducing food waste, check out Food and Agriculture Organization.
Time breakdown for Homemade Bread
When it comes to making homemade bread, understanding the time involved can help ensure a successful bake.
Preparation time
To kick things off, you’ll spend about 15-20 minutes gathering your ingredients and mixing them together. It’s that simple!
Rising time
Patience is key during the rising phase, taking around 1-2 hours. This is when your dough gets to puff up and develop flavor. You might want to check out the basics of fermentation on Serious Eats if you’re curious about how this process works.
Baking time
Once ready, the baking itself takes about 25-30 minutes. The smell that wafts through your kitchen during this time? Pure bliss.
Total time
In total, you’re looking at roughly 2-3 hours to enjoy your fresh homemade bread. And trust us, it’s worth every minute! What are you excited to pair it with?
Nutritional Facts for Homemade Bread
Calories and Macronutrients Overview
Homemade bread is not just a comforting staple; it’s surprisingly nutritious! A typical slice contains about 70-80 calories, with essential macronutrients like carbohydrates, proteins, and healthy fats. Generally, you’ll find around 12-15 grams of carbs, 2-3 grams of protein, and 1 gram of fat in each slice. When you opt for whole grain or add seeds and nuts, these numbers can improve significantly, increasing fiber content and overall nutrition.
Health Benefits of Homemade Bread
When you’re making homemade bread, you have the power to control ingredients, enhancing its nutritional profile. It often contains fewer additives and preservatives compared to store-bought versions. Adding whole grains boosts fiber, aiding digestion and keeping you full longer. Plus, the joy of baking at home promotes mindfulness, contributing to a healthier lifestyle. For more on the health benefits of whole grains, check out Whole Grains Council.
So, whether you’re slathering it with nut butter for breakfast or using it in sandwiches with Turkey Bacon and fresh veggies, homemade bread is a delicious and nourishing choice to consider!
FAQ about Homemade Bread
How can I tell if my bread is baked perfectly?
The aroma wafting through your kitchen is a great start, but there are a few tricks to ensure your homemade bread is baked to perfection. First, look at the crust— it should be a deep golden brown. If you give the loaf a gentle tap on the bottom and it sounds hollow, that’s a sign it’s ready! Finally, consider using an instant-read thermometer; the internal temperature should reach about 190°F (88°C) for most bread types.
Can I use whole wheat flour instead of all-purpose?
Absolutely! Whole wheat flour can give your homemade bread a nuttier flavor and denser texture. However, it absorbs more water, so you may need to adjust your liquid ingredients. A good rule of thumb is to start with 25% whole wheat flour and gradually increase as you become comfortable. The good folks at King Arthur Baking offer wonderful tips on making this swap successfully.
What’s the best way to freeze homemade bread?
Freezing your homemade bread is a fantastic way to prolong its freshness. Once the bread has cooled completely, wrap it tightly in plastic wrap and then in aluminum foil to prevent freezer burn. You can slice it beforehand for convenience. When you’re ready to enjoy it, simply remove the desired slices and let them thaw at room temperature, or pop them in the toaster for a quick warm-up.
For more detailed insights on bread-making, feel free to check out resources from the Bread Bakers Guild of America or Serious Eats. Happy baking!
Conclusion on Homemade Bread
A Recap of the Joys and Benefits of Making Your Own Bread
Making homemade bread is truly a rewarding experience that brings countless joys. From the delightful aroma wafting through your kitchen to the comforting sensation of kneading dough, each step is an opportunity to connect with your food. Not only is it healthier—often containing fewer preservatives than store-bought varieties—but it also tends to be more economical in the long run.
Think about it: with just a few basic ingredients, you can create something uniquely yours. Plus, homemade bread offers endless customization options, allowing you to experiment with flavors and textures. Whether you prefer your loaf fluffy or crusty, savory or sweet, the power is in your hands!
If you’re looking for inspiration or tips to perfect your baking skills, check out resources like King Arthur Baking for expert advice. Enjoy the process, and happy baking!
PrintHomemade Bread: The Easy Recipe Your Family Will Love
Learn how to make homemade bread that your family will adore with this simple recipe.
- Prep Time: 15 minutes
- Cook Time: 30 minutes
- Total Time: 1 hour 45 minutes
- Yield: 1 loaf
- Category: Bread
- Method: Baking
- Cuisine: American
- Diet: Vegetarian
Ingredients
- 4 cups all-purpose flour
- 2 teaspoons active dry yeast
- 1 tablespoon salt
- 1 tablespoon sugar
- 1 3/4 cups warm water
Instructions
- In a large bowl, combine the flour, yeast, salt, and sugar.
- Add the warm water and mix until a dough forms.
- Knead the dough for about 10 minutes until smooth.
- Let it rise in a warm place for 1 hour.
- Shape the dough and place it in a loaf pan.
- Allow it to rise for another 30 minutes.
- Bake at 375°F (190°C) for 30 minutes.
Notes
- Make sure your water is not too hot to avoid killing the yeast.
- You can add herbs or seeds for extra flavor.
Nutrition
- Serving Size: 1 slice
- Calories: 120
- Sugar: 1g
- Sodium: 180mg
- Fat: 1g
- Saturated Fat: 0g
- Unsaturated Fat: 1g
- Trans Fat: 0g
- Carbohydrates: 24g
- Fiber: 1g
- Protein: 4g
- Cholesterol: 0mg